


FREE SHIPPING ON ORDERS OVER $99
Eligible for ground shipping within the contiguous US. Excludes products over 36” and freight shipping.
10% OFF YOUR FIRST ORDER


Why Truck Decals?
- Use code WHEELIN15 to get 15% off truck decals. Valid through September 30, 2026.
- Standard application to various parts of your truck.
- Opaque, clear, perforated, and permanent decal materials available.
- Inside-glass printing for clear truck decals applied from the inside with graphics facing out.
- Single-sided printing for all types of truck decals.
- Weather-resistant and durable.
- Promotes brand, contact info, or services while driving.
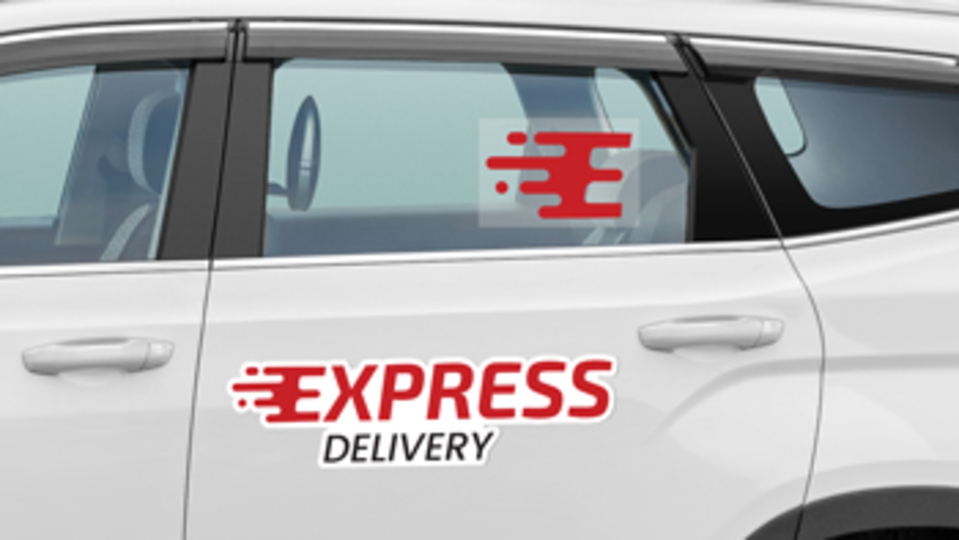
Custom Truck Decals
Truck decals are durable vinyl graphics used on pickup trucks, ideal for commercial and private purposes.
Read More
Why Truck Decals?
- Use code WHEELIN15 to get 15% off truck decals. Valid through September 30, 2026.
- Standard application to various parts of your truck.
- Opaque, clear, perforated, and permanent decal materials available.
- Inside-glass printing for clear truck decals applied from the inside with graphics facing out.
- Single-sided printing for all types of truck decals.
- Weather-resistant and durable.
- Promotes brand, contact info, or services while driving.

What Are Truck Decals?
Custom truck decals, also known as truck stickers and graphics, are versatile, adhesive vinyl graphics. You can stick them to the doors, tailgate, hood, and other parts of your vehicle. It’s available in custom sizes, ranging between 6”x6” and 58”x1,680.”
Our personalized truck decals are for personal and promotional use. Thanks to their high adhesiveness and vibrant printing, they will turn your vehicle into a mobile billboard. It’ll display logos, advertisements, or decorative elements to stylize your vehicle on the go.
Make the best custom truck decals on our design platform. You can create your own graphics from scratch or use our ready-made templates. Do you need to apply a sticker to your truck's windshields and side windows? We’ve got you covered with professional truck window decals.
Printing of Custom Truck Decals
We offer high-end custom decals for trucks with clear, opaque, and perforated finishes. We also offer permanent decals for trucks, with this specific material type being more durable than the standard options and enduring longer under all weather conditions. This product is made of durable and versatile adhesive vinyl that withstands all weather conditions. Our UV-cured inks help create custom truck stickers with images that last long, even under the scorching sun. We employ standard and inside-glass printing methods for personalized truck decals.
- Standard: The most common printing option for opaque truck decals. Graphics are printed directly onto the material. These graphics are applied outside of the glass for maximum visibility.
- Inside-Glass: Designed only for clear decals. With this method, the graphics are printed on the back of the film, so that the decal can be applied from the inside of the glass while facing outward. It’s ideal for added protection and a sleek look.
Sizes
Our custom truck decals and stickers are available in custom sizes, ranging from 6"x6" to 52"x1,680." The most common sizes are from 12”x12” to 24”x18”, depending on where the decal will be applied. The chart below shows what sizes we offer for your truck vinyl stickers.
| Application Area | Decal Size |
|---|---|
| Doors, Side Panels | 12”x12”, 18”x12”, 24”x12”, 24”x18” |
| Bumper | 11.5”x3”, 10”x3”, 8”x4”, 12”x4” |
| Rear Window, Tailgate | 3”x3”, 5”x5”, 6”x2” |
| Windshield* | 12”x12”, 18”x12” |
* Please make sure that your truck windshield decal doesn’t obstruct the driver’s view or violate local traffic rules and regulations.

Cutting Options of Personalized Truck Decals
- Standard: Classic cutting option with pointed corners, perfect for creating business truck decals.
- Rounded: Similar to standard decals, but with rounded corners for a smooth appearance.
- Custom Cut: Custom cutting in the exact shape of your design. It’s ideal for decorative vinyl graphics for trucks.
- Custom Cut With Border: Cut in the shape of your design with a thin white border for added contrast.
Specifications
| Thickness: | 4 mil (clear, opaque), 6.3 mil (perforated) |
|---|---|
| Printing: | Digital, high-resolution, full-color printing with UV inks |
| Min Size: | 6”x6” |
| Max Size: | 52”x1,680” |
| Application Options: | Standard and inside-glass |
| Installation: | Dry or wet mounting with a squeegee |
| Common Sizes: | 12"x6", 12"x18", 18"x24", 24"x24", 24"x36", 36"x54", 48"x72", 48"x96", custom |
| Usage Outdoors: | 1+ years depending on weather conditions |
Customize Decals for Trucks Based on Application

Truck Door Decals

Truck Tailgate Decals

Truck Hood and Front Decals

Truck Glass Decals
Installation of Truck Decals
Dry Mounting
Step 1: Clean the surface with a damp cloth.
Step 2: Place the truck decal sticker and adjust its position to make it level.
Step 3: Fix the decal with tape at top and bottom sides.
Step 4: Peel off the backing paper of one side of the decal.
Step 5: Press the decal onto the surface and smooth it with a squeegee.
Step 6: Repeat the process to stick the other side of the decal.
Wet Mounting
Step 1: Clean the surface with a damp cloth.
Step 2: Spray a soap-water mixture onto the entire surface.
Step 3: Fully remove the backing paper from the decal.
Step 4: Spray the soap-water mixture on the decal’s adhesive back.
Step 5: Press the product against the surface.
Step 6: Adjust it to ensure it’s level.
Step 7: Use a squeegee to remove the water from underneath the decal.
Step 8: Allow the decal to bind to the surface, then wipe dry.
How to Care for Truck Decals
Properly caring for your truck decal will sustain its visibility and increase its lifespan, with most decals lasting over three years. Follow these steps to ensure that your product lasts.
Apply your truck decal to a clean surface. Wait between 24 and 48 hours before washing your car.
To clean your truck sticker, avoid automatic car washes and instead, hand-wash with soap and water.
While our truck decals are weather-resistant, you can extend your truck decal’s lifespan by ordering a laminated decal and parking your truck in shaded areas.
Create Truck Decal Designs in Minutes
Make your own vinyl truck decals faster and easier with our design tool. It’ll let you choose the product sizes, shapes, material, and printing options, as well as create designs by adding icons, images, texts, background colors, and other elements. With this platform, you can also generate images with AI or use our designer-made thematic templates.
Products Related to Truck Decals


Truck Decals FAQ
How much do truck decals typically cost?
- The cost of our truck decals varies based on their sizes, options, and accessories. Standard truck decals in popular sizes like 24”x18” and 36”x24” range between $22 and $38.
How long will my truck graphic last?
- Your truck graphics will last 5-7 years if used under moderate weather conditions and periodically cleaned.
Can I use truck decals for my company's advertising?
- Yes, you can. Use these stickers to advertise your company on the go by featuring your company’s logo, services, contact information, and beyond.
How should I design commercial truck decals?
- Business truck decal design should be as simple as possible. Add bold, contrasting colors, the company name, and contact information. The text should be written in a sans-serif font to maximize readability at a distance.
What file type should I upload?
- We accept the following file formats: JPG, JPEG, PNG, GIF, BMP, EPS, TIF, TIFF, AI, PDF, and SVG. For optimal results, we recommend high-resolution raster files or vector formats such as AI, EPS, PDF, or SVG.
What material do you use to print decals for trucks?
- All of our pickup truck decals are made of premium vinyl. The material comes with different finishes based on your needs. We offer clear, opaque, and perforated options.
Are there standard sizes for custom truck decals?
- The most commonly requested sizes range between 12”x12” to 24”x18”, though the product is fully customizable. These sizes provide clear visibility on the go.
Will my custom truck decals fall off or scratch while driving in bad weather?
- The product is highly adhesive, water-resistant, and made to withstand high speeds. A good size fit and proper placement will ensure your truck business decals don't peel off prematurely. It should be applied to a smooth and clean surface with no cracks or paneling.
Where can I find design templates for company truck decals?
- We offer thousands of free and original sign templates in different categories that will work for your vehicle design. Customize decals for trucks with one of our thematic templates or upload your own images and restyle them using our illustration tool. From box to mini and large truck decals to truck logo decals, we’ve got you covered.
Can I reuse truck graphics after removal?
- No, you can’t use your personalized truck decal once it's removed from your vehicle. It loses its adhesiveness and doesn’t stick well.
How to install decals on a truck?
- Remove the backing layer to expose the adhesive on your graphics. Position them carefully and apply them to the surface of your vehicle using a squeegee. You can apply your stickers using dry or wet methods.
How to remove decals from a truck?
- To remove the adhesive, simply pick a corner and start peeling the material off from one side. When finished, clean the vehicle surface with a soft cloth and soap water to get rid of any light residue.
Do you offer lamination for this product?
- Yes, and they come in either a gloss or matte finish. Laminated decals have an additional layer of protection, which prolongs the lifespan of the product.
Will my truck sticker come in a matte or glossy finish?
- Our unlaminated decals for trucks have a matte finish. However, if you choose to have your product laminated, you have the option to choose between a matte or glossy finish.
What surfaces can I apply my truck decal to?
- You can apply your truck decal to glass, metal, and plastic surfaces on your vehicle. Popular areas for truck decals include rear windows, tailgates, doors, fenders, and hoods.
Can truck decals be applied to curved surfaces like fenders or bumpers?
- Yes, but you need to consider the curvature of where you want to apply your decal. Knowing this detail will ensure that your message or logo will be properly legible.
When you’re designing your business decals for trucks, add a couple of extra inches to each side to serve as a “bleed zone.” The bleed zone will give you the option to remove any extra decal space once you’ve applied it to the curved area of your truck.
If you want decals specifically for your bumper, check out our bumper stickers. What's the difference between clear, opaque, and perforated truck decals?
- The unprinted section of clear truck decals is transparent and best when applied to glass surfaces.
Opaque decals are solid with no transparency, which makes them best suited for the truck’s body and tailgate.
Perforated decals offer one-way visibility while inside the truck and conceal visibility from the outside. How should I measure my truck to order the right size of decal?
- Use a tape measure to get the accurate length and width of your truck’s rear window, body panels, or tailgate.
When can I get my product?
- The delivery time for your order depends on two factors: turnaround time and shipping method. On average, it takes a day or two to print and cut your decal, and around a week at most to ship it to your location in the United States.
After designing your truck graphic decals and adding them to your cart, simply enter your ZIP code and choose the turnaround time that works best for you. You’ll also be able to select or adjust these options during checkout.
You can also check our shipping and turnaround page to get a better idea of how long it takes to create certain products and how long it would take to ship them to your approximate location.
Quality
Value for money
Reviewer Photos


The product was great! It came on time, looks really good on our trucks, and the customer service was fantastic - Melanie was a huge help!
Kinda thin. hard to get the bubbles out
Bright and bold
PERFECT as always. Thank you.
Looks great, fits perfect.
Very pleased with everything
Return customer. Ordered a hood decal couple years ago and quality was excellent. Color still holding. So I knew my next purchase would be from this company. They didn’t disappoint. Fantastic experience.
Thank you for your amazing review. We're glad the quality of the first sign you ordered with us convinced you to use our services yet again. We appreciate your trust and look forward to serving you again soon!
This is the third time we've ordered from Square Signs. As usual, the sign was perfect. Good print quality and excellent material.
Your loyalty truly means everything to us. Thank you for coming back! See you on your fourth!
Great! We love it. Thanks!
Thank you for the positive feedback. We're glad to hear you love the product.
It was fast and simple
Thank you for the awesome review. We're glad you liked the speed and simplicity of the process.
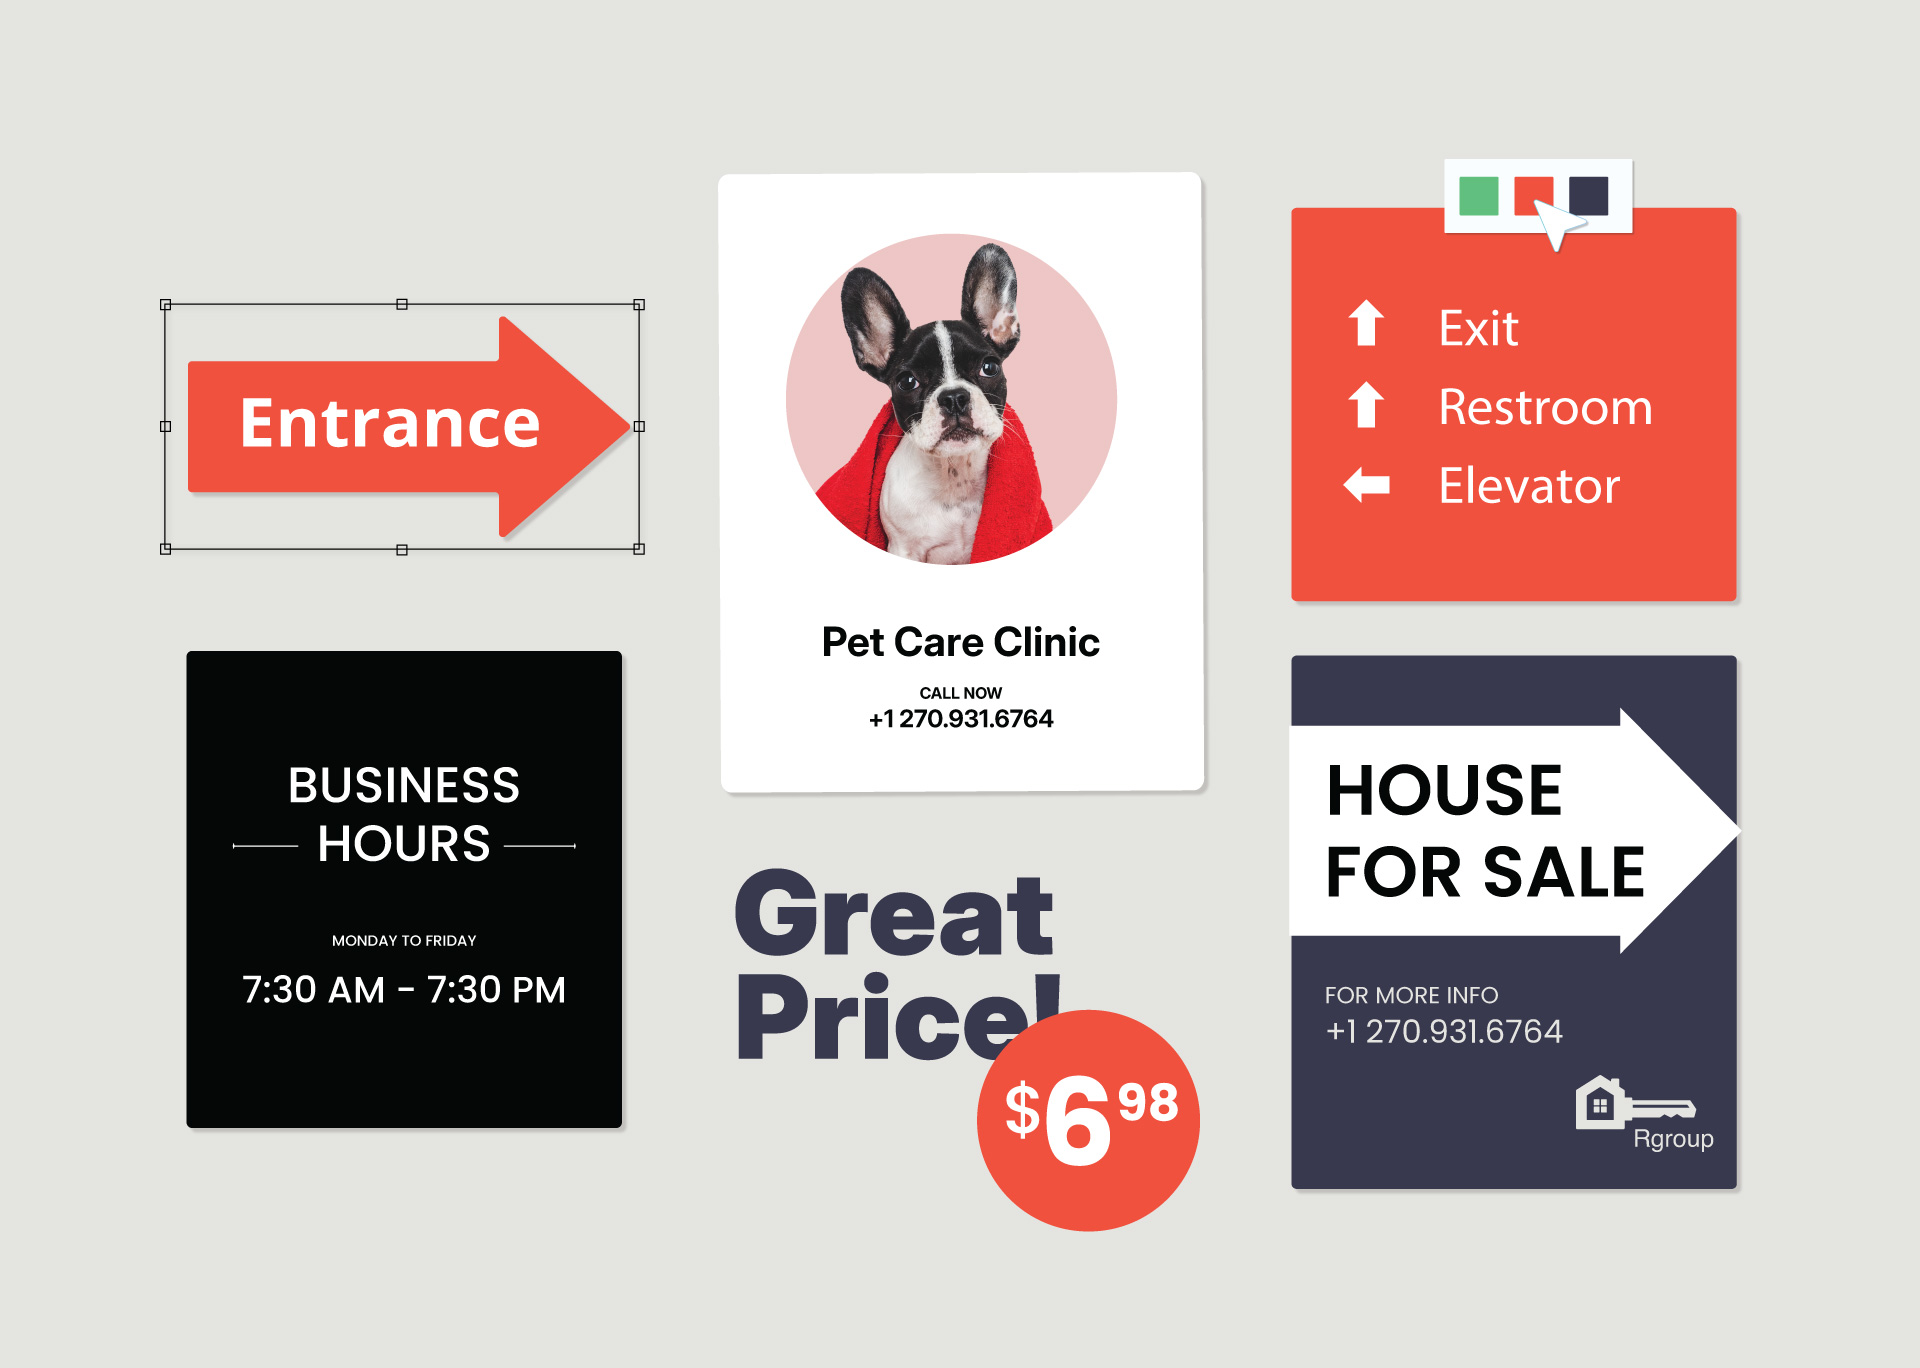
Truck Decal Templates