


FREE SHIPPING ON ORDERS OVER $99
Eligible for ground shipping within the contiguous US. Excludes products over 36” and freight shipping.
10% OFF YOUR FIRST ORDER


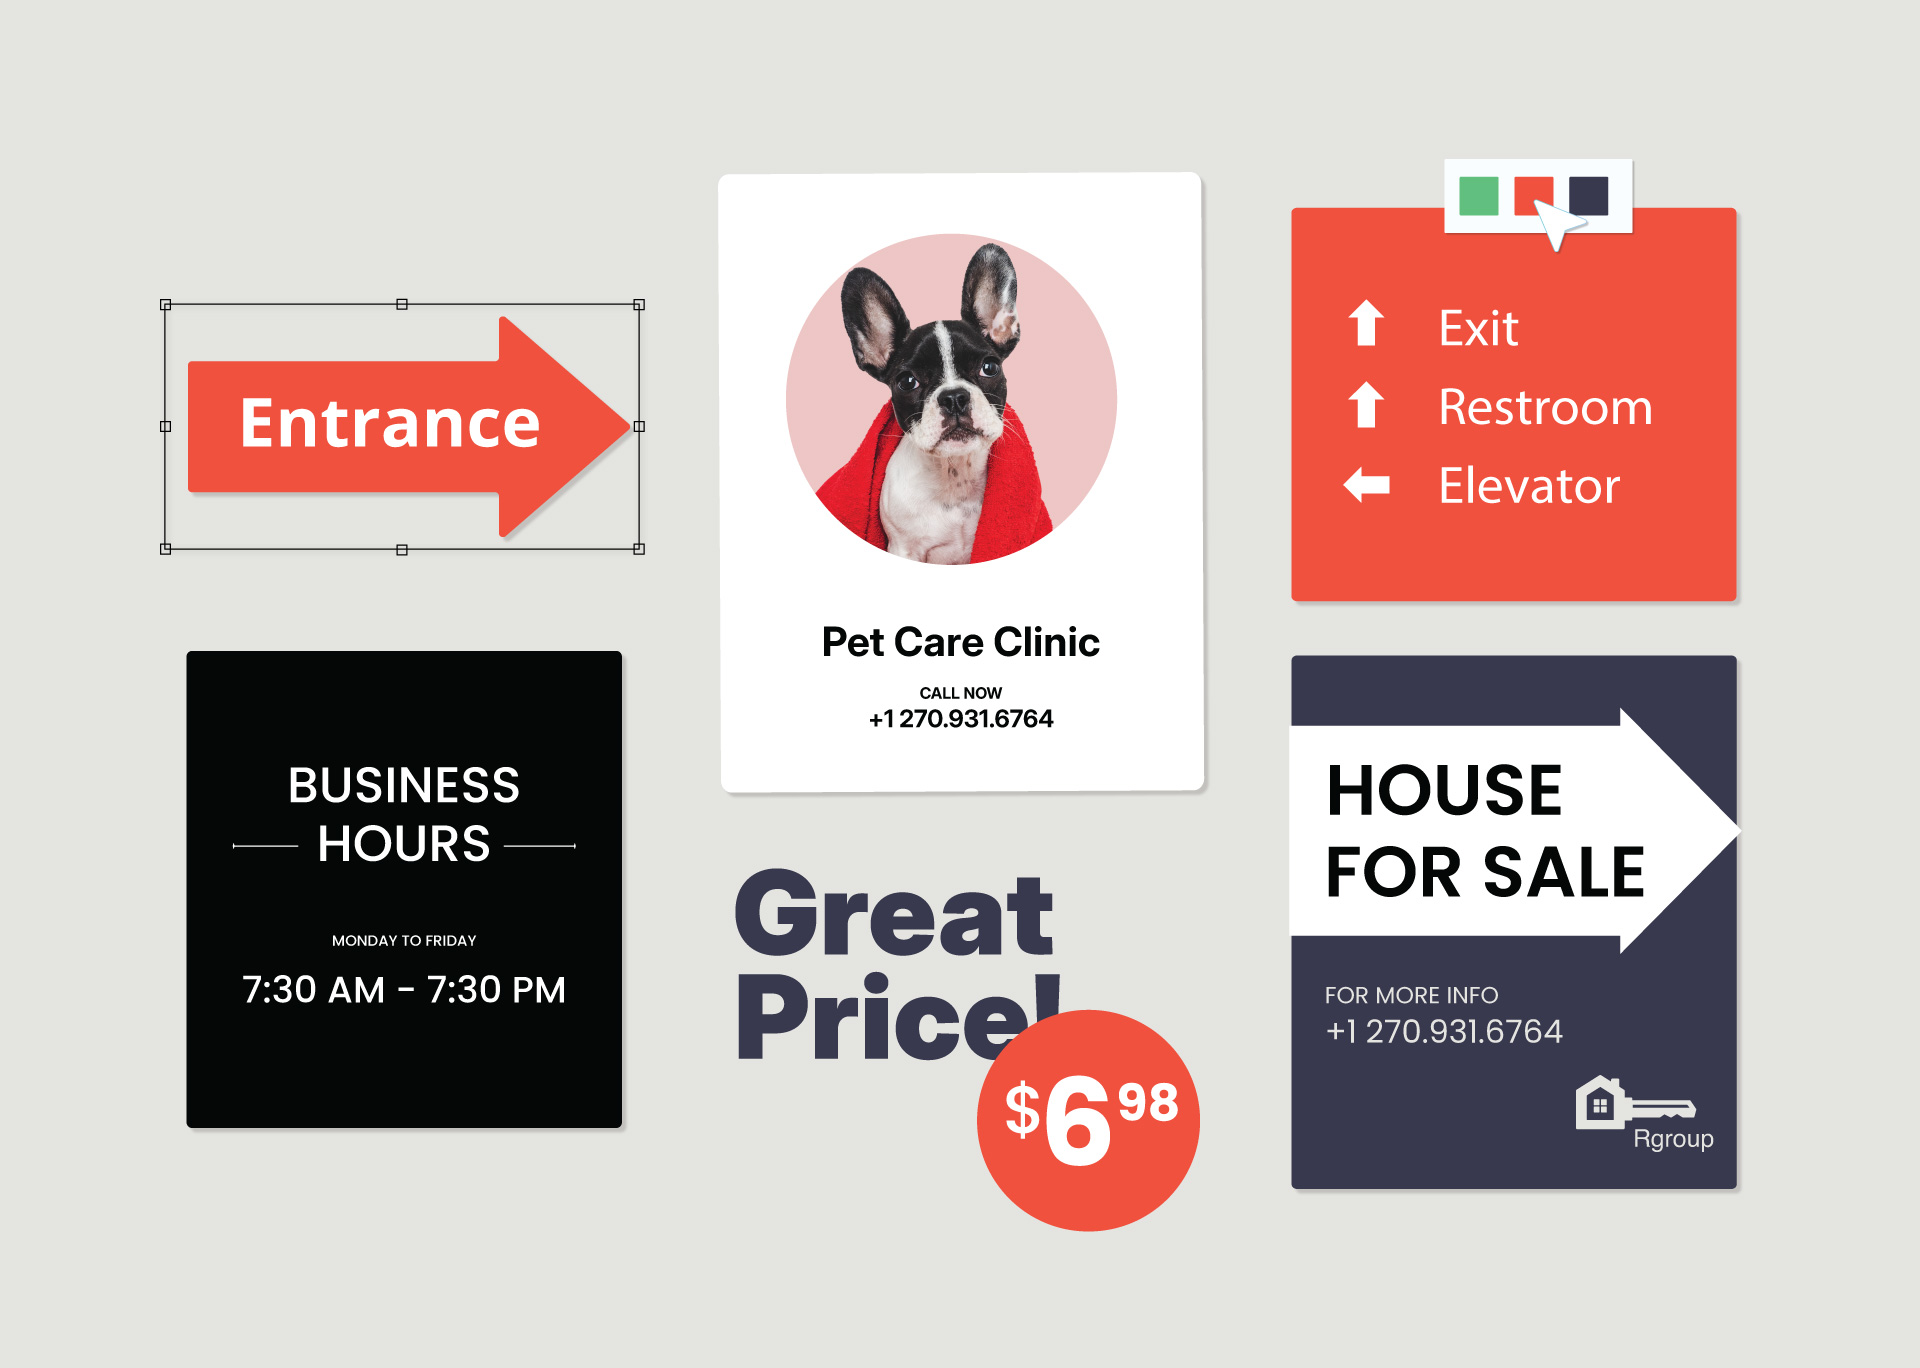
Features
- Last for years outdoors with tough vinyl that holds up in all weather;
- Reach more eyes with bold print on both sides of your banner;
- Fits any space as you can pick the size and shape to match your needs;
- Stay bright all year with UV ink that blocks sun fade;
- Works for any event, such as sales, seasons, city ads, and more;
- Stays neat in the wind with optional wind slits to cut air flow.
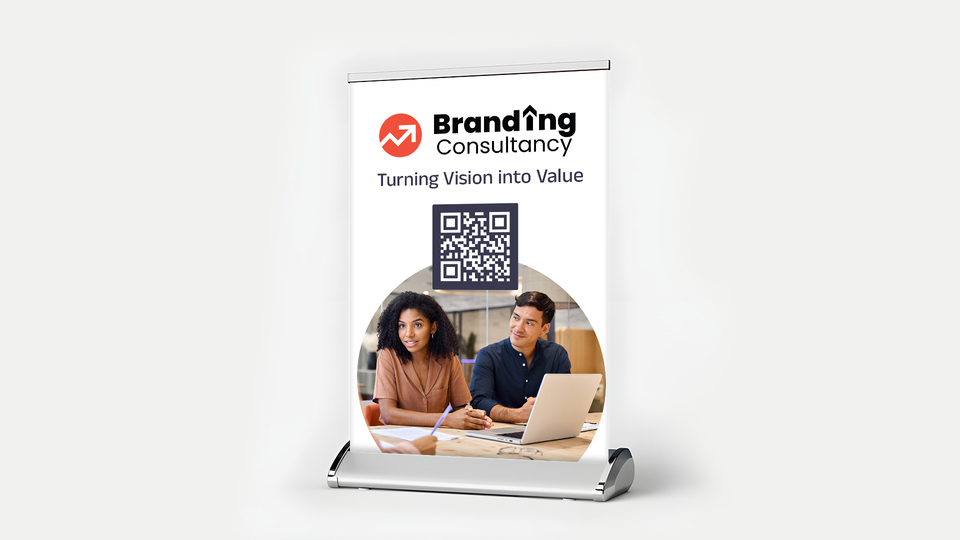
Pole Banners
Maximize your business's outdoor brand visibility, improve wayfinding, and support advertising with light pole banners. They’re easy to install and maintain.
Read More
Features
- Last for years outdoors with tough vinyl that holds up in all weather;
- Reach more eyes with bold print on both sides of your banner;
- Fits any space as you can pick the size and shape to match your needs;
- Stay bright all year with UV ink that blocks sun fade;
- Works for any event, such as sales, seasons, city ads, and more;
- Stays neat in the wind with optional wind slits to cut air flow.

What are Pole Banners?
Pole banners are durable marketing media that spread your message on the street with customizable designs. They are ideal for grabbing attention outdoors and making any message visible to large audiences.
Our outdoor pole banners are great for promotions, product announcements, sponsorship highlights, campus marketing, or event advertising.
Need to welcome your customers or display seasonal and holiday decorations? Pole banner printing has you covered.
You can have your print featured on one or both sides for maximum visibility.
This product is available in multiple sizes and shapes, and is made of weatherproof material.
Check our vinyl banners for a standard hanging banner.
Pole Banner Printing
Our street pole banners are made of 18 oz blockout vinyl that will serve you for a long time. The material consists of three layers, compared to standard two-layered vinyl.
The blockout vinyl features an additional black opaque middle layer that completely blocks light from passing through the banner. This is the reason standard vinyl has a little transparency, while blockout vinyl prevents the print on one side from showing through to the other.
We apply UV inks to print pole banner signs, which results in crisp imagery that doesn’t fade. We apply graphics to both sides of pole banners with identical or different designs on each side.
Choose from various size options to create your one-of-a-kind product. Personalize your sign by featuring your logo, company name, colors, or other branded elements to promote your business with us.
Rest assured that you’ll get the exact design you approved, thanks to the full customization options on our design platform and the pre-production design validation process.
Additionally, you have the option to deselect the hardware kit when placing an order.
Hardware
Our outdoor pole banners come with all the hardware necessary for a hassle-free installation.
The hardware includes two fiberglass arms with end caps, two mounting brackets with their accessories, and four steel bands that lock everything firmly in place.
The pole banners also feature two-inch pole pockets on the top and bottom, as well as four reinforced corner grommets for extra protection against wind.
Speaking of wind, you can add optional wind slits while making an order to reduce resistance and extend its lifespan.
Common Sizes
Find the street pole banner sizes that fit your specific needs. Unsure about which to choose? Read the information below:
| Size | Best For |
|---|---|
| 18" × 24" | Basic announcements |
| 18" × 48" | Street messaging |
| 18" × 60" | Outdoor visibility |
| 24" × 36" | Event promotions |
| 24" × 72" | Ads or welcome banners |
| 30" × 30" | Logos or symmetrical designs |
| 30" × 66" | Seasonal or business messages |
| 30" × 72" | Long-distance readability |
| 30" × 96" | High-traffic areas |
Templates


Specifications
| Face Material | 18 oz vinyl |
| Printing Options | Double-sided |
| Size Range | 18" x 24" to 30" x 96" |
| Installation Hardware | 2 fiberglass arms with end caps, 2 mounting brackets with accessories, 4 steel bands |
| Pole Pockets | 2" top and bottom |
| Grommets | 4 corners |
| Printing | UV-protected inks |
| Lifespan Outdoors | 3+ years |
Common Uses of Custom Pole Banners
Outdoor light pole banners can serve different purposes. They're favorites for advertising campaigns, event promotions, and different celebrations.
The product, one of several exterior banners, may also be used beyond commercial purposes, as a decorative item, for instance.

Pole Banners For Business
A banner on a pole is one of the best ways to reach a larger audience. You can personalize our commercial light pole banners and display vital information. From branded displays to wayfinding arrows, these banners help businesses boost their visibility, promote flash sales, or direct foot traffic towards.

Informative Light Pole Banners
Flag pole banners are ideal for presenting informative graphics since they're mounted high on light posts and capture the attention of most people who glance their way. Share key event details, promotional offers, or directional graphics through this medium.

Light Pole Banners For Event Promotions
If you search for reliable ways to promote your outdoor events, look no further, as our pole banners are what you need. You can customize your texts and communicate them in open-air settings without worrying about wear and tear. Their high placement makes these products hard to miss. They guide attendees to the event space and reinforce your brand identity.

University and School Pole Banners
Use pole banners for schools to enhance your campus, celebrate student achievements, promote upcoming events, or guide visitors across grounds. These hard-to-miss marketing designs help express your school's spirit. Pole banners for schools will become your ever-present cheerleaders outside.

Holiday Street Pole Banners
Your business should increase its visibility during the holiday season. What better way to do it than with festive pole banners? They serve as bright and bold holiday cards that reel people in and boost foot traffic. Custom light pole banners also announce special holiday deals while sprucing up your business with festive decorations.

Church Pole Banners
Pole banners are your tireless assistants. They connect you with your congregation, promote holiday services, community outreach programs, or share the word of God. These bold banners ensure your church is always visible and welcoming, as they draw in passersby with vibrant graphics and keep your community informed about upcoming events.
How to Install Custom Pole Banners
You don't need to partner with a professional crew to install your pole banner. You can easily set your banner up, secure it, and turn heads in only a few easy steps.
Step 1: Gather your hardware, which is included in the kit with your pole banner. The kit should contain two fiberglass arms with end caps, two mounting brackets with accessories, and four steel bands. Make sure all pieces are within reach before you start the installation.
Step 2: Attach the mounting brackets to the light pole using the steel bands. These bands wrap around the pole and lock the brackets in place.
Step 3: Slide in the fiberglass arms through the two-inch pole pockets at the top and bottom to keep the arms secure and prevent your banner from sliding off.
Step 4: Hang your banner onto the mounted brackets. The four corner grommets add extra reinforcement.
Step 5: Position it at the right height for maximum visibility. The ideal height is 15 feet above street level for your banner to be seen from a distance.
Catch Eyes, Inspire Action With Custom Pole Banners
Turn streets, campuses, or event grounds into dynamic message boards with high-impact pole banners. These double-sided displays offer vibrant visuals and bold branding from every angle. Use our easy design tool to create eye-catching custom street pole banners or capture attention with ready-made templates to make your message stand out!
FAQs
What are pole banners used for?
Pole banners help business owners promote their brands, advertise events, welcome with wayfinding messaging, or decorate for holidays. They effectively spread the word for churches and commutes, enhance school or university campuses, or dress up your streets or storefronts.
What material do you use to print a custom pole banner?
Our custom pole banners are printed on industrial-grade 18 oz blockout vinyl. It is one of the toughest and most reliable materials available for outdoor signage.
What pole banner sizes do you offer?
Size Best For 18" x 24" Basic announcements and small-scale promotions 18" x 48" Parking lots and street messaging 24" x 36" City branding and event promotions 30" x 30" Symmetrical designs 30" x 72" Long-distance readability 30" x 96" High-traffic areas Do your street light pole banners come in matte or glossy finishes?
Our pole banners feature a matte finish on both sides. Considering that the banner is set up outdoors on light poles, it needs to eliminate glare and reflections, and as such, a matte finish is optimal.
Can I print on one side only?
We offer pole banners with double-sided printing. If you want it printed on one side only, you can keep the design on the back side of the banner blank.
Can I get my pole banner cut into a custom shape?
Our pole banners are only available in a rectangular shape.
Can I get a custom-sized pole banner?
We don't provide custom-sized pole graphics at this time. You can only choose from the sizes available on our website. However, the sizes we offer include the most popular sizes, covering most people's needs.
How should I design pole banner signs?
First and foremost, keep your message clear. Don't overstuff your design with texts and visuals. Use high-contrast colors and sans-serif fonts that are simple to read from a distance. Read our article for more detailed sign design tips.
What's the lifespan of a banner on a pole?
This product lasts from 3 to 7 years outdoors, depending on weather conditions.
Do I need a pole banner hardware kit?
Yes, you should use a hardware kit to ensure your sign stays up in the wind and rain. These kits provide the sturdy support needed for a professional display.
How should I set up my banner?
Setting up your pole banner is simple if you follow the steps.
- First, you need to make sure you have all the hardware kit accessories at hand.
- Then, attach the mounting brackets to the light pole with still bands.
- Next, you have to insert the fiberglass arms through the top and bottom pole pockets.
- Lastly, secure your banner to the mounted brackets and position it 15 feet up.
Can I print different graphics on each side?
Yes. Our pole banners support double-sided printing, so you can display the same design or two completely different graphics on each side.
How to take care of the banner?
Simply wipe it down with a damp cloth and mild soap to remove dirt, dust, or grime. Avoid harsh chemicals or abrasive cleaners to avoid damaging the print.
Our banners are made of premium materials and are printed with UV inks. They handle outdoor conditions with minimal maintenance.
How should I remove and store pole-mounted banners?
When it's time to take your banner down, start by loosening the seel bands from the mounting brackets. Then carefully slide the fiberglass arms out of the pole pockets. Next, roll your banner loosely and never fold it. Store it in a cool, dry place away from direct sunlight.
I ordered two pole banners for my restaurant and they turned out just as I wanted them. The design is vivid and impressive. Thank you for the quality job.
I love how this product doesn’t take up any space on the ground but shows off images better than other signs. Besides, it’s firmly fixed and strong winds can’t blow it away.
Thumbs up for the best customer service I’ve ever seen. They helped me when I was having trouble deciding between several products. I ordered three pole banners and I’m sure they’re going to look amazing.