


FREE SHIPPING ON ORDERS OVER $99
Eligible for ground shipping within the contiguous US. Excludes products over 36” and freight shipping.
10% OFF YOUR FIRST ORDER


Why Acrylic Signs are right for you:
- Available in clear, white, black, frosted, black transparent, and gold base colors.
- Durable, weather-resistant, and long-lasting with minimal upkeep.
- Simple to install with standoffs, easel backs, or command strips.
- Resistant to fading, cracking, and yellowing over time.
- Suitable for nameplates, wayfinding, decorating, and advertising.
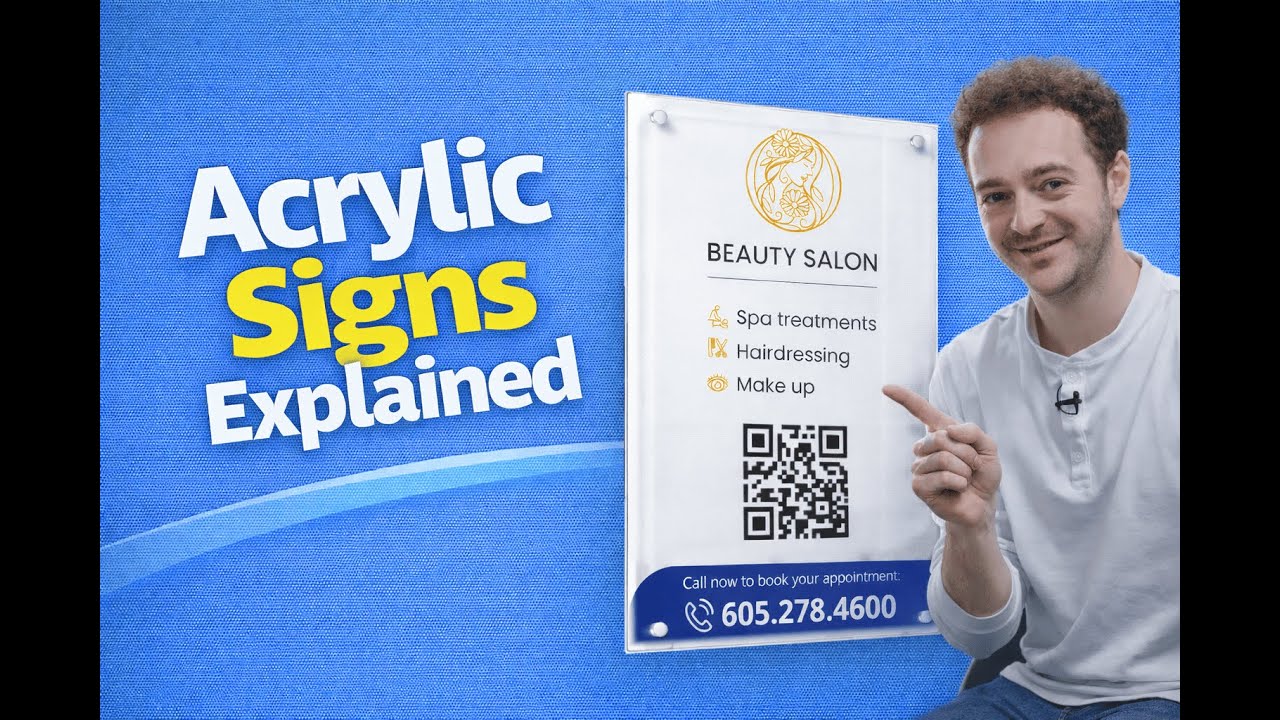
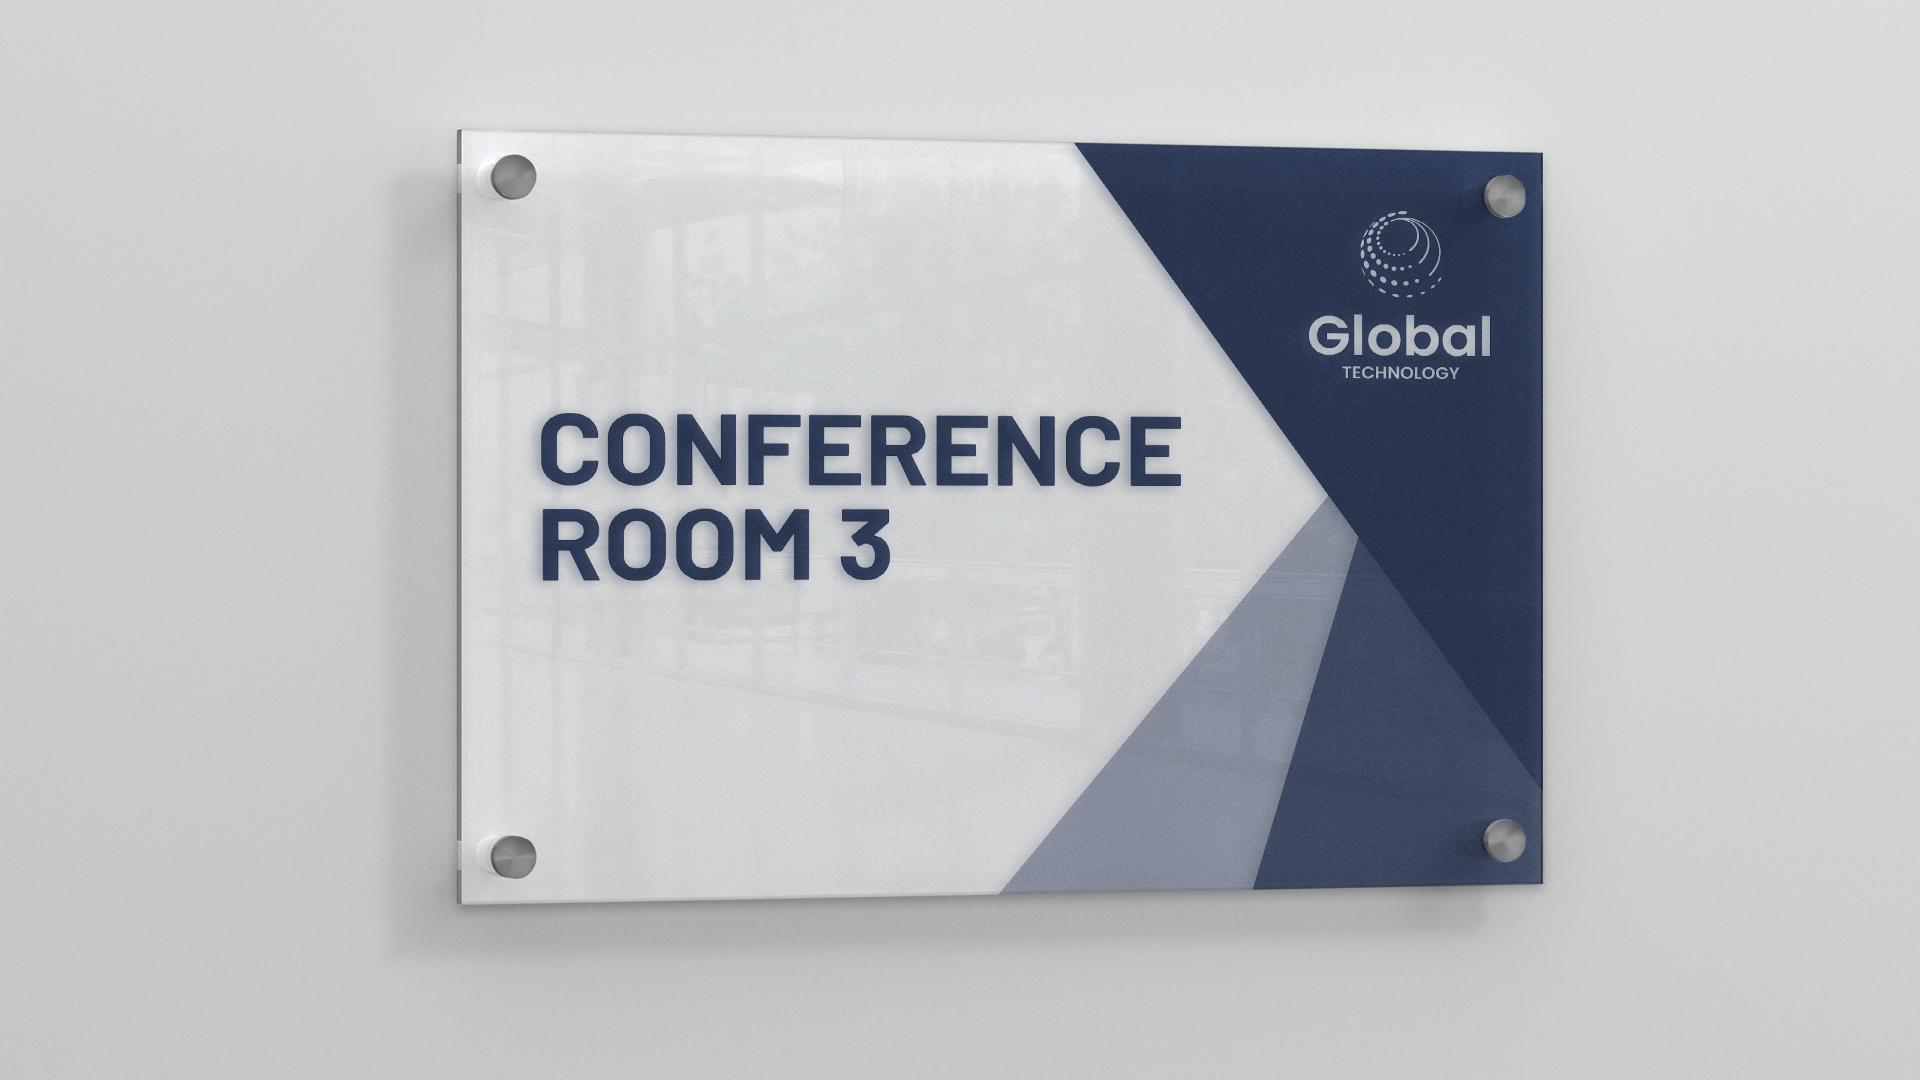
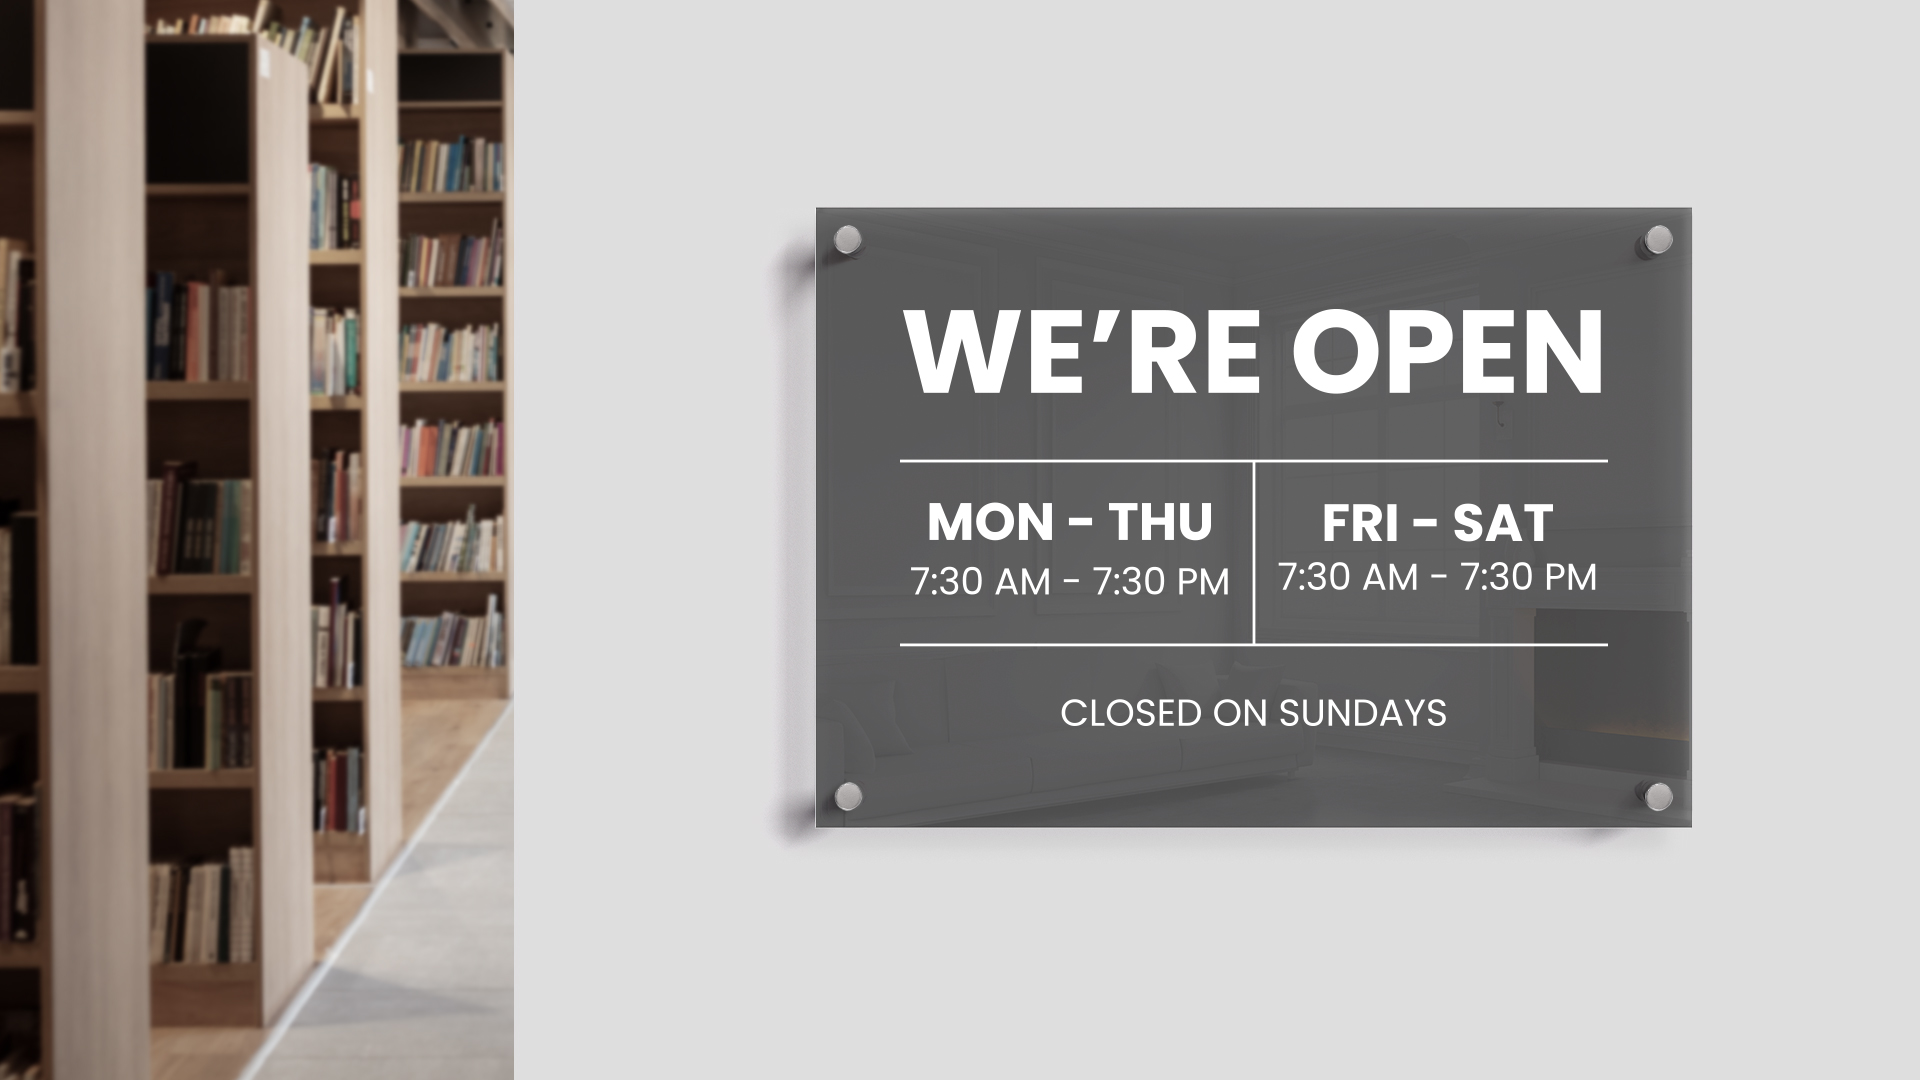
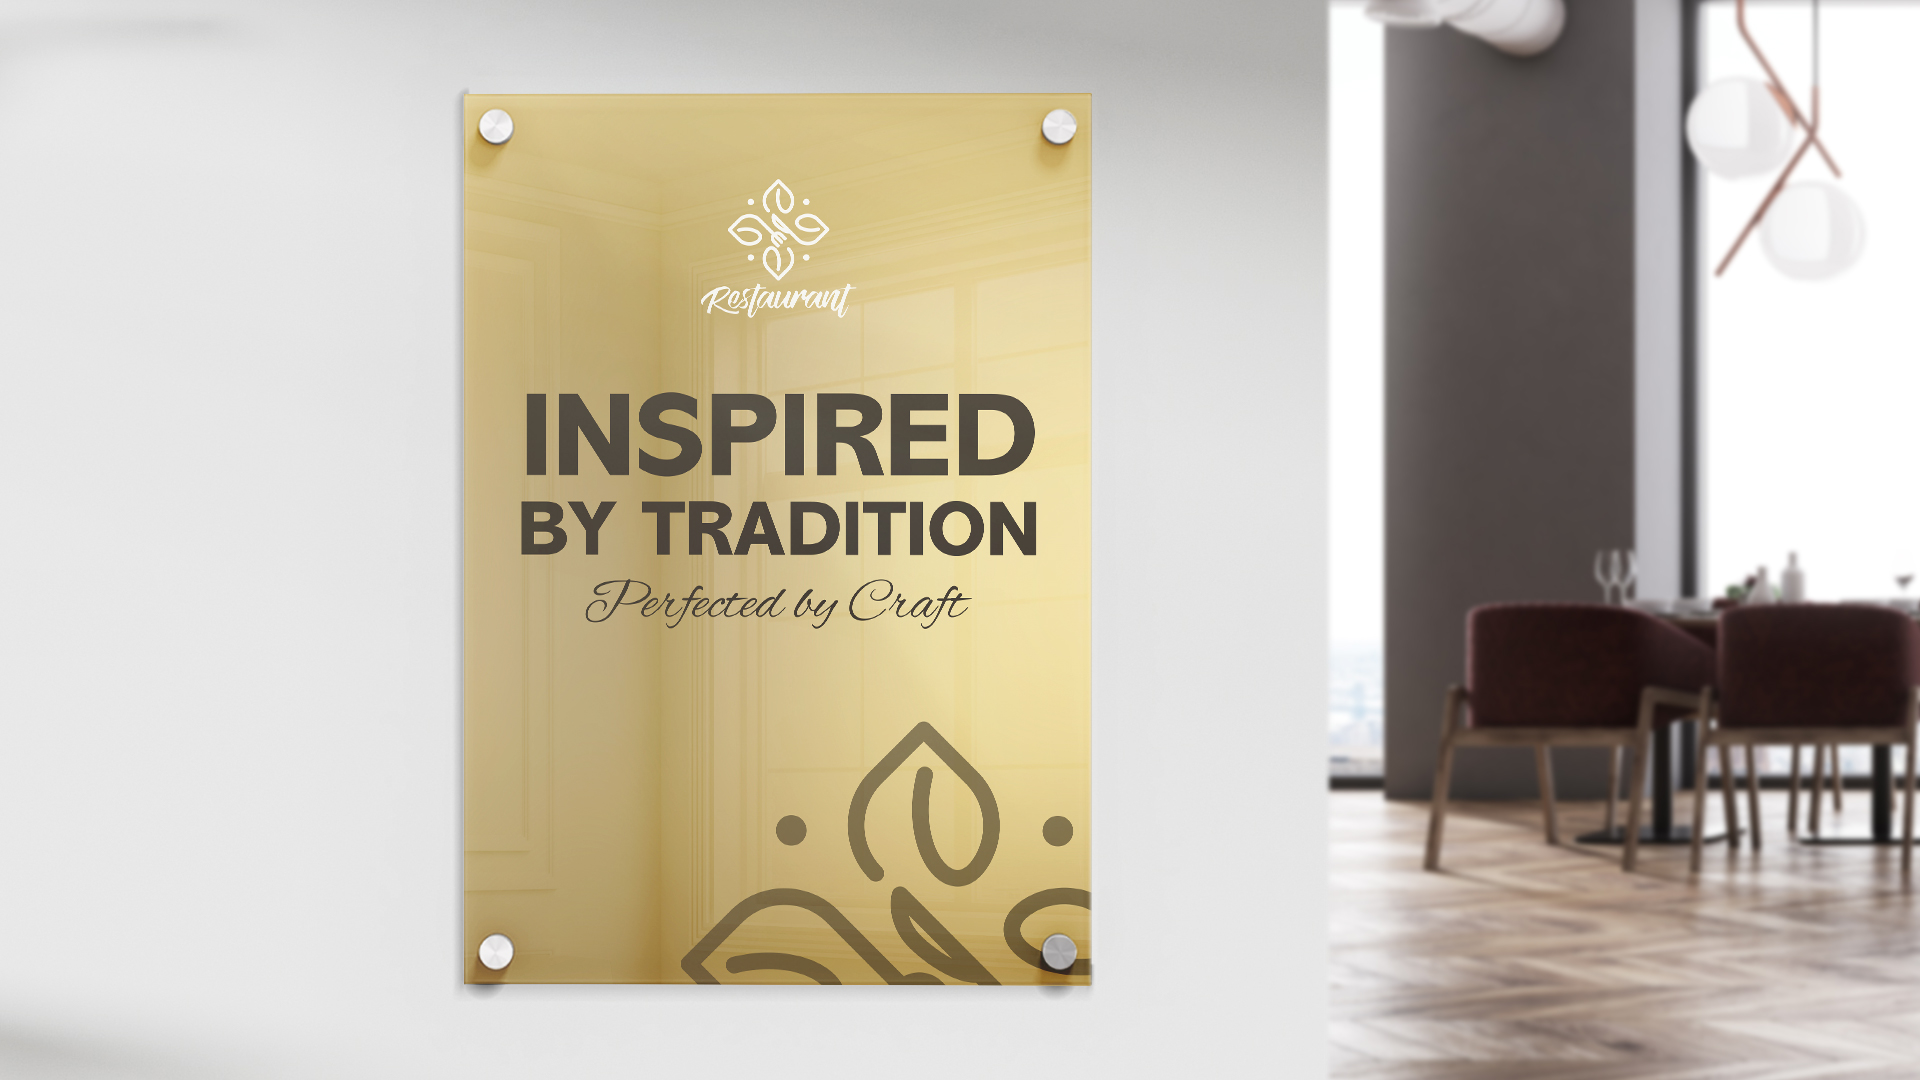
Custom Acrylic Signs
Lightweight, durable and elegant acrylic signs for both promotional and decorative purposes with outdoor and indoor usages.
Read More
Why Acrylic Signs are right for you:
- Available in clear, white, black, frosted, black transparent, and gold base colors.
- Durable, weather-resistant, and long-lasting with minimal upkeep.
- Simple to install with standoffs, easel backs, or command strips.
- Resistant to fading, cracking, and yellowing over time.
- Suitable for nameplates, wayfinding, decorating, and advertising.
What are Acrylic Signs?
Most plexiglass signs are usually made of a clear material. However, Square Signs offers acrylic signs in a variety of thicknesses and colors. We offer clear, frosted, black, black transparent, mirror gold, and white acrylic signs in thicknesses of ⅛", ¼", and ⅜".
Custom acrylic signs are most commonly used in commercial spaces. They’re usually seen in corporate headquarters, retail stores, offices, wedding venues, hotels, and other similar places. This doesn’t mean that people can’t order acrylic signs for their homes. People might want to have a photograph printed on acrylic, for instance. Our acrylic photo prints are the perfect medium for that purpose.
Order your custom acrylic signs today and enjoy fast and reliable shipping directly to your doorstep anywhere in the US or Canada.
Benefits of Acrylic Signs
Lightweight
Versatile
Durable
Modern
Effortless
Types of Acrylic Signs

Clear Acrylic Signs

White Acrylic Signs

Black Acrylic Signs

Frosted Acrylic Signs

Black Transparent Acrylic Signs

Gold Acrylic Signs
Templates


Quality
Value for money
Reviewer Photos


Looks good. Only issue is that the drilled holes were larger than I expected but should be able to make it work.
Customer service was fantastic! Product arrived quickly and is great quality. 100% recommend!
This is exactly what we needed and for a reasonable price. The turnaround time was surprisingly (and delightfully) fast.
Pleased with the quality and printing
Quality product at a great price and quicker than a local shop would be.
Great company to deal with
Specifications of Custom Acrylic Signs
| Specification | Details |
|---|---|
| Material | Acrylic glass |
| Colors | Clear, Black, Transparent Black, White, Mirror Gold, Frosted |
| Thickness Options | ⅛" (0.125"), ¼" (0.25"), ⅜" (0.375") |
| Size Range | Minimum: 4" x 4", Maximum: 48" x 96" |
| Printing Surface | Standard printing, Second-surface printing (clear only) |
| Printing Sides | Single-sided (all colors), Double-sided (black only) |
| Predrilled Holes | Available in multiple placement options |
| Standoff Options | Silver, Black, Gold |
| Installation Accessories | Command strips, Easel backs, Suction cup and hook |
| Lifespan | 15+ years indoors, 5+ years outdoors |

Printing of Acrylic Signs
Standard printing involves applying the graphics directly onto the material, resulting in a matte finish. Second-surface printing, on the other hand, is a reverse printing method that preserves the glossy surface of transparent items. The design is printed on the back, making it visible from the front, and is only available for the clear acrylic material. Looking for acrylic table signs for your business or event? We also print tabletop displays to help with your specific needs.

Material of Acrylic Signs
These products are available in transparent, opaque, and reflective options. They boast exceptional durability. The material is impact- and moisture-resistant, weighing half as much as glass. With 92% light transmission, it’s also more shatter-resistant than glass, being 17 times stronger. You can choose between three thicknesses: ⅛” (all), ¼” (clear, white, black, frosted), and ⅜” (clear).
Clear Acrylic Signs
- Clear acrylic (plexiglass) signs are durable, glass-like, yet lighter and stronger than glass
- Available thicknesses: ⅛", ³⁄₈" and ¼
- See-through finish is comparable to black transparent acrylic signs but without tint
- Second surface printing means graphics are mirror-printed on the back to protect the design and keep a glossy front
- Perfect for personal images or custom designs with a sleek, modern appearance.
White Acrylic Signs
- White acrylic signs are sleek, durable, and an affordable substitute for glass
- Suitable for both indoor and outdoor use, withstanding harsh weather while retaining a prime look
- Complements any design and is ideal for business spaces or decorative home pieces
- Printed using CMYK-based UV-curing technology to resist fading and weather damage
- Single-sided printing for vibrant, long-lasting graphics

Black Acrylic Signs
- Black acrylic signs are durable, elegant displays for interior or exterior use
- Weigh half as much as glass, yet are 17 times stronger
- Opaque, versatile, and sun-resistant for long-lasting appearance
- Single or double-sided printing available, with graphics applied to the front, back, or both
- Standard printing surface available
- Optional standoffs offer a 3D effect.
Frosted Acrylic Signs
- Frosted acrylic signs – elegant etched-glass appearance with greater durability and lighter weight than glass
- Printed in full color directly on the front surface for vibrant graphics while retaining frosted areas
- Made from clear acrylic with an etched finish on one side – obscures view but allows light transmission
- Available thicknesses: 1/8" or 1/4"
- Optional silver or gold standoff mounting in 1/2" (0.5") or 1" sizes
- Customizable design – upload your own artwork or choose from free templates
Black Transparent Acrylic Signs
- Black transparent acrylic signs offer a sophisticated, semi-transparent finish for decorative and promotional use
- They're durable and versatile; suitable for various indoor and outdoor applications
- Single-sided standard printing with UV-cured CMYK inks for long-lasting vibrant colors
- Lifespan: 15+ years indoors and 5+ years outdoors
- Multiple mounting options: standoffs, easel backs, command strips, suction cup with hook
Gold Acrylic Signs
- Gold acrylic signs have a mirror-finish displays ideal for weddings, events, and decorative use
- They're made of 1/8" thick gold-tinted plexiglass with a reflective surface
- They're durable for indoor and outdoor use with a lifespan of up to 15 years indoors and 5+ years outdoors
- Single-sided standard printing with a matte finish for the printed design
- Mounting options include standoff bolts, command strips, suction cup with hook, or easel backs.
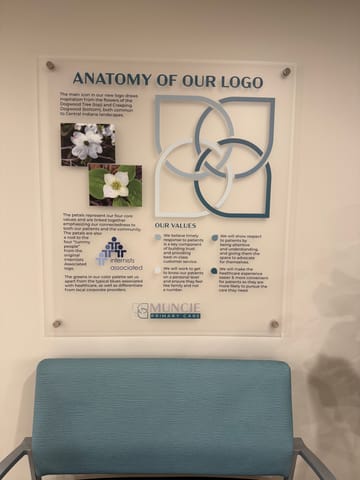
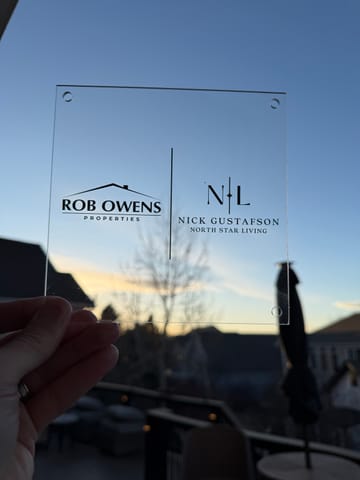
Use Cases of Custom Acrylic Signs

Custom Acrylic Signs

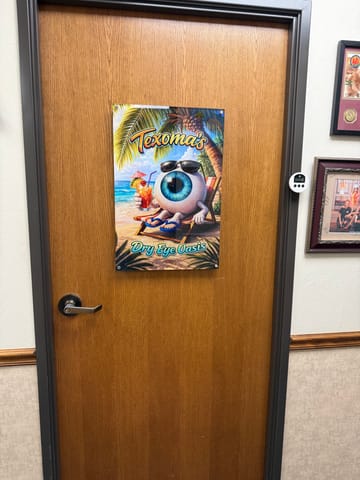
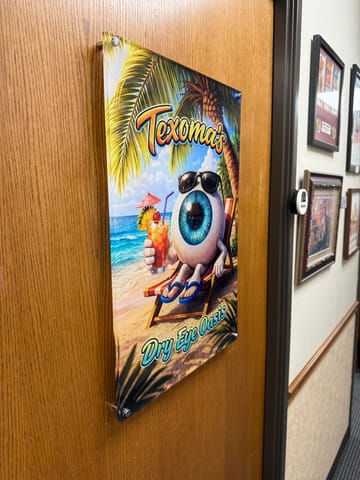
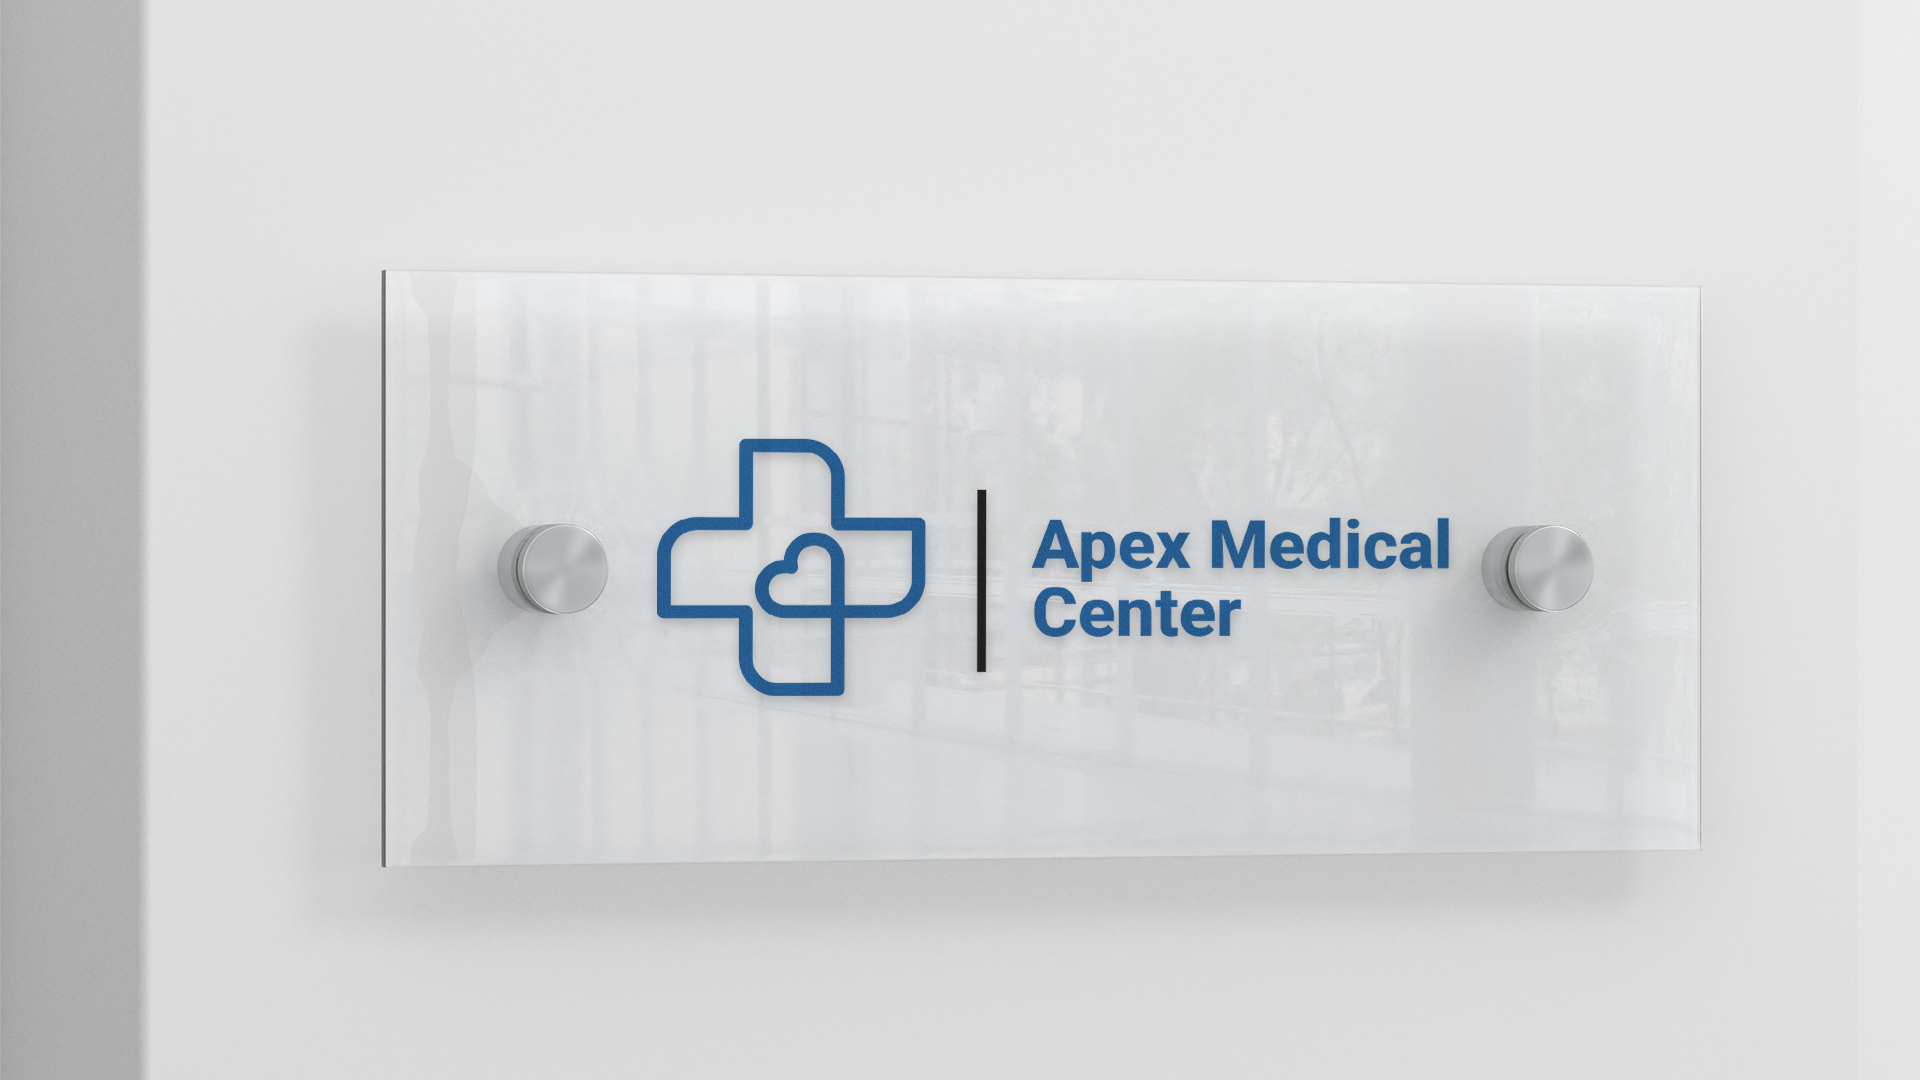
Acrylic Nameplates

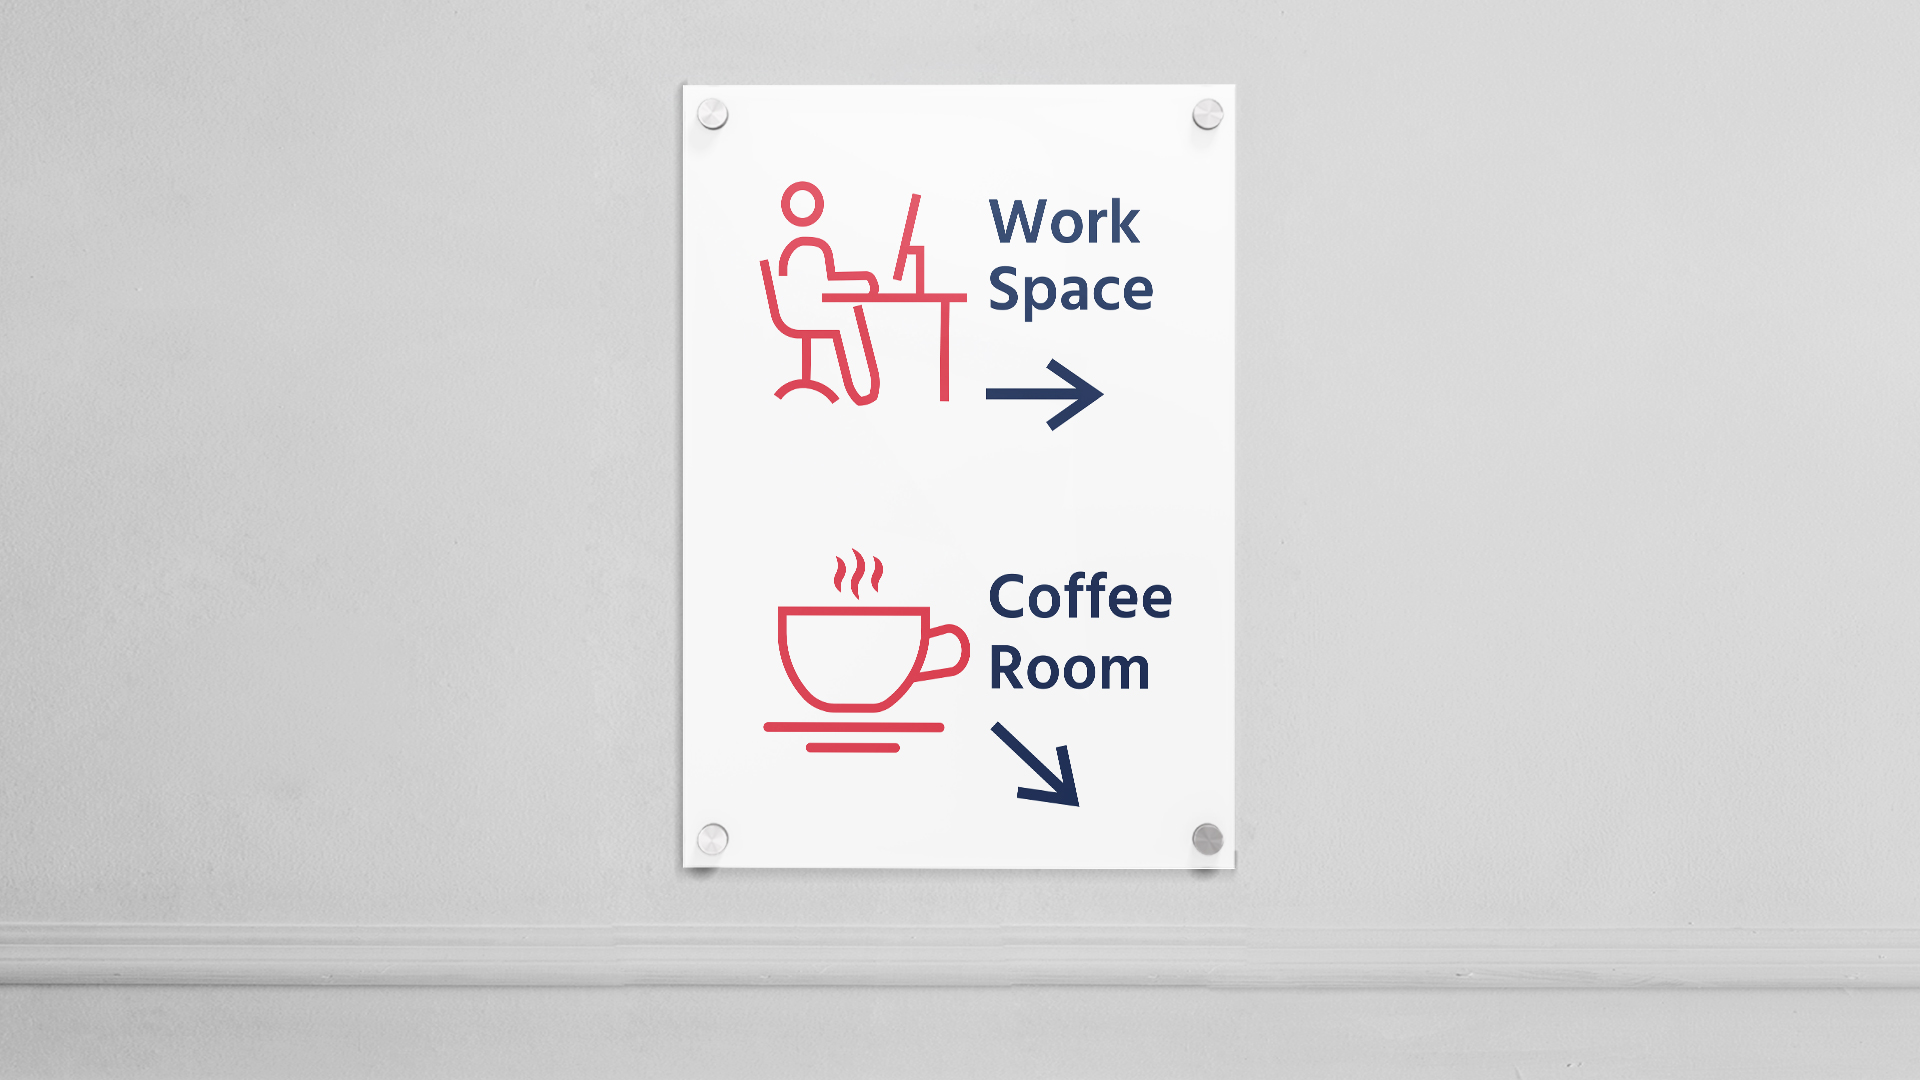
Wayfinding Elements

Acrylic Menu Signs

Advertising Acrylic Sign Boards

Decorative Plexiglass Signs
How To Make Acrylic Signs with Square Signs

Step 1

Step 2

Step 3

Step 4

Step 5
Setup of Acrylic Signs
How to Install Acrylic Signs With Standoffs

Step 1:

Step 2:

Step 3:

Step 4:

Step 5:

Step 6:
How to Install Acrylic Signs With Command Strips

Step 1:

Step 2:

Step 3:

Step 4:

Step 5:

Step 6:

Step 7:

Step 8:
How to Install Acrylic Signs With Easel Backs

Step 1:

Step 2:

Step 3:

Step 4:
How to Care for Acrylic Signs
Proper care for your acrylic sign will noticeably extend its lifespan. The process is very simple and straightforward. You only need to wipe the surface and edges of your acrylic signs with a non-abrasive cloth. Make sure not to use any harsh chemicals while cleaning your product, as it may result in damage to your print.
Acrylic vs Glass
Acrylic and glass may look extremely similar; however, there are key differences that set the materials apart. Here are the main differences:
| Acrylic | Glass | |
|---|---|---|
| Material Type | Plastic (Polymethyl Methacrylate / Plexiglass) | Natural material (silica-based) |
| Weight | About 50% lighter than glass | Heavier and more rigid |
| Durability | Highly impact-resistant, won’t shatter easily | More brittle, can shatter on impact |
| Safety | Safer option, does not break into sharp shards | Can break into sharp pieces unless tempered |
| UV Resistance | Excellent UV resistance, does not yellow easily | UV-resistant, but coatings or laminations may affect clarity over time |
| Clarity | Very clear with high light transmission | Superior optical clarity and premium look |
| Scratch Resistance | More prone to scratches, but can be polished | Highly scratch-resistant |
| Workability | Easy to cut, drill, and shape | Requires specialized tools and handling |
| Cost | More affordable | More expensive, especially when treated |
| Common Uses | Signage, displays, decor, protective barriers | Windows, tabletops, architectural and interior applications |
Acrylic Signs FAQ
Can I drill holes on my acrylic sign?
- Plexiglass is a rigid and durable material that can handle drilled holes with expert assistance. However, in case of improper handling, we can't repair or replace the product.
How can I set up my plexiglass displays?
- Acrylic signs can be installed in various ways using accessories like standoffs, command strips, easel backs for versatile display options. You can install them wherever you need, including doors, walls, tables, or open spaces.
How can I take care of my acrylic sign?
- Clean the product regularly with a soft, wet cloth. Avoid using harsh or acid-based liquids as they may wipe off the inks and damage the material.
Will my acrylic signs turn yellow with time?
- Acrylic signs can maintain their clear appearance for up to 10 years. However, if you want to prevent the early yellowing of your product you should care for it properly. Avoid using glass-cleaning sprays, as they contain ammonia-based chemicals that can cause the acrylic to yellow.
How can I store my plexiglass display?
- Pack your product in a box or a similar dry container, and keep it in a place with average temperature and humidity. Don’t place abrasive or sharp-edged items near the material to refrain from scratching and damaging the surface.
What is the lifespan of my acrylic signs?
- Acrylic signs are a rigid and durable material that can withstand most weather conditions and climates. With proper care, they have a lifespan of more than fifteen years indoors and five years outdoors.
Where can I get my acrylic sign shipped?
- We ship all our products, including acrylic signs, across the US and Canada. Check our terms and policies page to see if this product qualifies for special offers or shipping discounts.
Can you print a shiny gold layer on black acrylic sheets?
- No, it is not possible to print using shiny gold ink on black acrylic signs.
Where can I use a custom acrylic sign?
- Custom acrylic signs serve various purposes. They can serve as home decor, office nameplates, wayfinding displays, menus, advertising boards, and more.
Can custom-printed acrylic signs be used outdoors?
- Our personalized acrylic signs can be used outdoors thanks to the weather- and UV-resistant material, as well as the UV-cured inks we use during the printing process. That being said, any type of signage will last longer indoors thanks to its lack of exposure to the elements.
What thicknesses do you offer for acrylic signage?
- Our clear acrylic material is available in three thicknesses: ⅛”, ⅜”, and ¼”. Our white, black, and frosted acrylic materials are only available in ⅛” and ¼” thicknesses; while our black transparent and mirror gold acrylic materials are only ⅛” thick.
What should I consider when choosing a thickness for my acrylic sign?
- The most important factor affecting your choice of thickness for your acrylic sign should be lifespan. Thicker variants are heavier and more resistant to impacts. Other things you need to consider are hanging methods and placement, which favor lighter materials.
How much does an acrylic sign weigh?
- It depends on the thickness of your material. ⅛” thick acrylic weighs 0.06 lbs/sq ft, ⅜” acrylic weighs 0.18 lbs/sq ft, and ¼” acrylic weighs 0.11 lbs/sq ft.
Do you use fade-resistant inks to print acrylic signs?
- We use UV-cured inks to print our acrylic signs, extending the print’s lifespan and amplifying the colors’ vibrancy.
What shape options are available?
- Our acrylic signs are available in the standard square, rectangular, square or rectangular with rounded corners, circular, and oval shapes. We also offer custom-cut shapes in addition to custom-cut shapes with borders.
What finishing options do you offer?
- The material of acrylic signs often has a glossy finish. The exception to the rule is the frosted acrylic material. That being said, the printing applied to acrylic signs has a matte finish. However, a clear acrylic sign with second surface printing will have a fully gloss finish. You can read our article about different acrylic sign finishes to learn more.
Can I print double-sided acrylic signage?
- Double-sided printing is available for our black acrylic material. The limitation exists because the other material variations are see-through, and printing both sides would ruin the look of the product.
Can I print colored acrylic wall signs on your platform?
- We print full-color acrylic signage in any design you want. You can install it on the wall using drilled holes and standoffs or command strips. Command strips will help you avoid drilling holes in your walls, but will be entirely visible should your design not cover the entirety of the surface of your acrylic sign.
What sizes do you offer for acrylic sign printing? What are the minimum and maximum sizes?
- We offer acrylic signs in any custom size you need. Standard sizes vary based on purpose. Nameplates are often 12” x 6” or 18” x 6”. Brand logos and office signs may be 36” x 18” or 24” x 24”. We offer acrylic signs ranging from 4” x 4” to 96” x 48” in size.
Should I follow any design guidelines?
- The rule of thumb is to make sure your design will serve its intended purpose. If you want a brand logo for your office, don’t include working hours, social handles, and other elements that’ll make the design heavy.
If you’re communicating text-based information, make sure the font is large enough and easily legible. You can find more detailed design guidelines in our article on sign design tips. How many drilled holes will my custom-made acrylic sign have?
- You can configure the number and position of the drilled holes your sign will have in our calculator or in the options menu of our design tool. You can have no drilled holes, two, four, or even six.
What is the difference between standard and polished edge options?
- Standard edges may look etched. Polished edges have a mirror-clean finish, giving them a more professional look.
Are standoffs included in my acrylic sign, or should I order them?
- While standoffs aren’t included by default in your sign, you can order as many as you need, in three different colors and in two size variations. We offer 0.5” and 1” standoffs in silver, black, and gold colors.
Are your acrylic signs prone to fading and stretching?
- We print our acrylic signs using UV inks. This extends the product’s lifespan and prolongs the print’s vibrancy. Printed acrylic signs do not stretch, but larger signs may flex under their own weight.


