


FREE SHIPPING ON ORDERS OVER $99
Eligible for ground shipping within the contiguous US. Excludes products over 36” and freight shipping.
10% OFF YOUR FIRST ORDER


Why Choose Trailer Decals?
- Use code WHEELIN15 to get 15% off trailer decals. Valid through September 30, 2026.
- Made to last for long-distance travel with strong adhesion.
- Opaque, clear, or perforated finishes.
- Easy peel-and-stick installation.
- Mobile advertising anywhere.
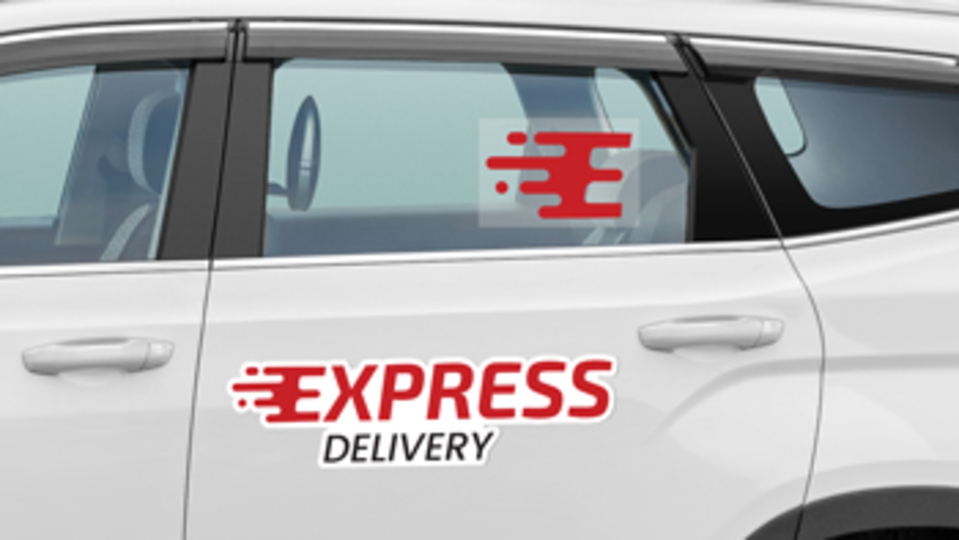
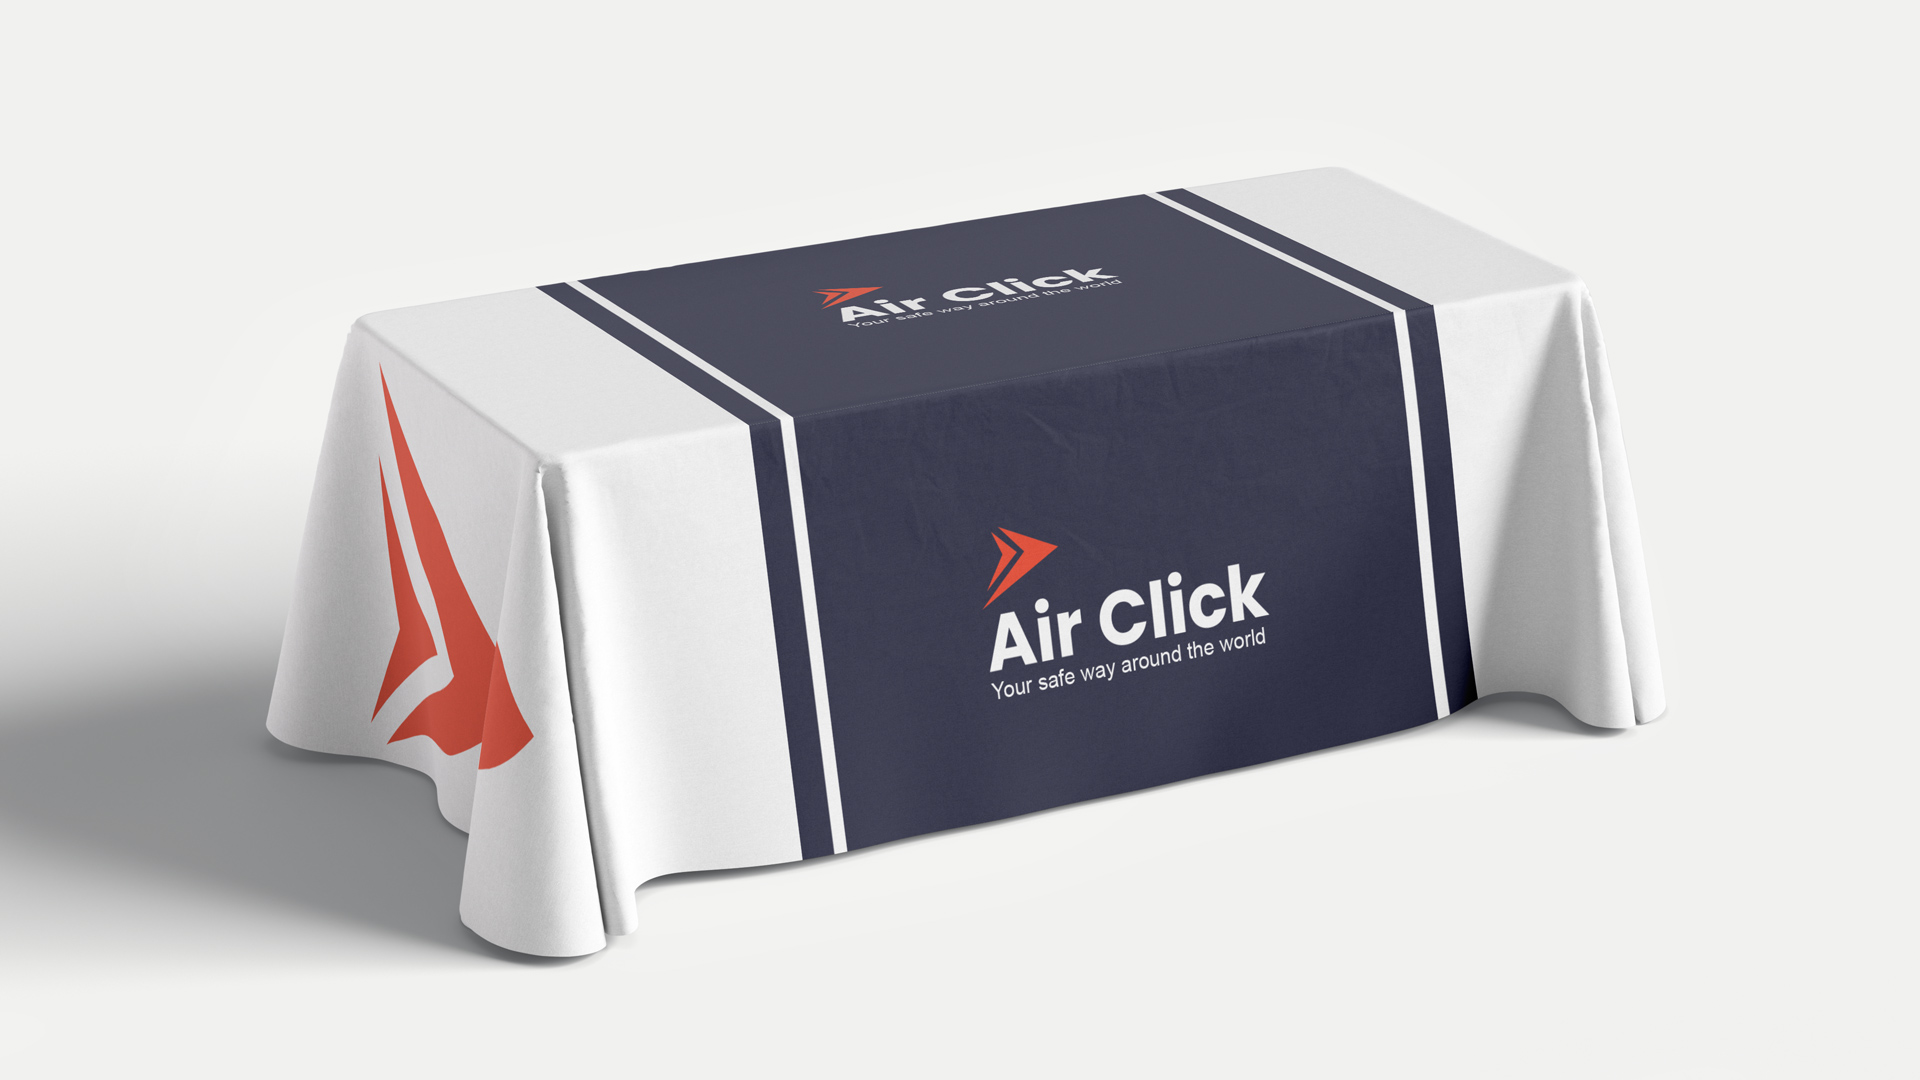
Trailer Decals
Trailer decals will invite attention to your brand while you go about your business. They’re vibrant, durable and easy-to-apply.
Read More
Why Choose Trailer Decals?
- Use code WHEELIN15 to get 15% off trailer decals. Valid through September 30, 2026.
- Made to last for long-distance travel with strong adhesion.
- Opaque, clear, or perforated finishes.
- Easy peel-and-stick installation.
- Mobile advertising anywhere.

Trailer Decals
Printing for Trailer Graphics
Features
- Heavy-Duty Material: Built to endure long-distance travel and tough environments without peeling or fading.
- All-Weather Performance: Rain, sun, snow—your decal stays bold and intact in any condition.
- Custom Fit: Sized to match your trailer perfectly, whether full-side graphics or small branding tags.
- Vibrant, Full-Color Print: Ensures your message gets seen from a distance, day or night.
- Strong Adhesion: Sticks securely through highway speeds and rugged terrain.
- Effortless Installation: Designed for easy application, no professional tools or installers needed.
- Mobile Advertising: Turn your trailer into a moving billboard and promote your brand 24/7.
- Choice of Finish: Go for a matte look to reduce glare or a glossy finish to enhance color depth.
Cutting Options for Custom Trailer Decals
- Square / Rectangle: 90° angles with straight corners
- Rounded: 90° angles with rounded corners
- Outline: Cut in the shape of your design
- Overline: Cut in the shape of your design with a border around it
Application of Decals for Trailer Surfaces
Specifications
| Thickness | 4 mil (clear, opaque) 6.3 mil (perforated) |
|---|---|
| Printing Method | Digital, high resolution, full-color printing with UV inks |
| Min Size | 6" x 6" |
| Max Size | 52" x 1,680" |
| Application Options | Standard and inside-glass |
| Installation | Dry or wet mounting with a squeegee |
| Common Sizes | 12" x 6", 12" x 18", 18" x 24", 24" x 24", 24" x 36", 36" x 54", 48" x 72", 48" x 96", custom |
Types of Custom Trailer Decals


Brand It. Haul It. Show It Off With Trailer Graphics
Custom Trailer Decals FAQ
Will the trailer decal harm the surface paint?
- No, your trailer’s paint won’t be damaged. Our custom trailer decals are highly durable but don’t peel paint as long as it’s in good condition and leave no residue after being removed.
How to install decals on a trailer?
- Peel off the backing of your custom trailer graphics, place it over the application area and smooth it out with a squeegee. Make sure to thoroughly clean the surface before applying the product.
How to remove decals from trailer surfaces?
- To remove decals for trailer application, grab them from a corner and peel them off slowly. You may use heat from a hair dryer to ensure a smoother process, especially for large trailer decals.
Quality
Value for money
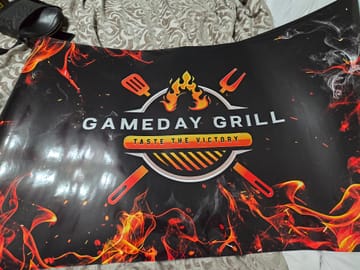
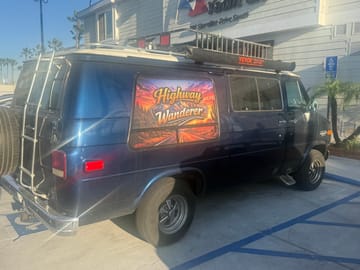
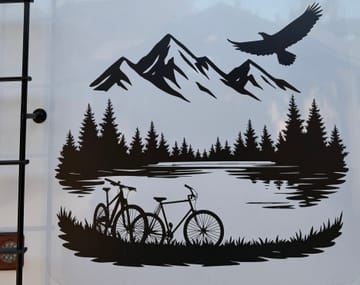
Reviewer Photos


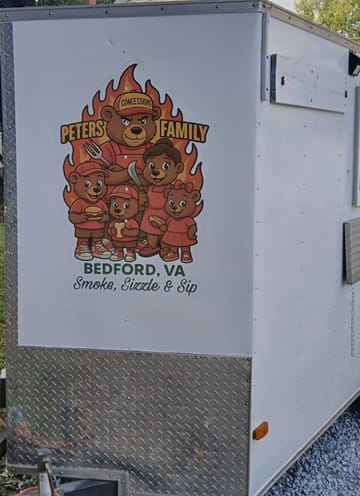
Great product! Will come back again for more signs as needed. Very easy to apply onto the food truck company I do graphics for.
The decal looks great on the food truck! Thank you for taking the time to leave us this great review and we look forward to working with you again soon.
I was pleased with the design but the product wasn’t what i expected. I ordered a trailer decal because i needed a whole sticker logo for an aluminum food truck but was sent a perforated window decal , not sure if the error was in the order i placed but i expected something else .
Absolutely not happy.


Looks great fine craftsmanship
It's wonderful to hear you're happy with the quality of your trailer decals. We appreciate your kind words!
Looks great! They even emailed me to upload a better logo because the one I originally uploaded was distorted and low quality. I will be ordering more.
It's wonderful to hear you're happy with the quality of your trailer decals, and it's great that our design tool made creating your order easy. We can't wait to work with you again!
Amazing product. Recieved it less than a week after ordering. Application was easy and Im very confident in it's longevity.
It's wonderful to hear you're happy with the quality of your trailer decals, and it's great that installation was easy. We truly appreciate your positive feedback!
I LOVE MY BANNER! Its amazing :)
We're so glad to hear the quality of your trailer decals impressed you. Thank you for sharing your experience!
Instructions would have been nice
Thank you for taking the time to leave us a review. We appreciate your feedback about including instructions with orders. We have already started to include instructions with orders, and they are being sent to our customers via email.
Worth every penny! Amazing quality, timely delivery, outstanding customer service! Almost didn’t order anything because I was struggling to get your system to stop kicking my images back to a blank canvas but I am so happy I finally got it to save and order! WOW I am so excited to get these installed on my food trailer! The quality is amazing and customer service and support is top notch! Thanks!
We're delighted that your trailer decals turned out so well, and it's great to hear the fast turnaround worked out for you. Our customer care team will be thrilled that you noticed their efforts. Thank you for your wonderful feedback!
The edges were bent right out of the packaging. Used a heat gun to get the edges to re-stick... There is blue little streaks on 2 of the 5 I ordered... Like there was a printer issue.
Thank you for taking the time to share your feedback. We're sorry to hear that your order arrived with bent edges and print imperfections. This is not the quality we strive to deliver. Our team made several attempts to contact you by phone and email to gather photos and learn more about the issues so we could investigate and work toward a resolution, but we haven't been been able to reach you. We'd still appreciate the opportunity to make this right. If you're willing, please contact us at your convenience, and our team will be happy to assist you.
Trailer Decal Templates