
Perfect quality for my clinic! Really stands out and have gotten so many compliments
Nicholas Wank

Ultra board signs are an excellent choice for indoor usage. They’re lightweight, durable and resistant to cracking.
Ultra board signs are composed of two thin and high-impact plastic covers laminated to a polystyrene foam core. The product is designed for interior usage and noted for its longevity. Ultra board signs are printed with UV-cured inks and display HD graphics.
Ultra board signs are more resistant to warping than foam board printing and can bend under light pressure. Although they have the same rigid core as gator board printing, ultra board signs are more flexible, making them the most versatile material for indoor use.
This product has compelling features, some of which are listed below:
Lightweight
Bendable
Versatile
Cost-effective
Durable
These displays are a popular choice wherever sturdy and budget-friendly printed panels are needed. Read on to find common applications for the product.

Ultra board printing is an excellent choice for art and photo displays, just like acrylic photo prints. Whether you need them for office decor or gallery exhibits, ultra board prints will level up the look and longevity of your graphics.
Ultra board signs are an excellent choice for trade shows, expos and corporate events. Get your brand image out there or create an attractive environment with ultra board printing. Combine it with other promotional products like retractable banners to maximize brand exposure.
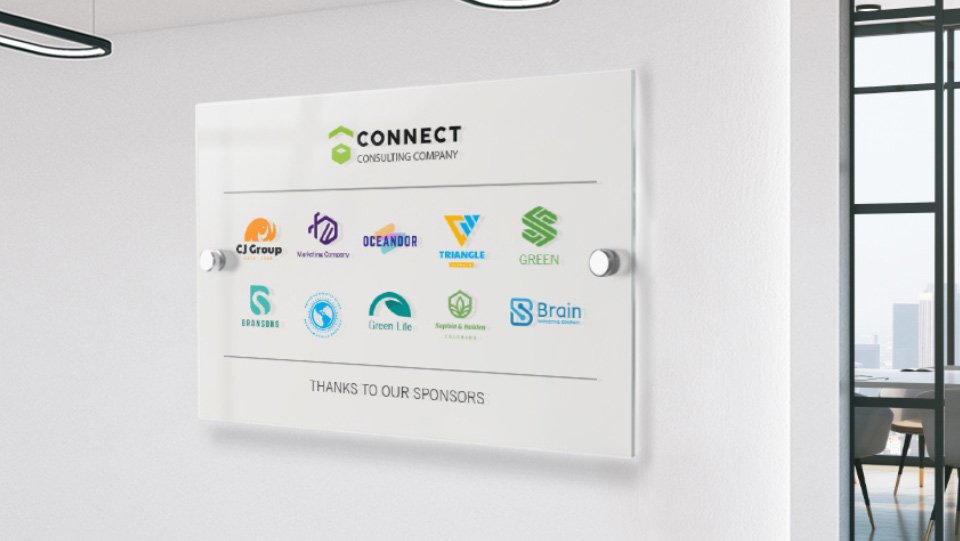
Get your logo on this smooth and durable material to nail your brand image in customers’ minds. Ultra board logo signs near the entrance or inside a room will embellish your overall design with vibrant graphics.
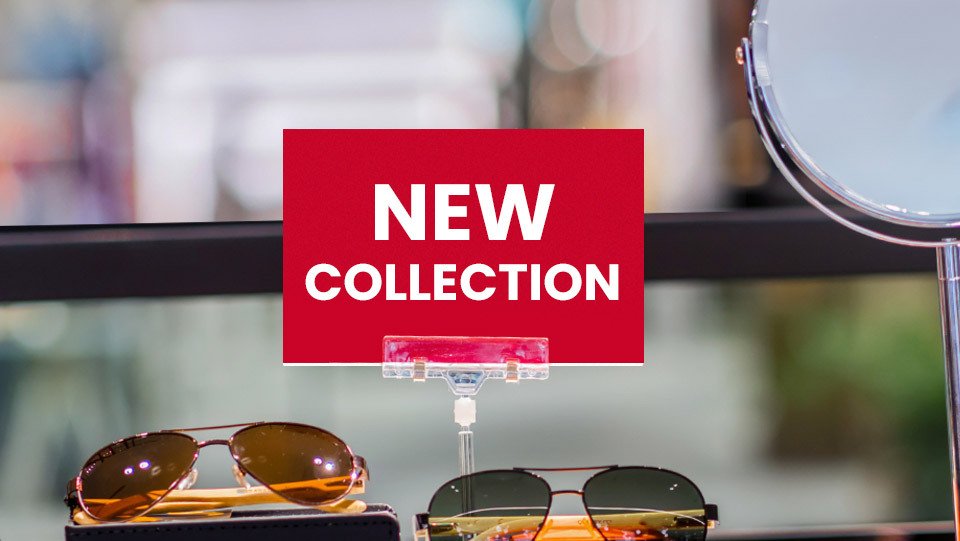
This effective advertising medium is ready to display your special offers with various installation options. Set it up in any corner of your store or venue by mounting it to a smooth surface, setting it on a stand or hanging it from the ceiling. Also check other options for this purpose like acrylic signs or aluminum signs.
These boards help illustrate presentations with crisp texts and colorful graphics. They can be used in casual, educational and professional settings. Store them with care to use the product multiple times.
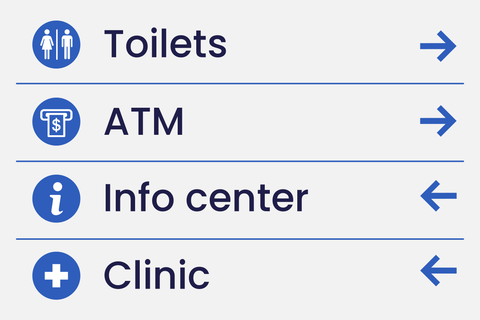
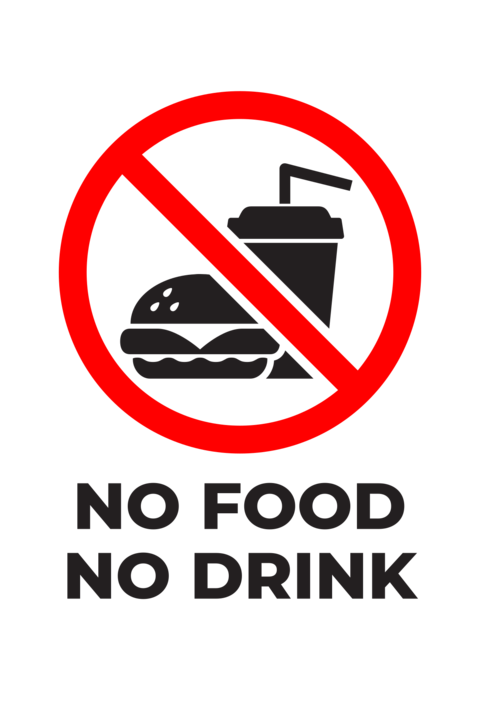
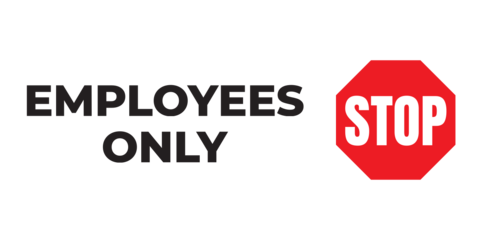
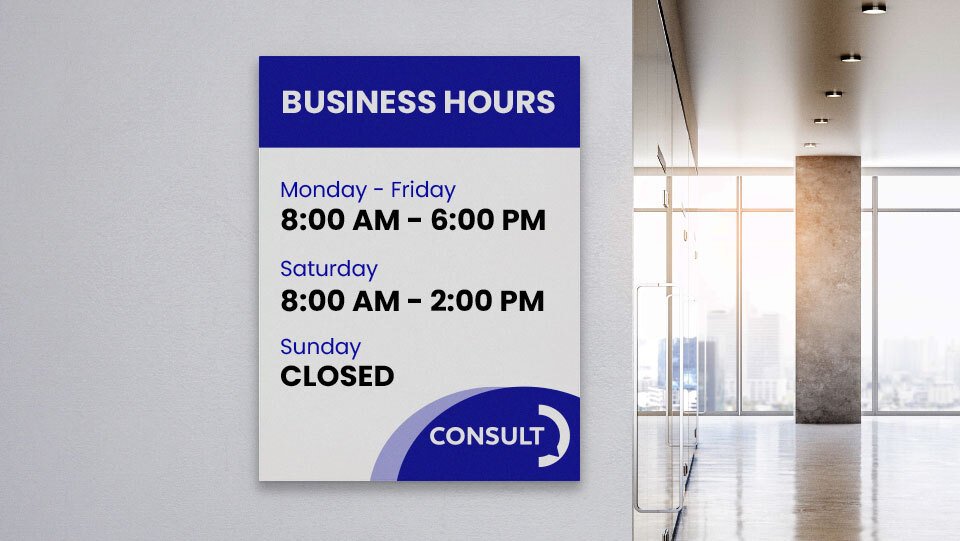
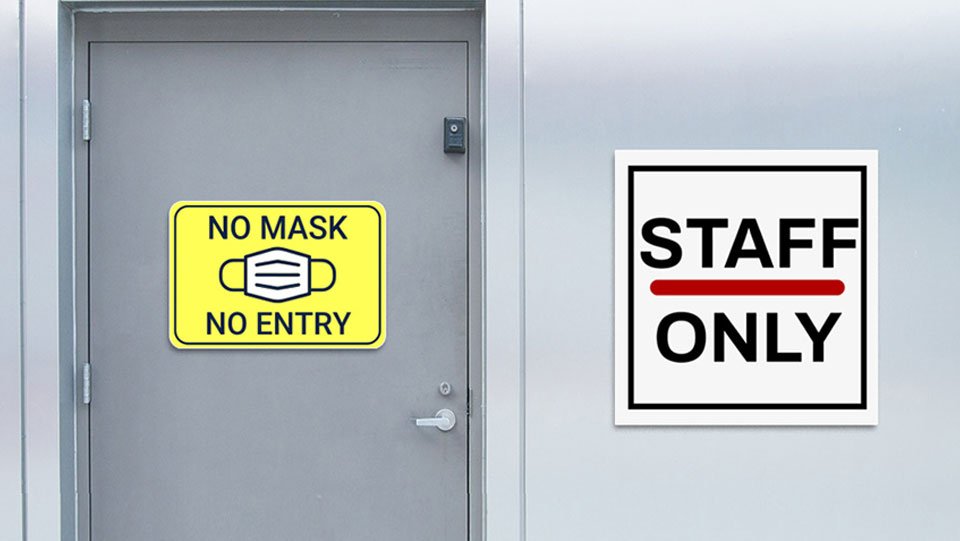
Ultra board printing is used for displaying information such as instructions or details about upcoming events. The material is also great for maps, directories and other wayfinding symbols. It’s versatile, durable and can be cut in any shape or size.
Find the main characteristics of this product below. You can also browse through our designer templates and customize them to suit your product specifications.

The material is a polystyrene foam core sandwiched between two sheets of plastic. Known for its bendable but heavy-duty properties, the ultra board is great for interior applications. The material comes in all white with two thickness options: 3/16” (0.188”) and ½” (0.5”).
We provide high quality, full-color printing on ultra board sheets with state-of-the-art UV printers. There are two options for ultra board printing: single-sided and double-sided. Print on one side of the material to mount it on a wall, easel or other vertical surface. For the double-sided ultra board printing, get graphics on both sides to hang them and maximize your reach.
Create bespoke ultra board printing panels in whatever shape you want by selecting one of the following cutting options from our design platform.
Square/Rectangle: This is the default option in our tool with 90° corners.
Rounded: This option has rounded corners for a more polished look.
Outline: Your product will be cut in the exact outline of your design.
Overline: Cut in the shape of your design with a border around it.
Select a mounting method and accessory for your ultra board printing from our menu. See our installation guide for ultra board prints to get instructions for each option listed below.
Direct Mounting
Mount your displays to the wall or any other smooth surface. We offer command strips that support the weight of the material without drill holes, hardware or residue upon removal.
Free Standing
Exhibit your product in a free-standing manner to share your message on any level surface such as a table, floor or countertop. We offer easel backs in a variety of sizes to meet your needs.
Hanging
To hang your single or double-sided ultra board signs, you can choose the suction cup and hook option from our accessories menu. The product can also be hung using zip ties with the drilled holes option.
The most popular sizes for ultra board signs are 12"x24", 24"x18", 24"x36", 18"x36", 24"x48", 36"x72". Check the chart in this section for a comparison before ordering your ultra board printing.

Check out the related products below to help you select the best option for your needs. Note that the price list is for the default option of each product.
|
|
Ultra Board Signs | |||
|
Size Range |
4"x4" - 48"x96" |
4"x4" - 58”x1740" |
4"x4" - 48"x96" |
4"x4" - 48"x96" |
|
Thickness |
0.188", 0.5" |
0.03" |
0.125", 0.25", 0.5” |
0.020", 0.030", 0.060", 0.090", 0.125", 0.25" |
|
Lifespan (Indoor/ Outdoor) |
25+ years / N/A |
3+ years / N/A |
10+ / 3+ years |
10+ / 3+ years |
|
Printing Options |
Single-sided Double-sided |
Single-sided |
Single-sided Double-sided |
Single-sided Double-sided |
Ultra board signs are printed with UV-resistant inks but the material itself cannot stand prolonged exposure to moisture and outdoor elements. Short-term outdoor use is acceptable under moderate weather conditions.
We ship this product to any location within the US and Canada. Check our terms and policies page to see if this product qualifies for special offers or shipping discounts.