


FREE SHIPPING ON ORDERS OVER $99
Eligible for ground shipping within the contiguous US. Excludes products over 36” and freight shipping.
10% OFF YOUR FIRST ORDER


Wooden Signs Are...
- Naturally charming and eco-friendly.
- Fully customizable with different shapes and sizes.
- Versatile for branding, decoration, events, and personal celebrations.
- Easy to mount with standoffs, command strips, or easel backs.
Wooden Signs
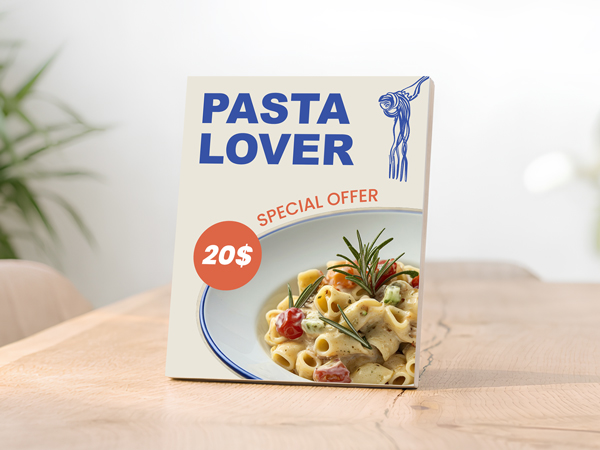
This product is great for branding and decorating any space with a charming effect. Create your own design on our online tool.
Read More
Wooden Signs Are...
- Naturally charming and eco-friendly.
- Fully customizable with different shapes and sizes.
- Versatile for branding, decoration, events, and personal celebrations.
- Easy to mount with standoffs, command strips, or easel backs.

Wooden Signs
Wooden Signs Printing
We use top-quality UV inks for custom wooden signs as well as many other products, including styrene signs. During the process, the inks are dried with ultraviolet rays that make the material sun and fade-resistant. With our full-color printing technique, the colors on your product will match the design proof we send you before printing. UV-printed images will retain their vivid colors for a long time. We produce wooden signs made to order with two printing options: single-sided or double-sided.
Printing Options
- Single-sided printing: This is the standard option for custom wood signs. With this option, the graphics you choose will be printed on only one face of the product.
- Double-sided printing: With double-sided printing, you’ll get graphics on both faces of your product. If you want the illustrations to be visible on two sides, choose this option.
Features
- Charming Appearance: Adds a visually appealing look to any setting.
- Custom Shapes and Sizes: Tailored to fit your specific design needs.
- Eco-Friendly Material: Made with environmentally responsible materials.
- Indoor and Outdoor Use: Suitable for various environments and conditions.
- Double-Sided Printing: Graphics are visible on both sides for maximum impact.
Popular Sizes
- 6" x 6": Compact and versatile, perfect for small labels, plaques, or decorative accents.
- 12" x 12": Ideal for personalized signs, nameplates, or small directional signs.
- 18" x 24": A popular size for indoor business signs or wall décor.
- 24" x 36": Great for storefront signs or larger indoor branding applications.
- 36" x 48": Bold and visible, excellent for outdoor use with clear messaging.
- 48" x 96": Maximum size for large outdoor signage or statement pieces that demand attention.
Cutting Options
- Square/Rectangle Cut: Get a classic square or rectangular shape with sharp 90-degree corners—ideal for clean, simple displays.
- Rounded Cut: A square or rectangle shape with smooth, rounded corners for a softer, safer appearance (note: not a circular sign).
- Outline Cut: The sign is cut to follow the exact outer shape of your design—perfect for custom forms, whether circular or complex.
- Overline Cut: Similar to the outline cut, but includes a thin border around your design, adding emphasis and a framed look.
Installation
Specifications
| Thickness | 0.5" |
|---|---|
| Lifespan Indoors | 7+ years |
| Weight | 1.5 lbs/ft² |
| Lifespan Outdoors | 1+ year |
| Size Range | 6"x6" - 48"x96" |
| Installation | Silver or gold standoffs, command strips, zip ties, easel backs |
| Shape | Square/rectangle, rounded, overline, outline |
| Printing | Single and double-sided printing with UV-cured inks |
Personalized Wooden Signs for Business Use
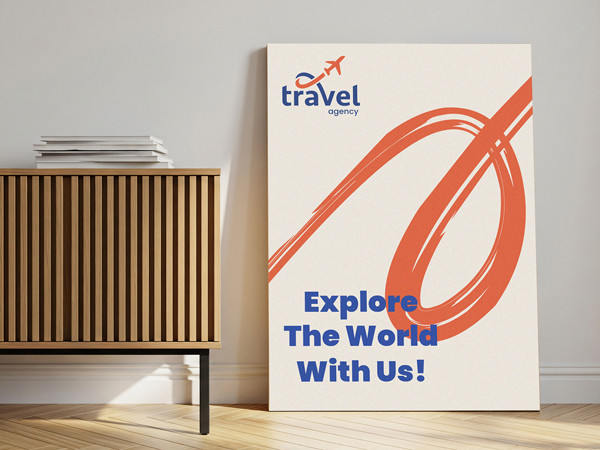
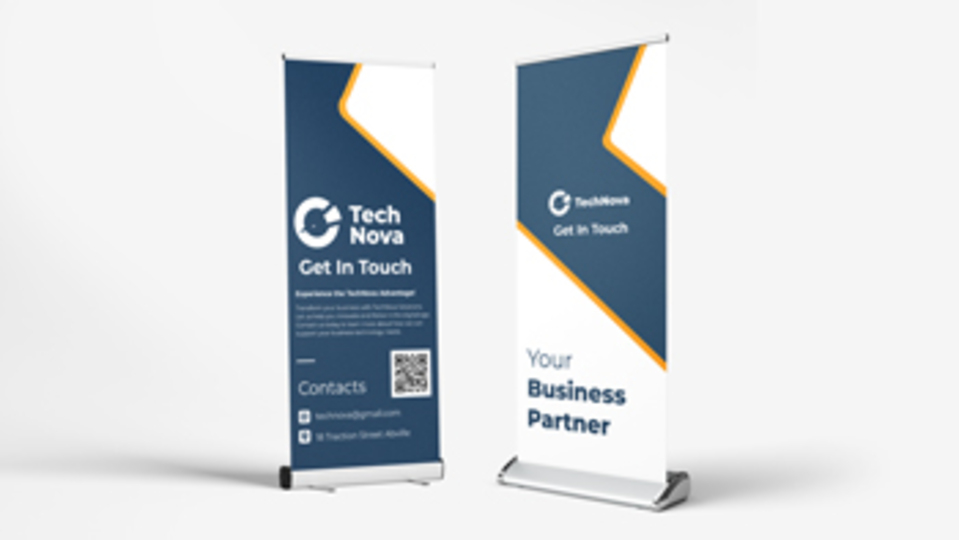
Branding Wooden Signs
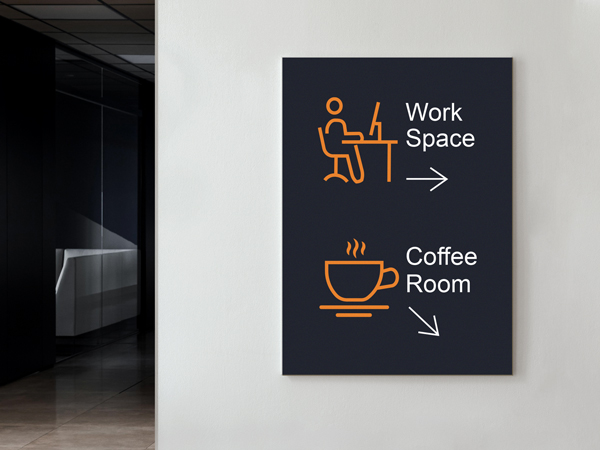
Directional Wooden Signs

Informative Wooden Signs
Wooden Menu Signs
Customizable Wooden Signs for Personal Use
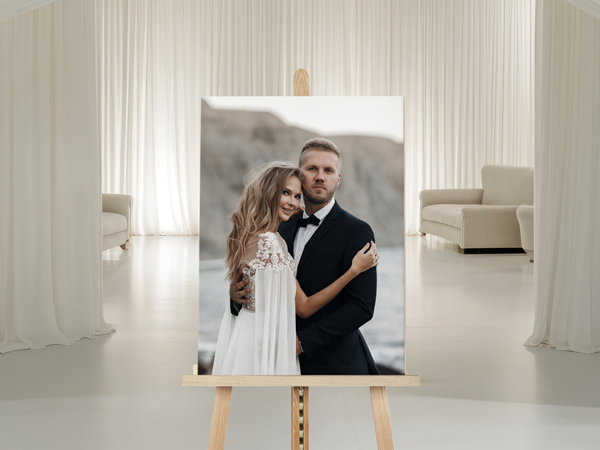
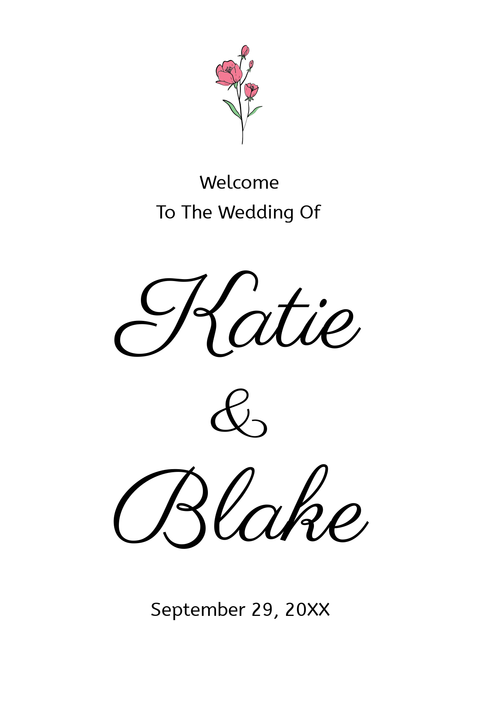
Wooden Signs for Personal Celebrations
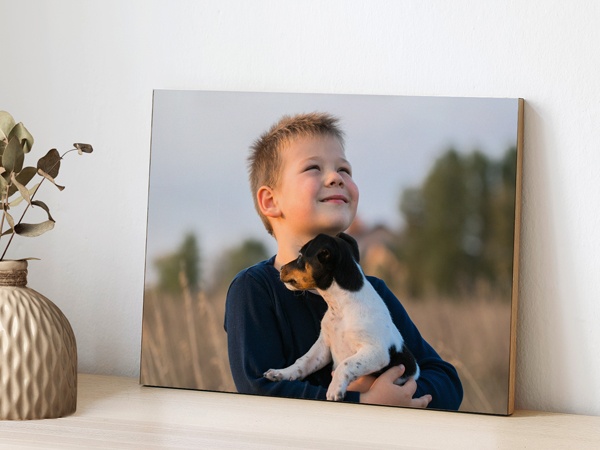
Wooden Signs for Home Decorations
Products Related to Wooden Signs


Make Your Message Last with Custom Wooden Signs
Custom Wooden Sign FAQ
How to hang a wooden sign?
- Drill evenly spaced holes into the product using proper drill bits intended for wood. Use a rope, string, chains, zip ties or a bungee cord to hang your item. You may order your product with drilled holes and accessories including standoffs, selecting them from our design tool.
Where can I get a wooden sign made?
- We offer a wooden sign maker online where you can create your design from scratch. You can also customize wood signs by using ready-made templates from our collection. We deliver everywhere within the US and Canada.
How long will your custom wooden signs last?
- With proper maintenance, our customizable wood signs will last well over five years indoors. The anticipated lifespan of customizable wood signs used outdoors will be impacted by factors like extreme weather, the size of the product and so on.
Quality
Value for money
Reviewer Photos

Exactly how I was hoping they'd turn out.
We're delighted to hear that your wooden signs came out the way you anticipated.
Our wooden sign came out perfect. The packaging of it to insure that it would not get damaged was superb!
Hi Roma, We're so glad to hear that your wooden sign turned out perfect and that the packaging exceeded your expectations! We take great care in ensuring our products arrive safely, and we're thrilled it met your needs. Thank you for your kind feedback! Best regards, Square Signs
Great quality - sturdy, excellent print, and shipped with care.
Hi Hannah, We're thrilled to hear you're pleased with your order's quality and our shipping! Best, Square Signs
Exactly what I ordered. On time.
Hi Christopher, We're thrilled to hear that your order met your expectations and arrived on time! Best regards, Square Signs
Excellent work! Looks great in the mancave. So fun to do your own designs and came up with this myself because there is not much out there in German.
My wooden signs are fantastic! We ordered office desk plaques which are of excellent quality and they have been so helpful during this pandemic, we are incredibly grateful! I would recommend Square Signs for any of your signage needs. We will definitely be using them again. Many thanks!
A fantastic company, we've used Square Signs for a number of projects and the quality of the wooden sign has been grand. Excellent customer service is always helpful. They are fast, efficient and reliable. We knew where to go! Thank you!
No problems at all from start to finish. Square Signs staff are professional and approachable. We have ordered a wooden address number for our house and received it during the next day. The quality of the product is excellent.
An excellent company with great communications, competitive prices, and very good quality. I have ordered several different types of wooden 3D letters. The staff has been knowledgeable and helpful. I have no hesitation in highly recommending this company.
I got a beautiful wooden sign to decorate my living-room. The sign displays a beautiful life quote about harmony that I like to have as a reminder. It came quickly and the service was excellent. Thank you.
Wooden Signs Templates