


FREE SHIPPING ON ORDERS OVER $99
Eligible for ground shipping within the contiguous US. Excludes products over 36” and freight shipping.
10% OFF YOUR FIRST ORDER


Styrene Signs Are...
- Use code PLAST15 to get 15% off styrene signs. Valid through September 30, 2026.
- Lightweight and easy to handle, perfect for indoor and short-term outdoor use.
- Slightly bendable without cracking or breaking.
- Affordable alternative to rigid plastics like PVC and acrylic.
- Quick to customize with different sizes, shapes, and single- or double-sided printing.
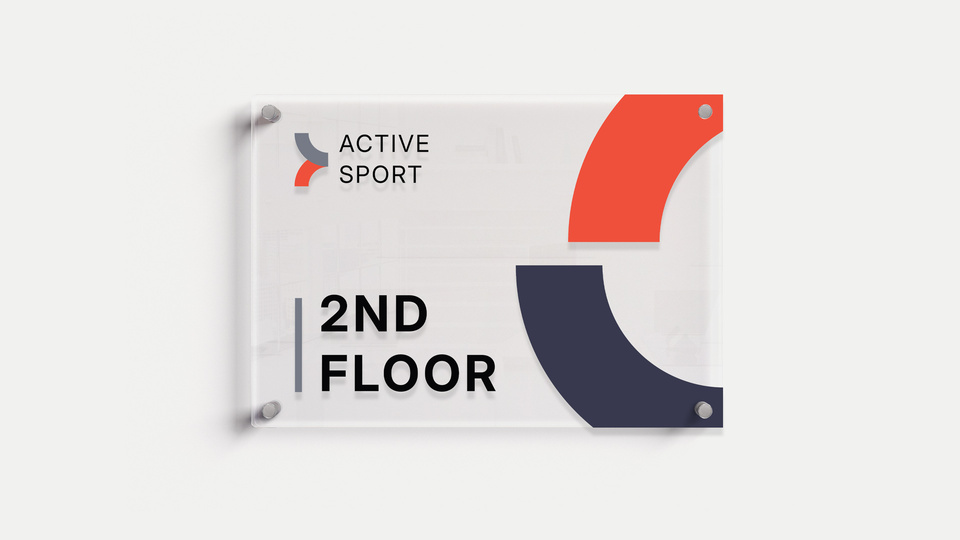
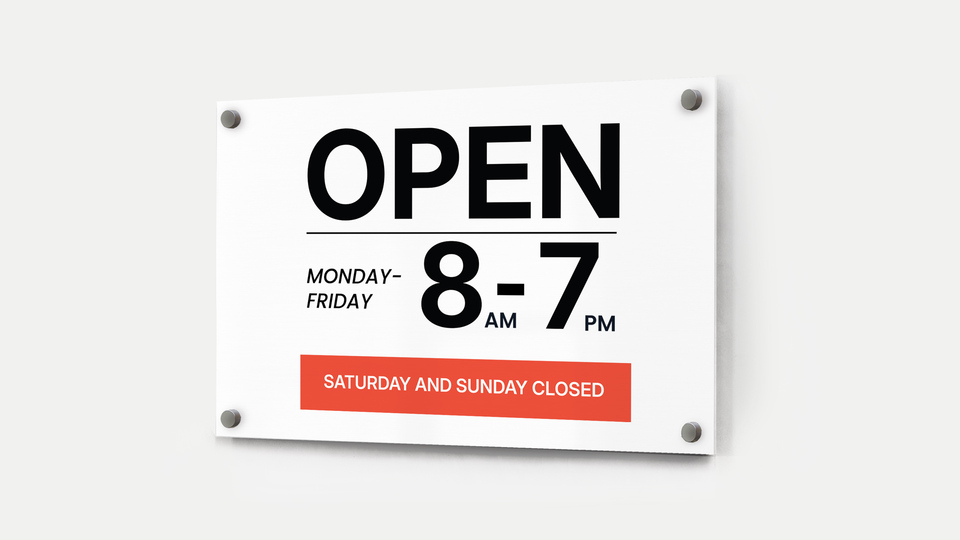
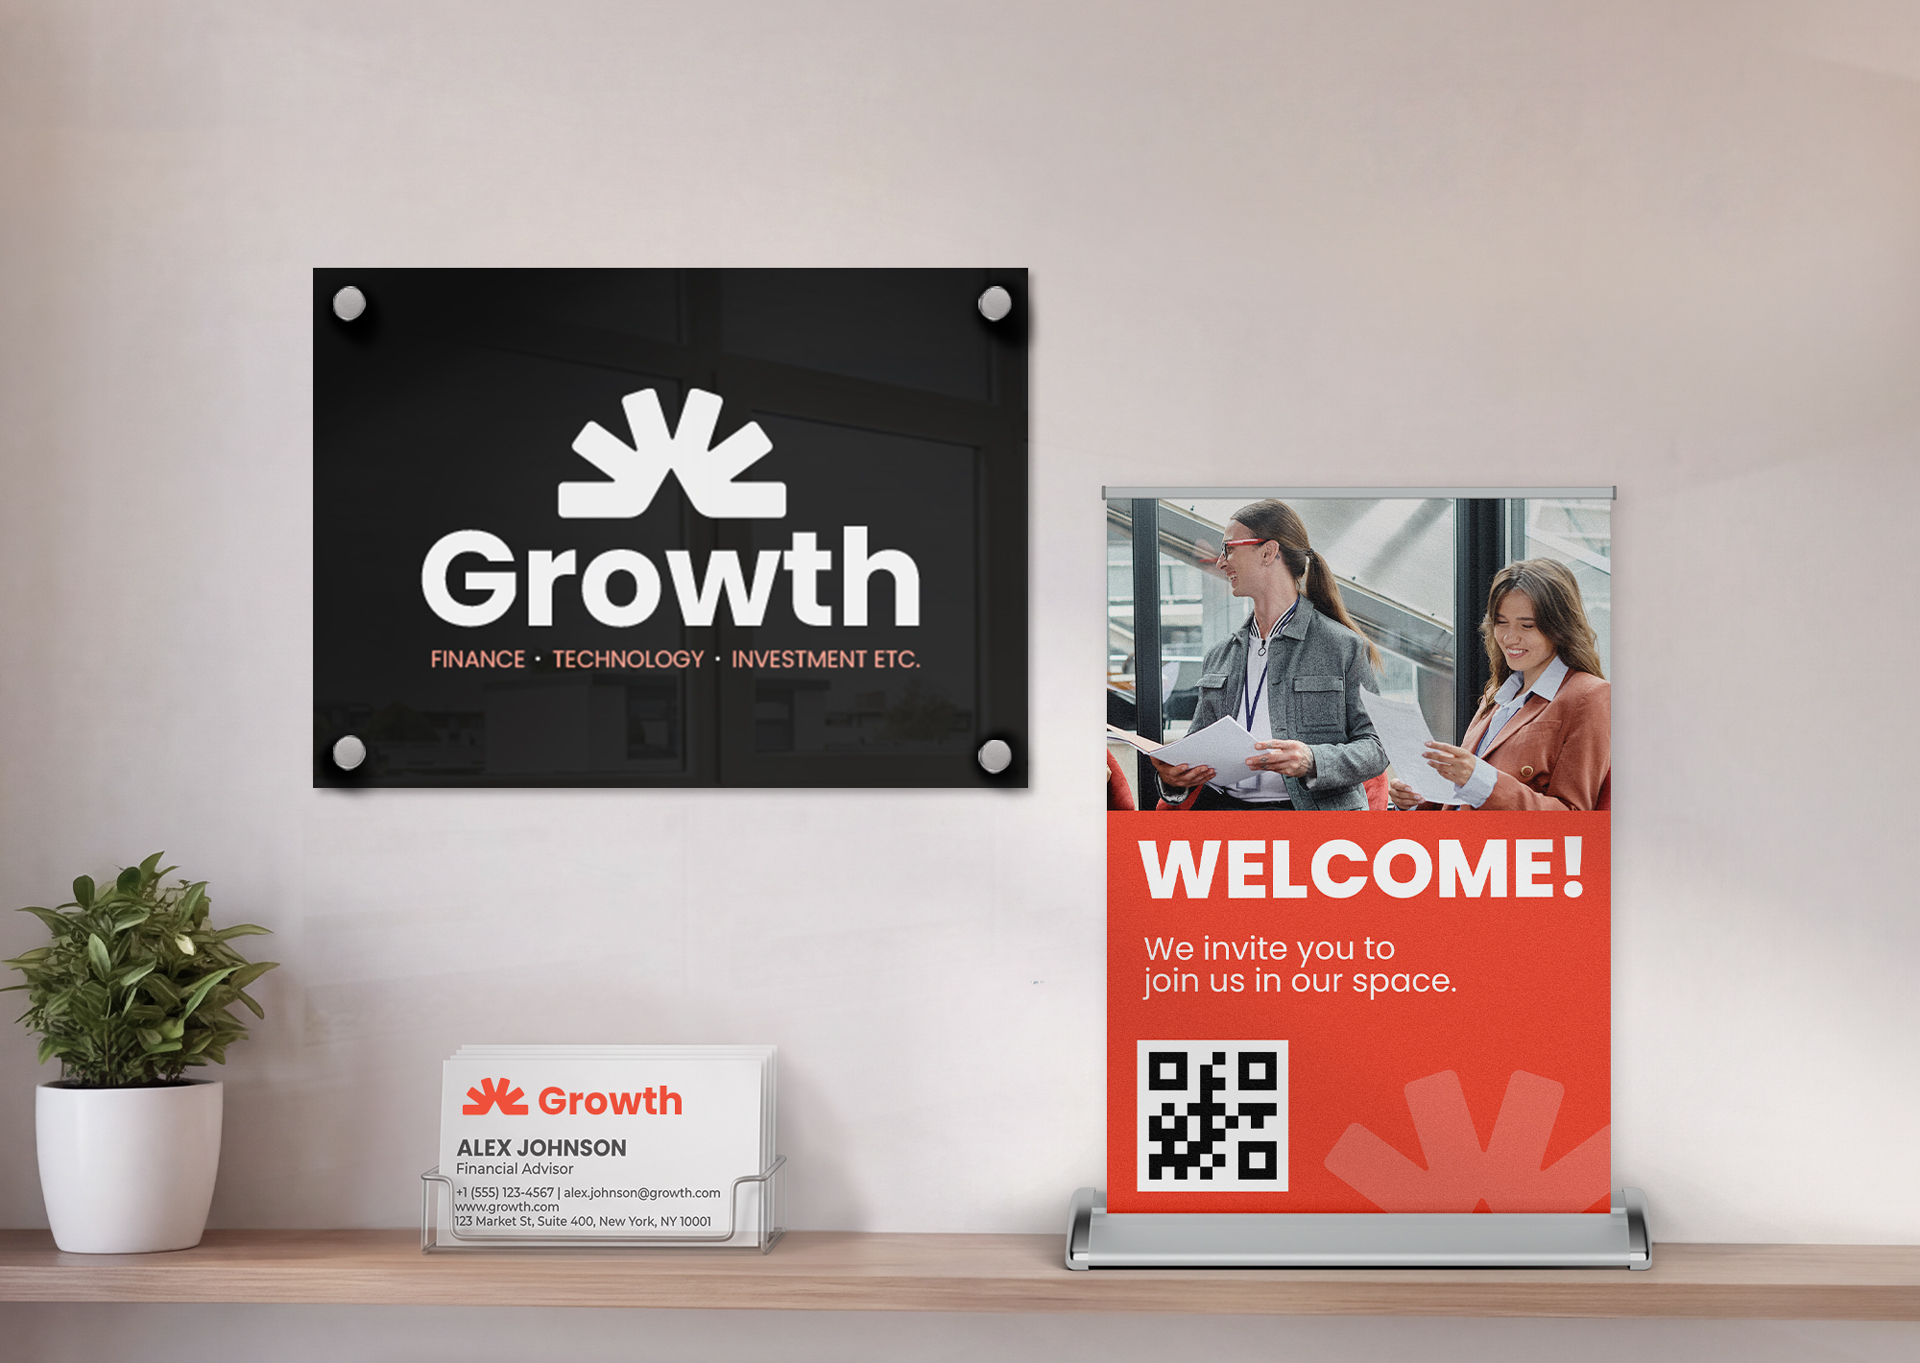
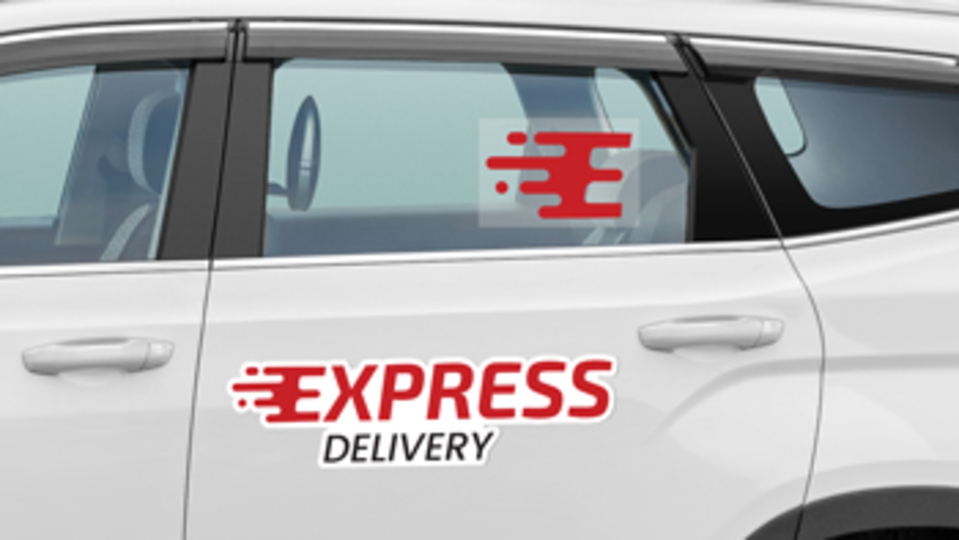
- Ideal for promotional, decorative, and informational signage at events, trade shows, or retail spaces.
Styrene Signs
Flexible and catchy medium available in custom shapes and sizes. Showcase your message indoors and outdoors with our durable displays.
Read More
Styrene Signs Are...
- Use code PLAST15 to get 15% off styrene signs. Valid through September 30, 2026.
- Lightweight and easy to handle, perfect for indoor and short-term outdoor use.
- Slightly bendable without cracking or breaking.
- Affordable alternative to rigid plastics like PVC and acrylic.
- Quick to customize with different sizes, shapes, and single- or double-sided printing.
- Ideal for promotional, decorative, and informational signage at events, trade shows, or retail spaces.

Styrene Signs
Styrene Signs Printing
Features
- Lightweight and Sturdy Material: Durable enough for various applications without being heavy.
- Easy to Customize: Simple to cut, shape, and print on for personalized signage.
- Indoor and Short-Term Outdoor Use: Ideal for versatile applications with moderate weather exposure.
- Stunning Long-Term Visuals: Ensures vibrant graphics.
- Resistant to Moisture and Minor Impact: Maintains appearance despite everyday handling.
- Affordable and Cost-Effective: Provides professional signage solutions within budget.
Popular Sizes
- 4" x 4": Small square for labels and compact signage.
- 12" x 24": Medium size for indoor signs.
- 18" x 18": Compact square for small displays.
- 24" x 36": Large size for events and promos.
- 18" x 24": Versatile for menus and directional signs.
- 18" x 36": Wide format for banners and longer text.
- 24" x 24": Square size for logos and branding.
- 24" x 48": Wide sign for bold messages.
- 36" x 36": Large square for detailed graphics.
- 48" x 96": Extra-large format for impactful displays.
Styrene Prints Shapes
Specifications
| Thickness | 0.020", 0.030", 0.060", 0.080", 0.125", 0.25" |
|---|---|
| Installation | Silver or gold standoffs, command strips, suction cup & hook |
| Weight | 0.14, 0.19, 0.37, 0.56, 0.78, 1.56 lbs/sq ft (in order of thickness) |
| Printing Style | Digital printing with UV inks |
| Min Size | 4" x 4" |
| Printing Options | Single and double-sided |
| Max Size | 48" x 96" |
| Cutting Options | Standard, rounded, overline or outline |
| Common Sizes | 12"x24", 18"x18", 24"x36", 18"x24", 18"x36", 24"x24", 24"x48", 36"x36" |
| Drilled Hole Options | 4 corners, top and bottom center, left and right center, top corners only, 4 corners with top and bottom center |
| Color | White |
| Lifespan (Indoors/Outdoors) | 10+ years indoors / 3+ years outdoors |
Types of Styrene Types
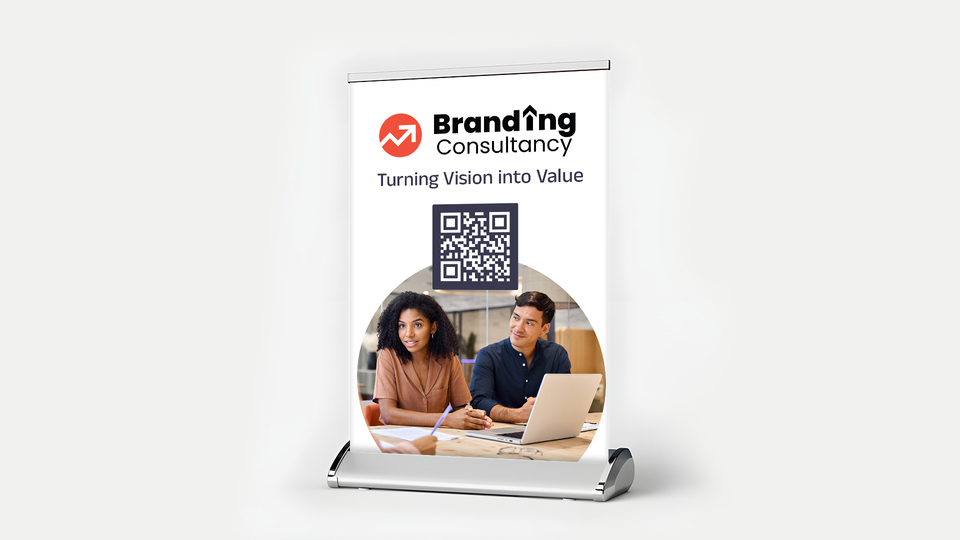
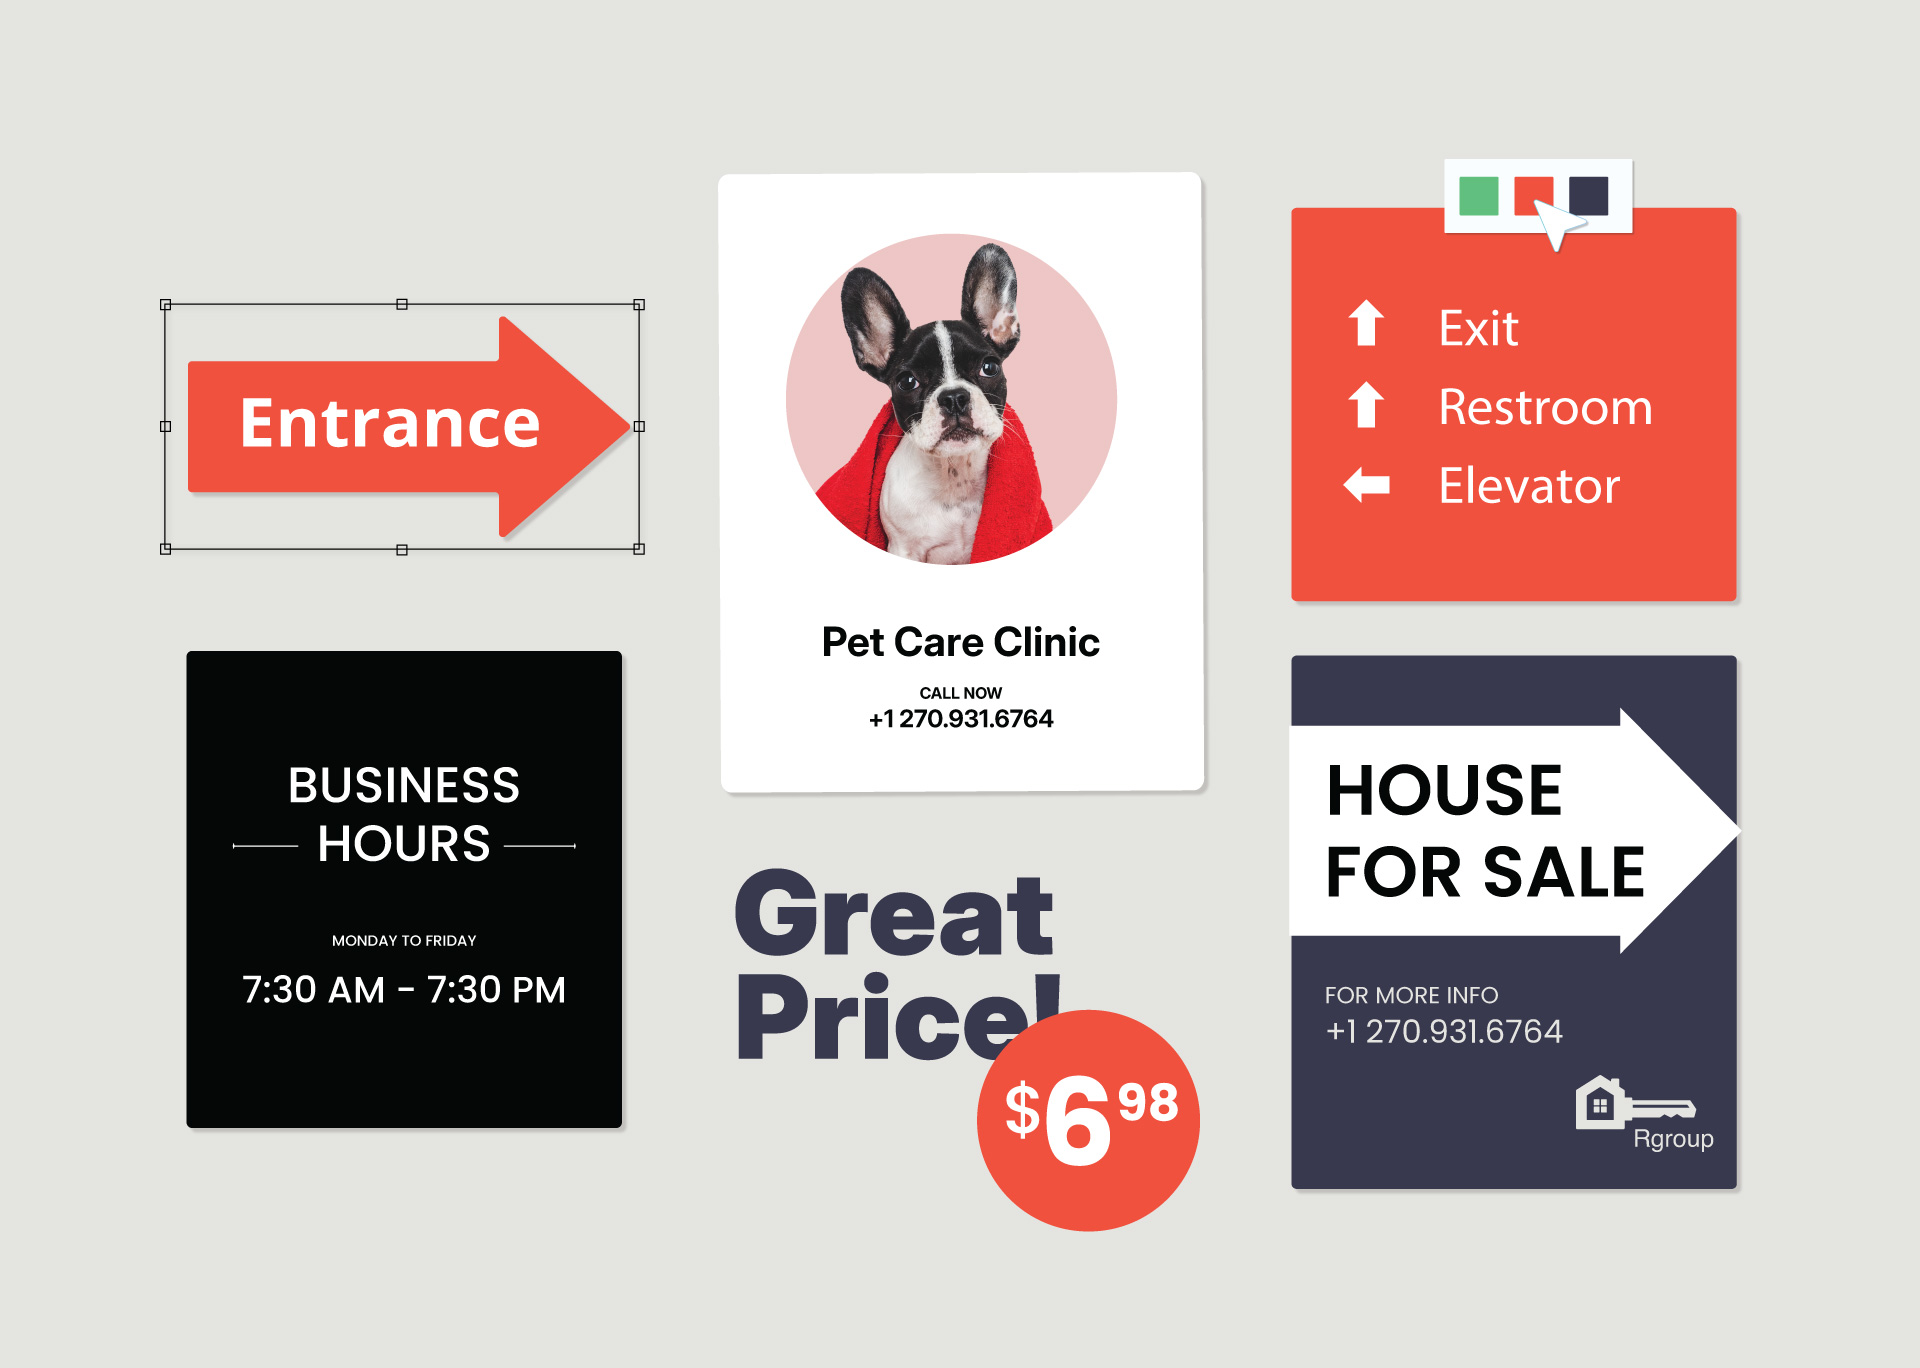
Promotional Custom Styrene Signs
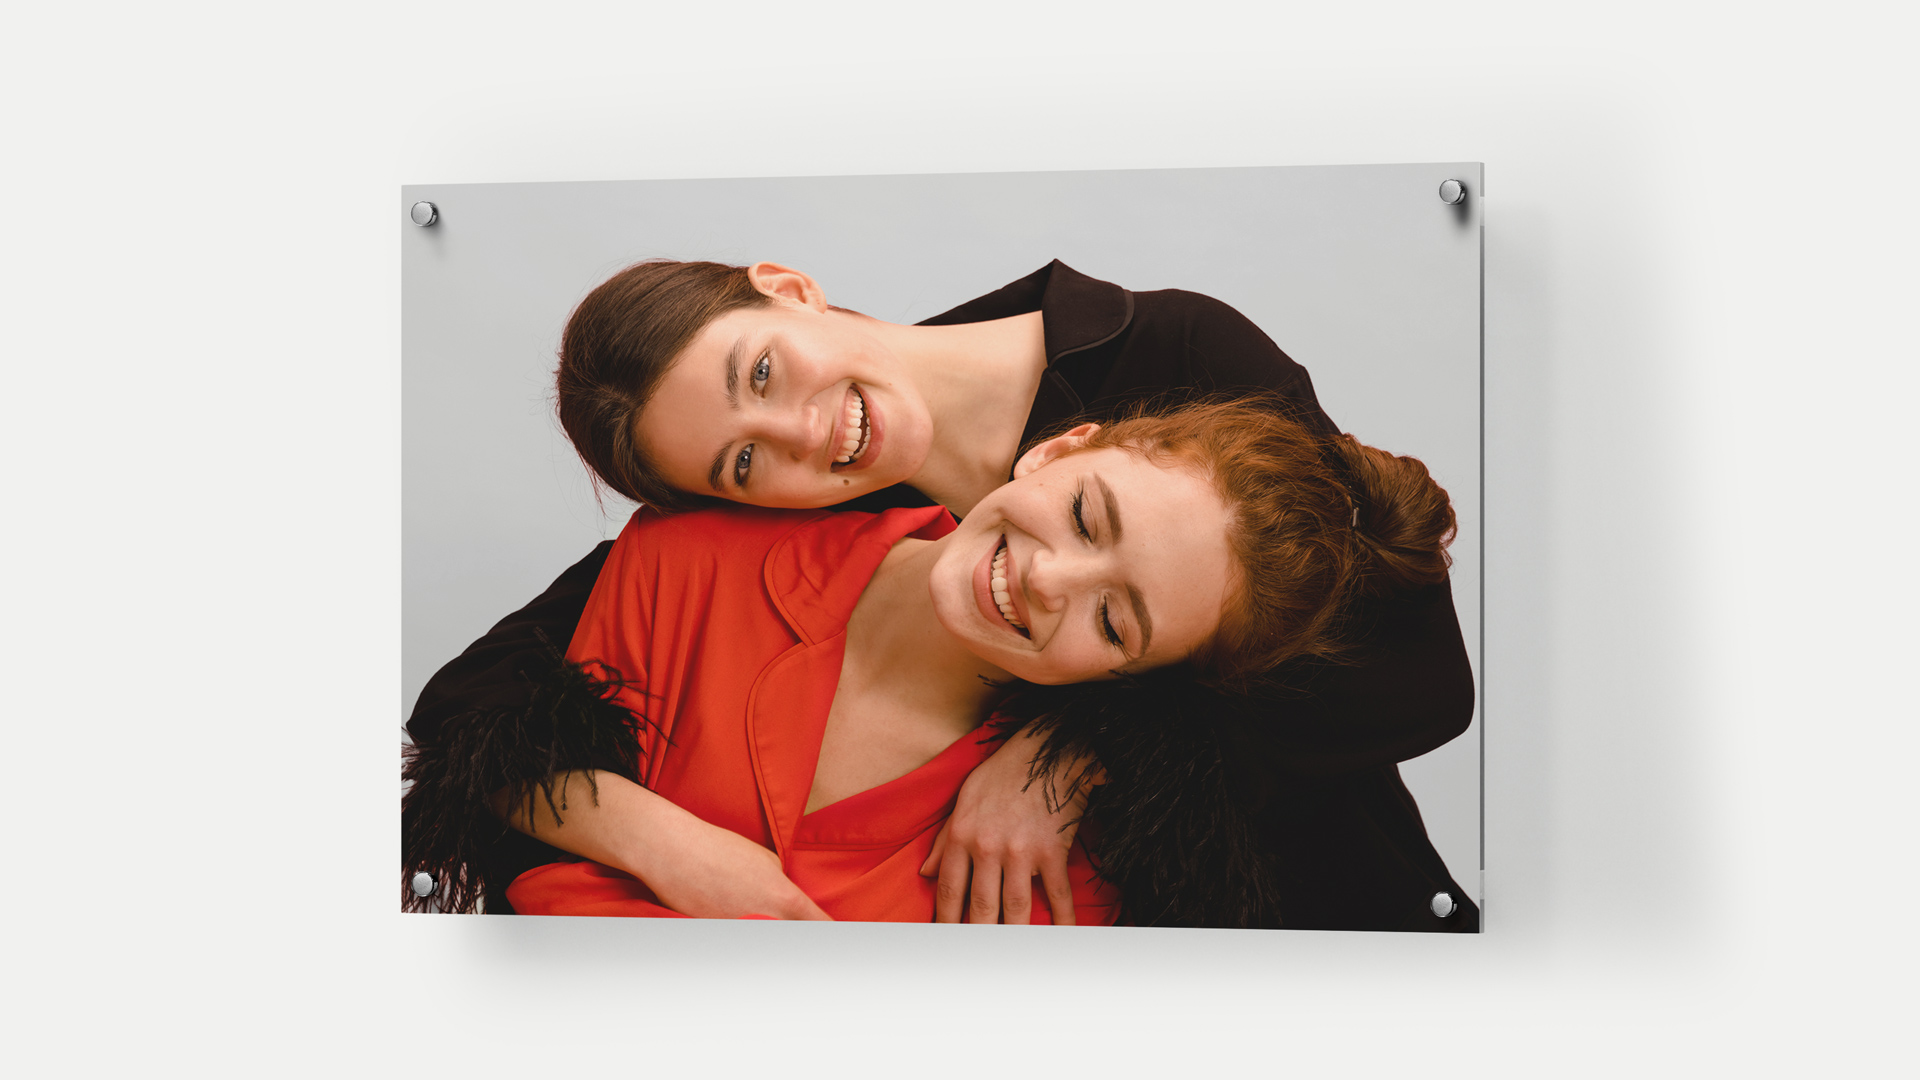
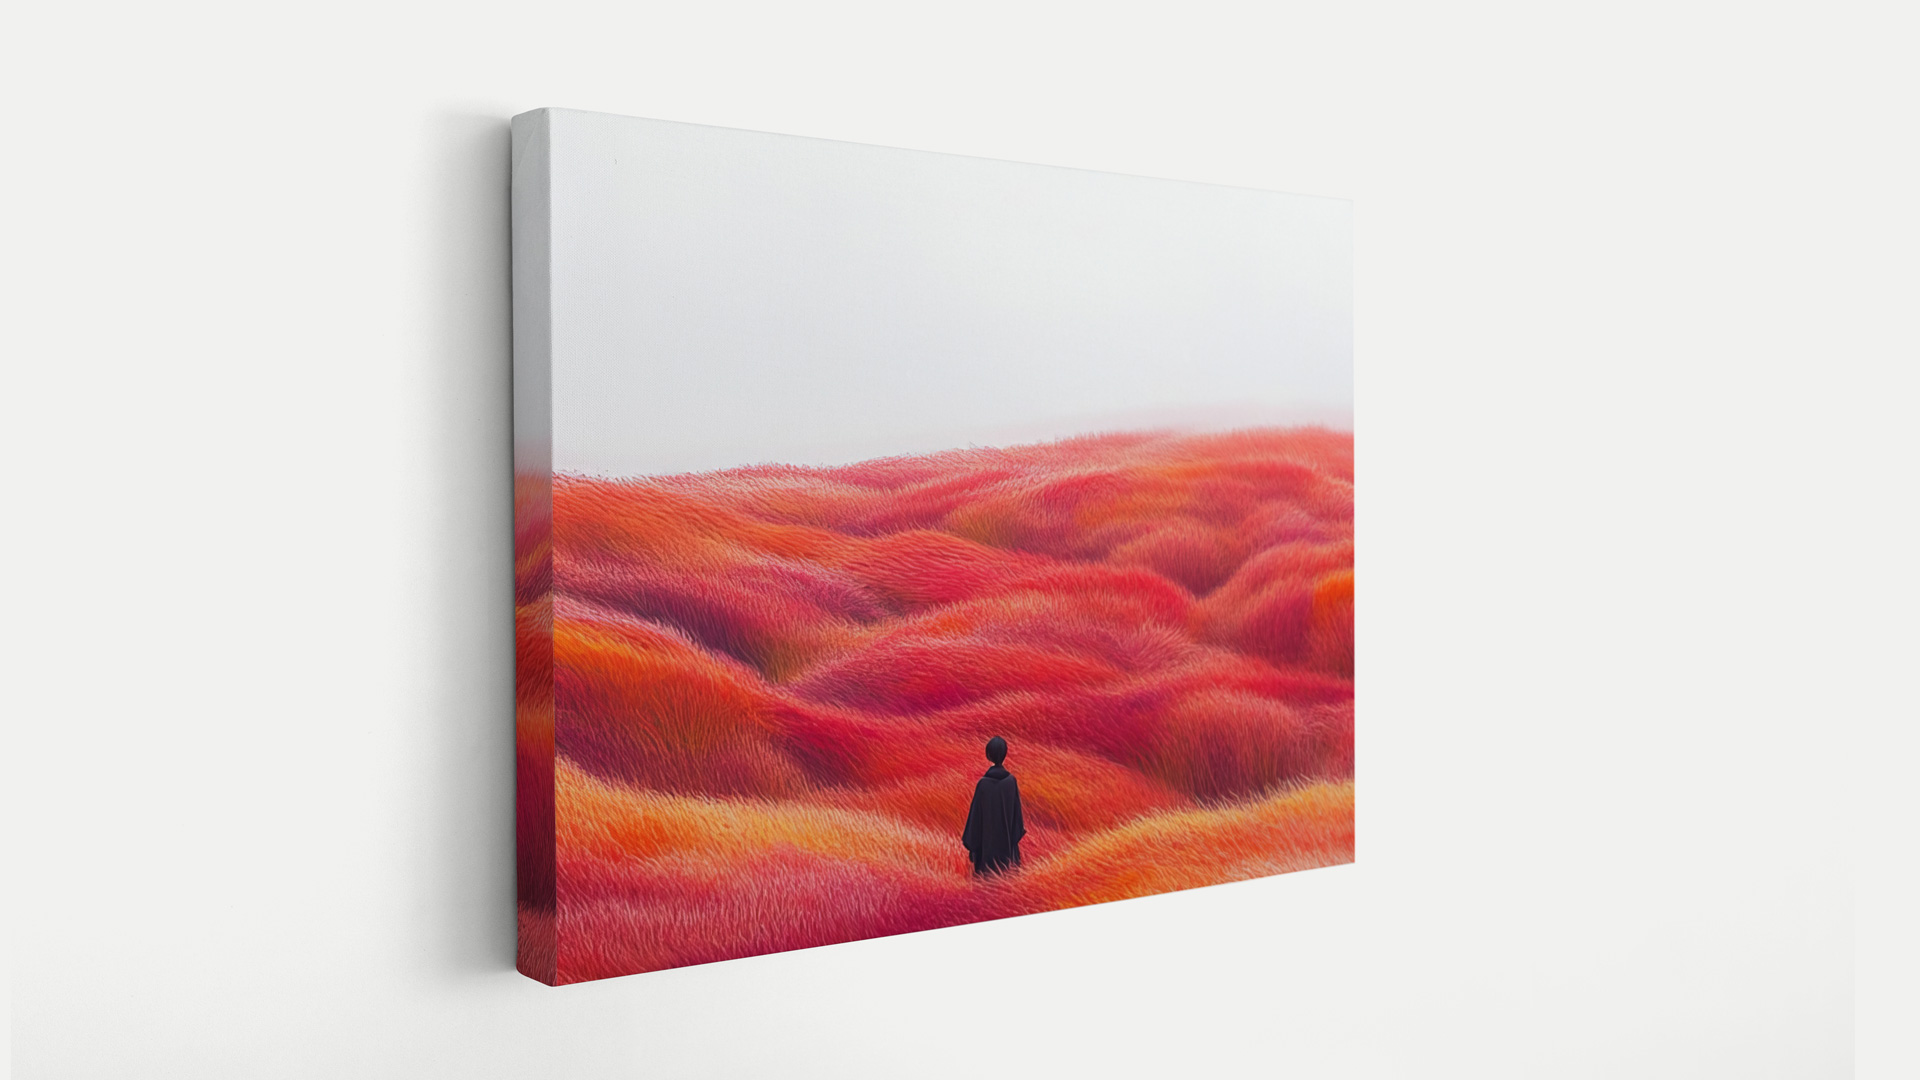
Decorative Styrene Photo Prints
Informative Styrene Signs
Products Related to Styrene Signs


Lightweight Strength Meets Visual Impact: Styrene Signs That Speak
Styrene Signs FAQ
What is styrene printing?
- Styrene is a smooth and flexible plastic material available in different thicknesses. A styrene print can serve promotional, informational and decorative purposes indoors and outdoors. The material features HD graphics with UV inks. It’s popular for retail stores, trade shows and beyond. We ship this product to any location within the US and Canada. Check our terms and policies page to see if it qualifies for special offers or shipping discounts.
What’s the difference between styrene and PVC?
- Both materials are widely used plastic displays suitable for promotional and decorative purposes. Styrene is more flexible and comes in white by default whereas our PVC is available in black and white.
Is styrene glass or plastic?
- Styrene is plastic, not glass. It’s a type of rigid, lightweight plastic often used as a glass substitute because it’s clear and shatter-resistant.
What type of plastic is styrene?
- More specifically, it is a polystyrene, which is a synthetic aromatic hydrocarbon polymer made from the monomer styrene. It is lightweight, rigid, and commonly used as indoor displays, point-of-purchase signs, temporary signage, and promotional signs.
Is styrene waterproof?
- Styrene is water-resistant but not completely waterproof. It doesn’t absorb water easily, making it suitable for many indoor and some outdoor uses, but prolonged exposure to moisture or harsh conditions can cause damage over time.
Quality
The product turned out great! The ordering process was easy, and the product arrived quickly with well-protected packaging.
Thank you for sharing your positive feedback. Every detail counts so that we can deliver the best experience possible.
Everything was exactly what we needed and asked for. Very easy experience, and great price!
Thank you for the great review. It was a pleasure working with you, and we appreciate your kind words about our pricing and service.
Great image quality and flexibility of product.
Thank you so much for your kind words. We're glad to hear you're happy with the image quality and flexibility of the product.
We really love these at NCWM and have had a great experience using them for our meetings
Thank you for the wonderful feedback. We're so glad that you liked your product.
The styrene sign was first class, exactly what I expected. My thanks to Square Signs, you always provide us with the best signage solutions as we expected. I plan to order from them in the future! Thanks a lot!
We’re extremely happy with the styrene signs we got from your company. Thanks to all the options available for this material, we could find everything we wanted for our promotional display. Special thanks to your support team for their quick response as well.
Thank you for the quality products and detailed installation guide. it came in handy and was easy-to-follow. We were a little worried while setting up the first display, but everything went well. We put them all up and we’re really happy with the result.
The best customer service ever!!! Thank you for providing us with the replacements for our worn out architectural displays. Thanks to the vivid graphics and popping colors, the styrene signs we ordered look awesome and catch the eye.
We are pleasantly surprised by how well the styrene signs fit in our company’s interior design scheme. We ordered displays in 3 different shapes, and they all came out perfect. Thank you for the excellent customer service and quality products.
Many thanks to your competent team!If you’re looking for a competent signage company, we highly recommend Square Signs. Every time we place an order, we’re sure it will get to us on time and in perfect condition. This time was no exception.
Styrene Sign Templates


