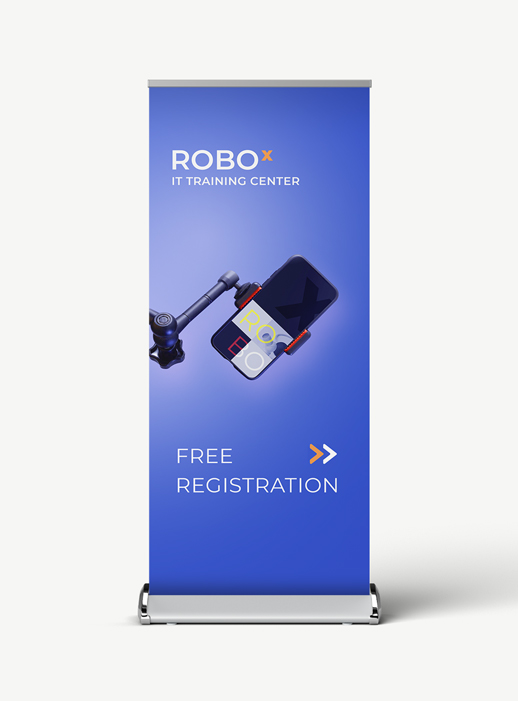
This sign is sturdy, a great size to be read clearly and easily portable with its own carrying case
NuImage Salon

Best Seller
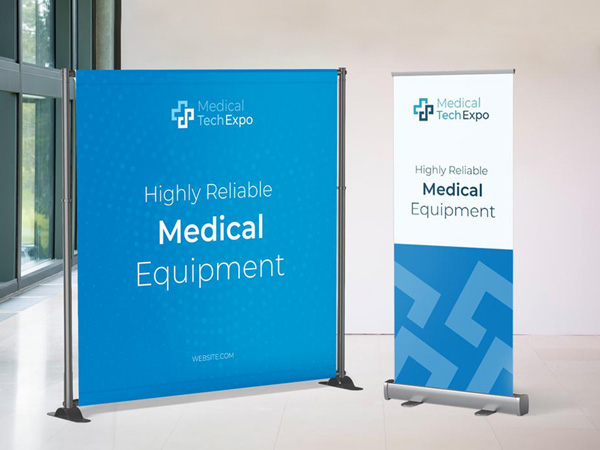
Effective Advertising Medium - Ideal For Event And Tradeshow Booth Promotions. Portable, Easy-To-Set Up, Fail-Safe Banners With Built-In Graphics
A custom retractable banner is the ultimate promotional tool for businesses wanting to leave a mark. A pull-up banner consists of two main components: a vinyl face which bears the illustrations and an aluminum base which houses it. This feature, and the fact that the pull-up banner comes with a carry case, renders the product extremely portable.
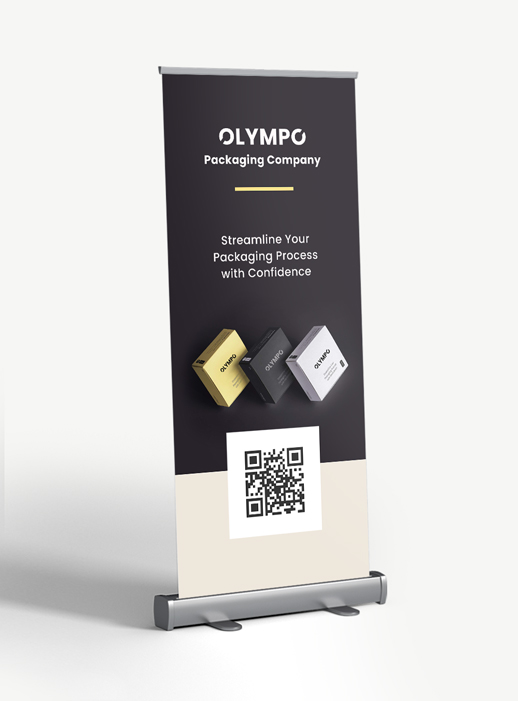
Roll-up signs are effective custom banners that can boost your branding regardless of industry. They’re also known as pull-up banners and roll-up banners. These products come in different types with single and double-sided options, with each variant adding a bit of flair in specific settings.
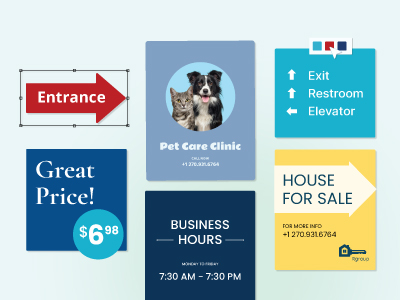
Square Signs offers you the chance to showcase your brand image and communicate your message to customers on a variety of products such as retractable banners, sandwich board signs and beyond. We provide shipping with quick turn-around across the US and Canada.

UV Printing

Light Weight

Easy Assembly

Sturdy Structure

Multiple Sizes
We offer three types of retractable banners, which are discernable by their size and the shape of their base.

Retractable banners are a practical, versatile medium. Thanks to its functional frame, you can switch out the display inserts of a pull-up banner with new graphics. This means you can reuse the same roll-up banner structure for different occasions. This also applies to our step and repeat banners. Replacing custom retractable banner faces is fairly simple and doesn’t require taking apart the base.
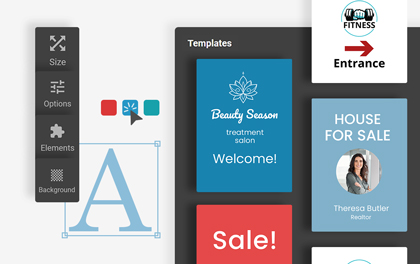
Every retractable banner design should be tailored to the occasion and stylized to represent your brand. We offer custom retractable banner printing that will suit your needs. Head over to our design tool and create the perfect retractable banner printing design with a few clicks.
We have a large collection of templates you can use to draw inspiration and create original designs for your retractable banners. You can draw up a design which has texts, images, backgrounds, elements and more to make sure the message you highlight on your pull-up banner has the needed impact on your audience.
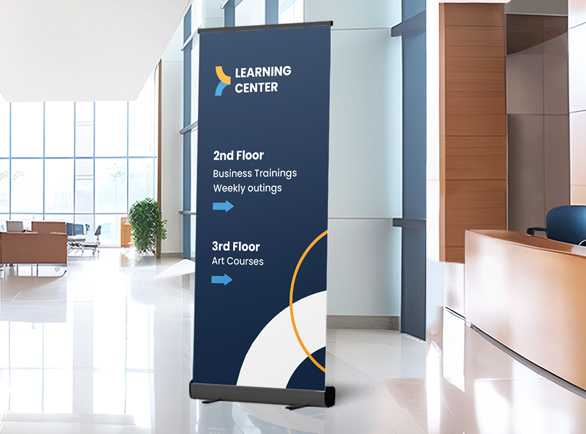
Retractable banners, like x-stand banners, are a multipurpose, versatile media which are used in various settings and venues. A pull-up banner is a high-demand product at business events because they’re light enough to carry around, simple to install and superb for showing off vibrant graphics. Similar to corrugated plastic signs or custom aluminum signs, a custom retractable banner is sturdy for long-term indoor use and it can last outdoors as well.
From business events and trade shows to in-store promotions and wayfinding displays, retractable banners have the capacity to showcase any message or illustration you need. The surface area of a custom retractable banner face provides plenty of space to get your message across to as many people as you wish. Choose double-sided retractable signs to double your visibility and reach.


Types
standard, deluxe, premium

Face
0.02” thick vinyl

Base
high-grade anodized aluminum

Case
standard carrying case
Printing
full-color UV printing

Lifespan
15+ years indoors, 5+ years outdoors
We use top-of-the-line printers with a UV curing system. The inks are dried with UV rays during the retractable banner printing process. This renders the pull-up banner resistant to ultraviolet light, making it less likely to fade even after exposure to sunlight.
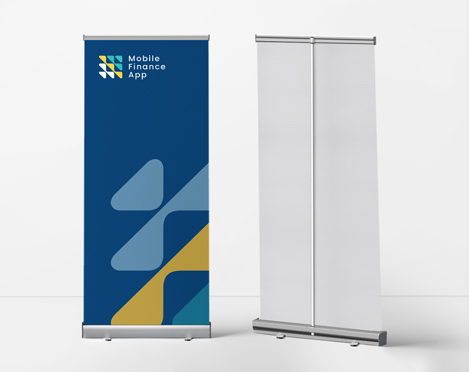
We offer both single and double-sided retractable banners on our website. The double-sided version is available for standard and deluxe roll-up banners 33”x81” in size.
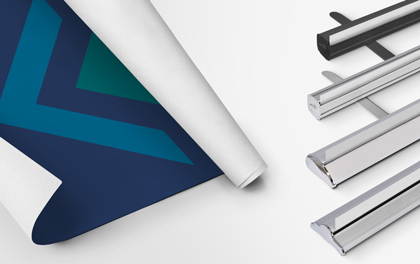
After the retractable banner printing phase, we attach the display rolls onto the structures of our retractable banners. The frames, which are more compact than those of pop-up displays, are constructed of sturdy and non-corrosive anodized aluminum. The face of roll-up banners is made of a top quality 0.02” thick vinyl. It comes in a standard white that allows for custom retractable banner printing in full-color using genuine UV cured inks.
Roll-up banners can be assembled and broken down in 1-3 minutes. You may also keep the stand for future use and replace the display inserts with new graphics as needed.
Assembly
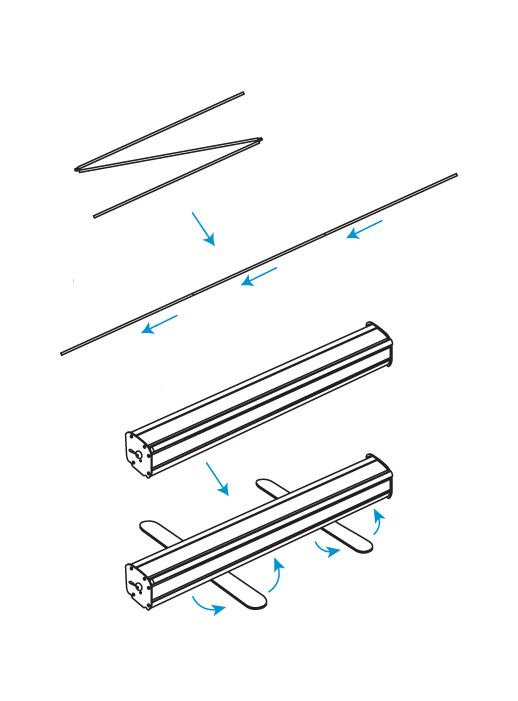
Step 1
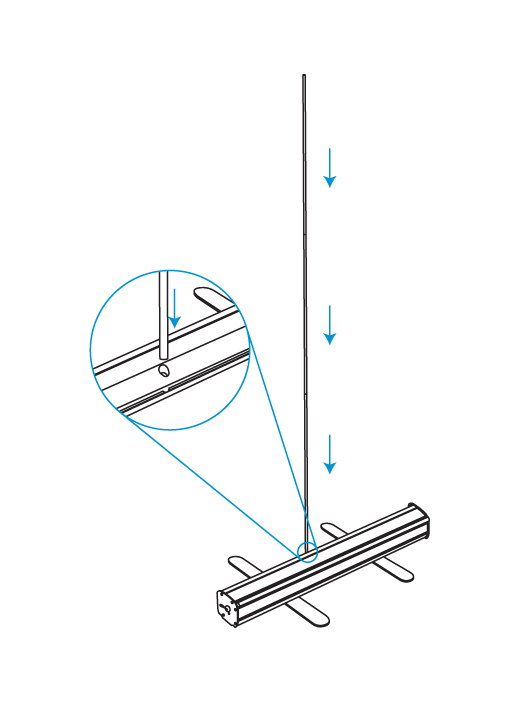
Step 2
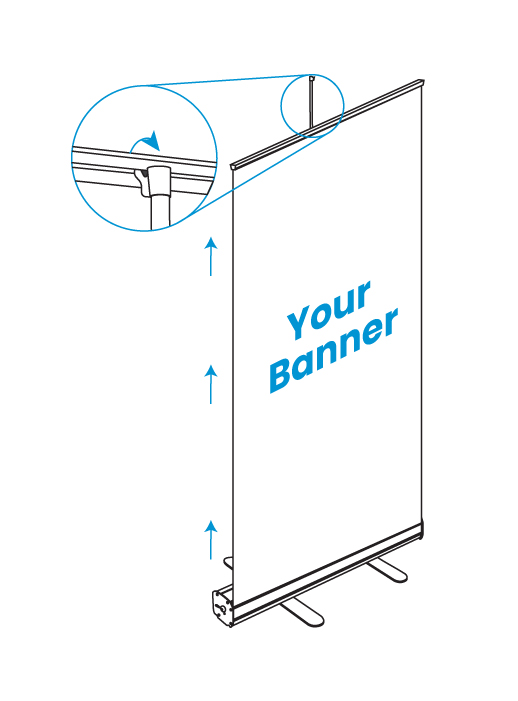
Step 3
A roll-up banner, also called a retractable banner or a pull-up banner, is a self-supporting display with a vinyl face and an anodized aluminum frame. The retractable banners’ structure holds a spring-loaded construction also called a roller. The display rolls for a pull-up banner are pulled out of the base and a telescopic pole is inserted into the top strip of the banner stand.
Positioning a pull-up banner requires only a few simple steps. All you have to do is remove the three components from the bag and assemble them by hand. Once you pull the banner display out from the base, raise the banner up and attach the strip at the top to the telescopic rod. Check out our retractable banners installation section for a visual guide.
We offer retractable banners with three bases known as standard, deluxe and premium. Constructions with these bases have different sizes and appearances.
A roll-up poster is easy to maintain. Open the retractable banner and wipe the face with a smooth cloth. Use a lightly wet cloth if your retractable sign has any stains but let it dry before you pack it up in order to prevent molding.
One of the most convenient features of roll-up signs is their reusability. You can order new display rolls and replace the faces on your custom retractable banner as often as necessary. A roll-up poster has a long lifespan so you can use the structure for several occasions.