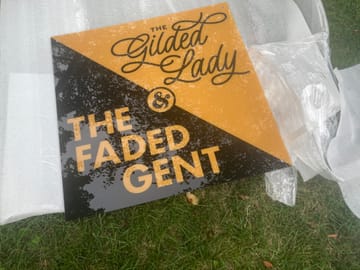
Amazing quality and designs look great. No flaws.
Michelle P
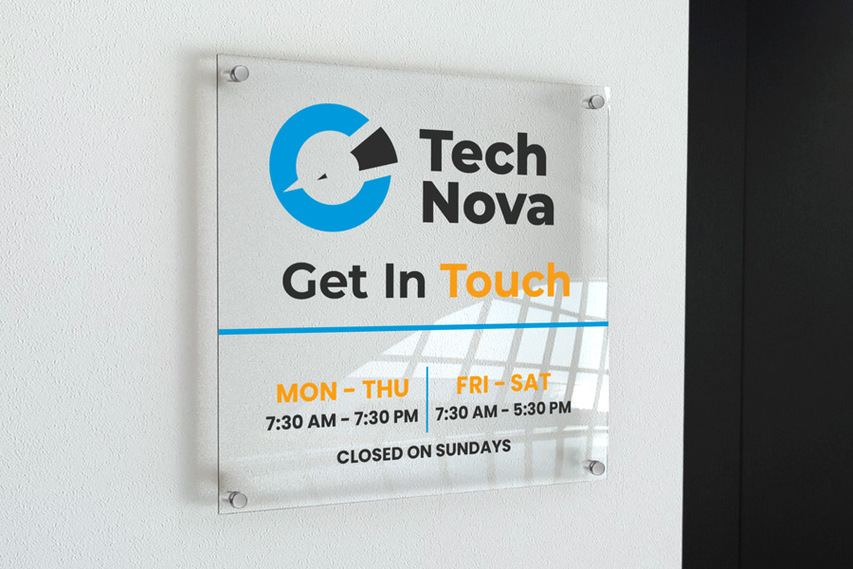


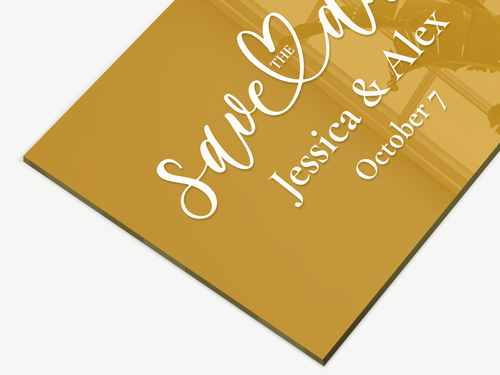
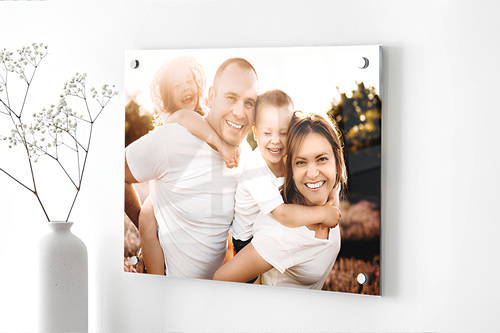
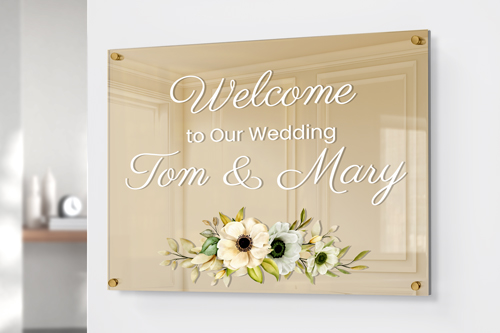
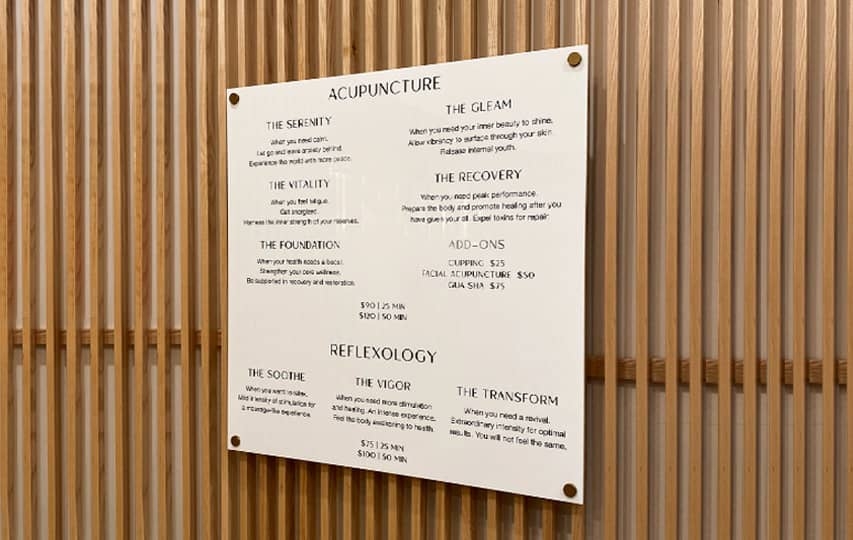
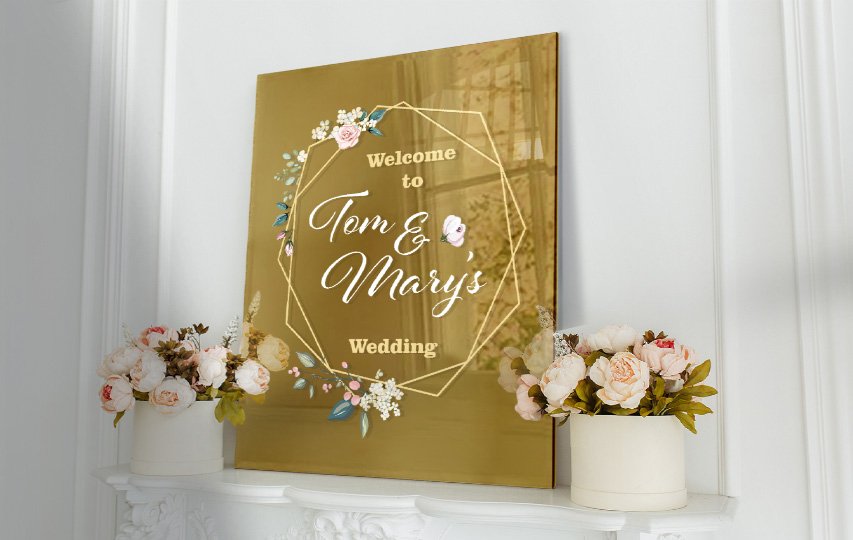
Why Acrylic Signs are right for you:
Lightweight, durable and elegant acrylic signs for both promotional and decorative purposes with outdoor and indoor usages.
Why Acrylic Signs are right for you:

Lightweight
Versatile
Durable
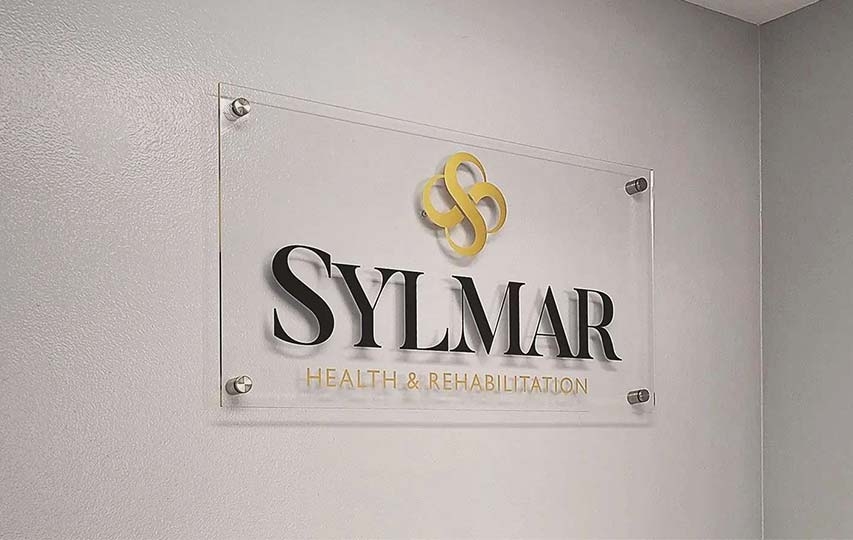
Modern
Effortless


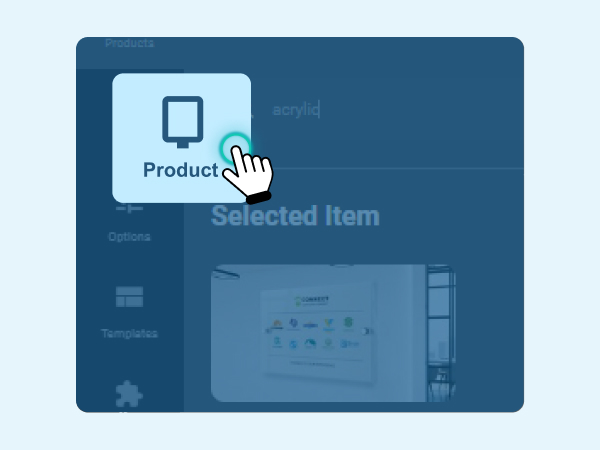
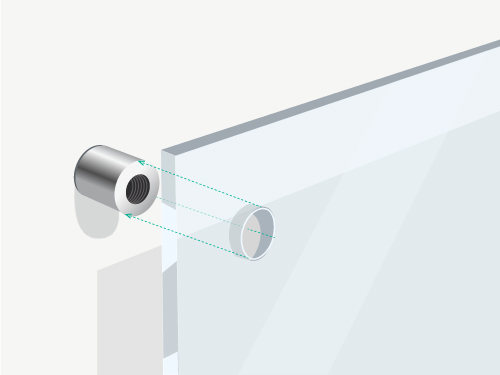
Step 1
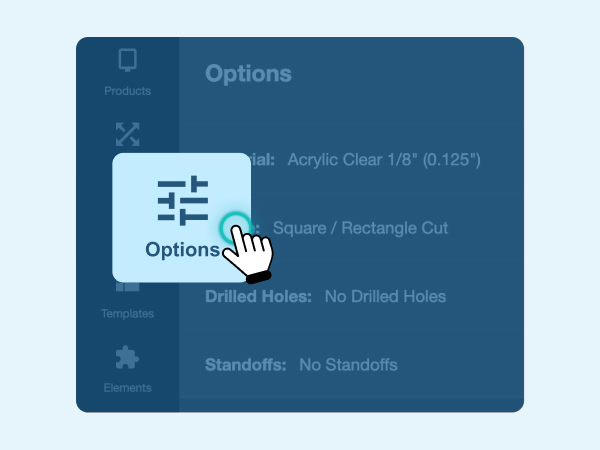
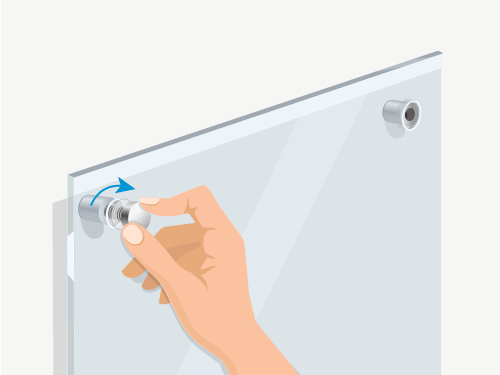
Step 2

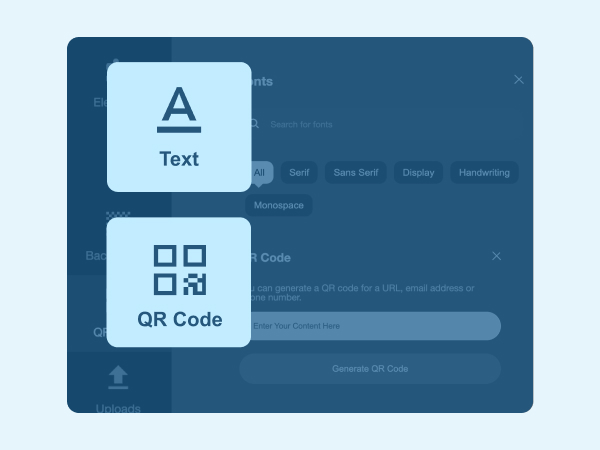
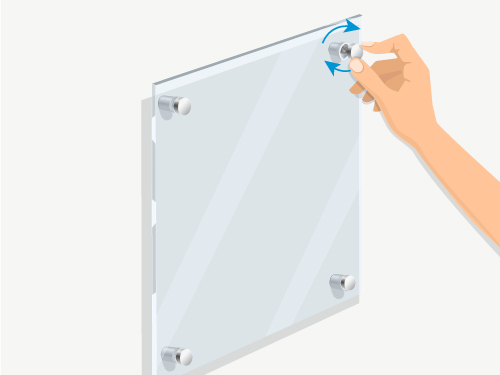
Step 3
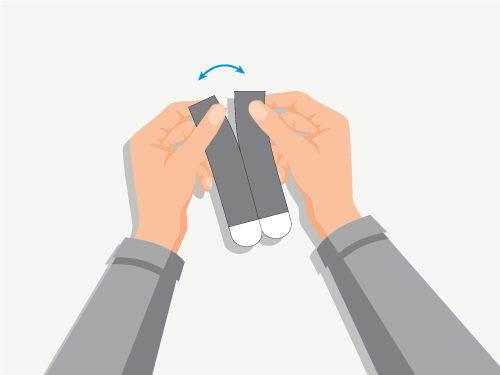
Step 4

Step 5
| Specification | Details |
|---|---|
| Material | Acrylic glass |
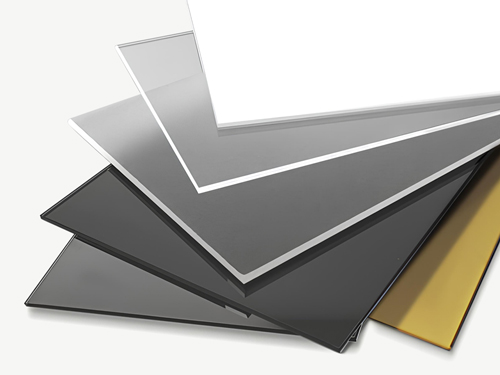
| Colors | Clear, Black, Transparent Black, White, Mirror Gold, Frosted |
| Thickness Options | ⅛" (0.125"), ¼" (0.25"), ⅜" (0.375") |
| Size Range | Minimum: 4" x 4", Maximum: 48" x 96" |
| Printing Surface | Standard printing, Second-surface printing (clear only) |
| Printing Sides | Single-sided (all colors), Double-sided (black only) |
| Predrilled Holes | Available in multiple placement options |
| Standoff Options | Silver, Black, Gold |
| Installation Accessories | Command strips, Easel backs, Suction cup and hook |
| Lifespan | 15+ years indoors, 5+ years outdoors |
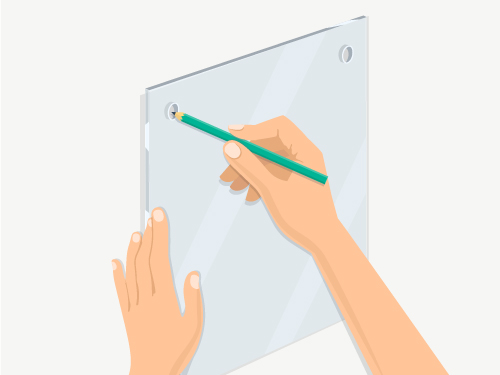
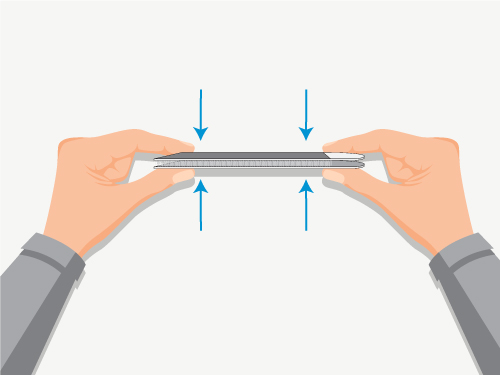
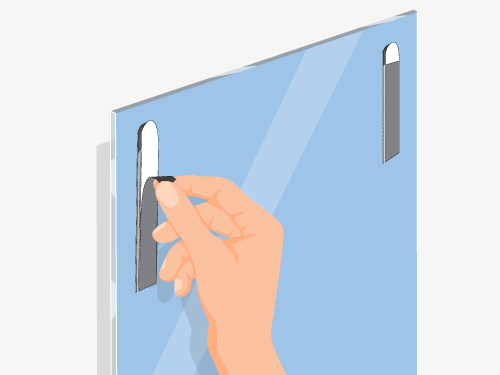
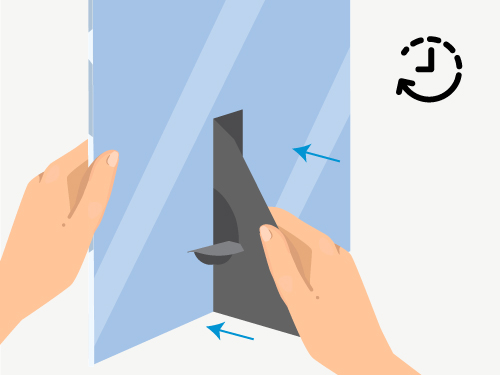
Step 1:
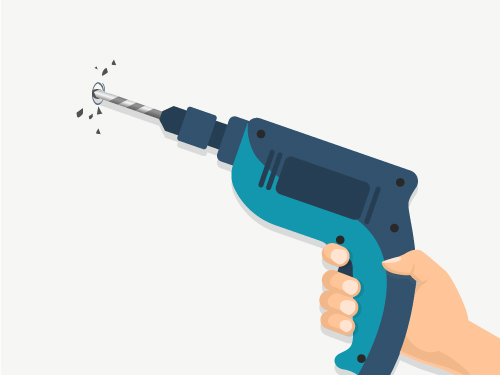
Step 2:
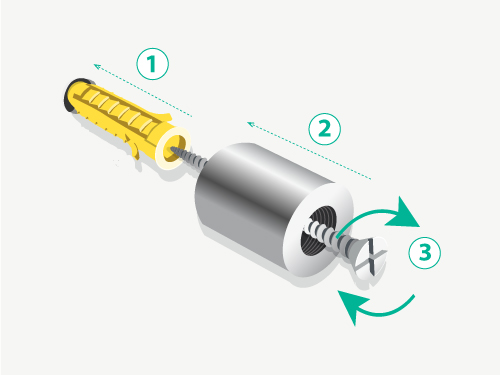
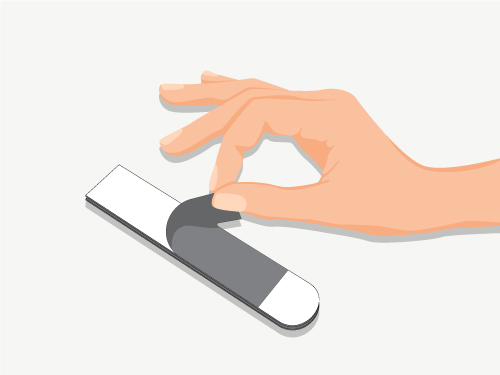
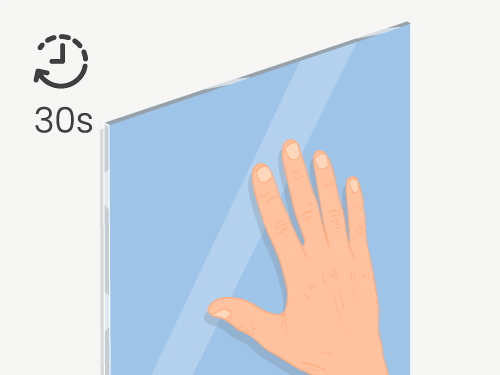
Step 3:
Step 4:
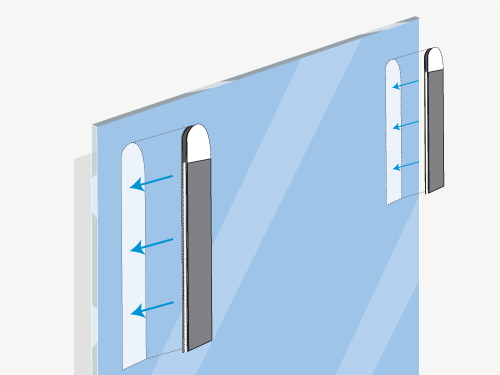
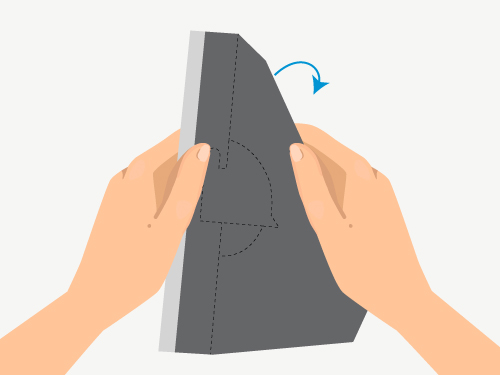
Step 5:
Step 6:

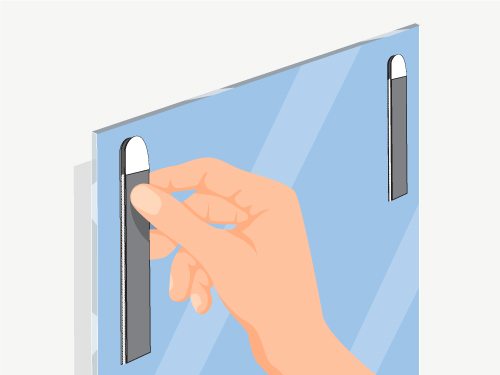
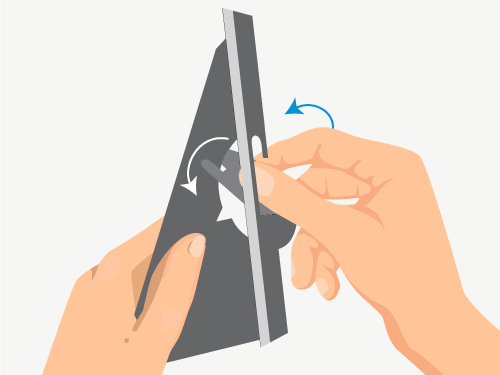
Step 1:
Step 2:
Step 3:
Step 4:
Step 5:
Step 6:
Step 7:
Step 8:
Step 1:
Step 2:

Step 3:
Step 4:
Super pleased excellent quality and bursting with colors so rich. :)
Leisa Coffman
Super pleased excellent quality and bursting with colors so rich. :)
Leisa Coffman
Super pleased excellent quality and bursting with colors so rich. :)
Leisa Coffman