
Great product.
PRISMA SOLUTIONS


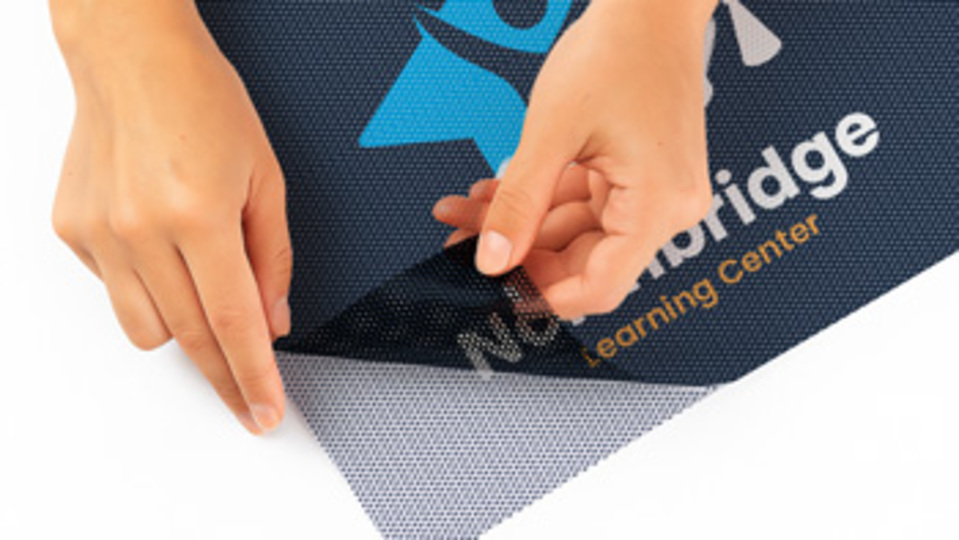
Why Pick Vinyl Lettering?
Best Seller
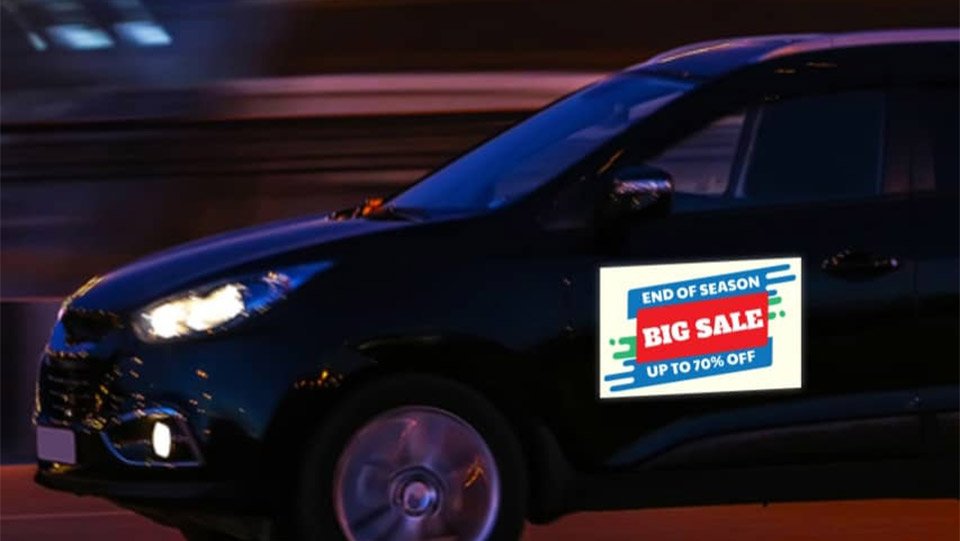
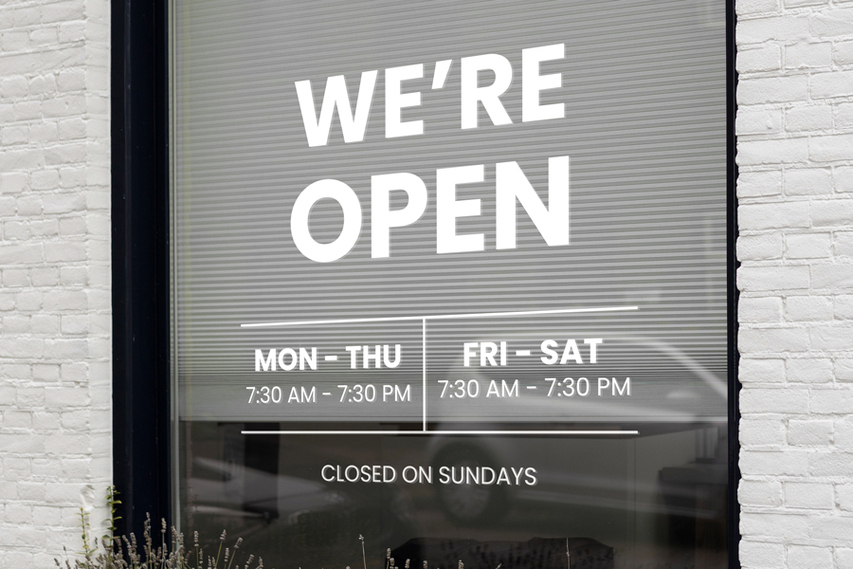
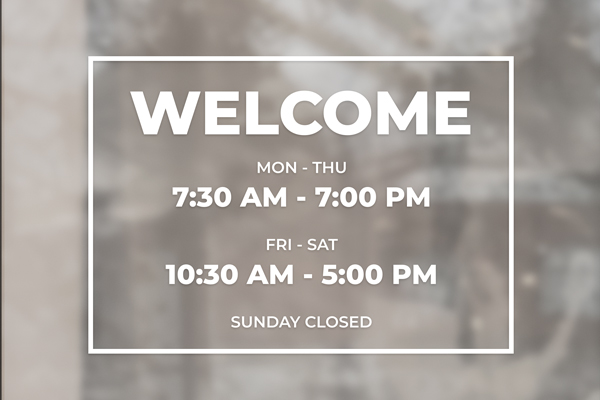
Highly adhesive texts and graphics suitable for indoor and outdoor use. Display vibrant colors and designs with custom cut-outs.
Why Pick Vinyl Lettering?

| Material | Vinyl |
|---|---|
| Printing Method | Digital printing with fade-resistant UV inks |
| Thickness | 4 mil |
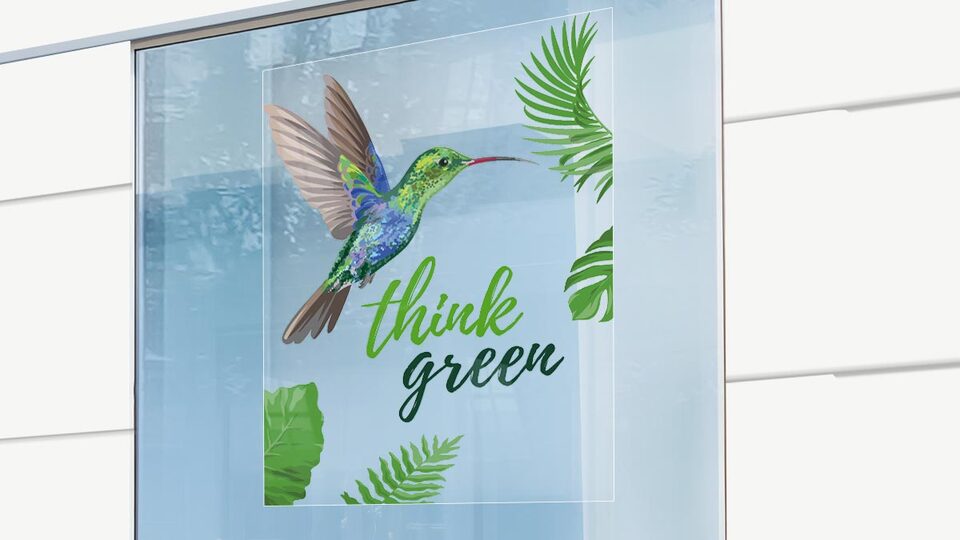
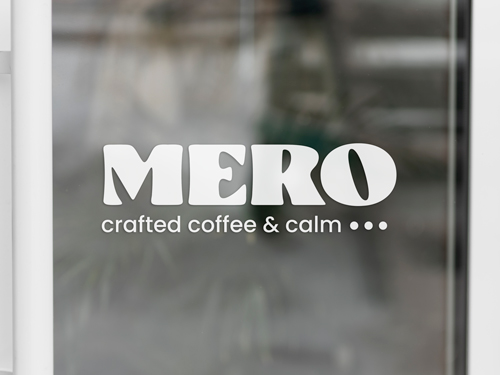
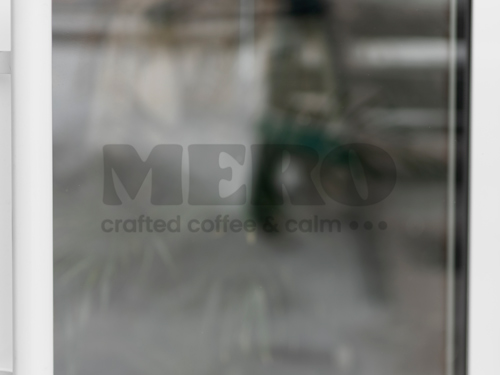
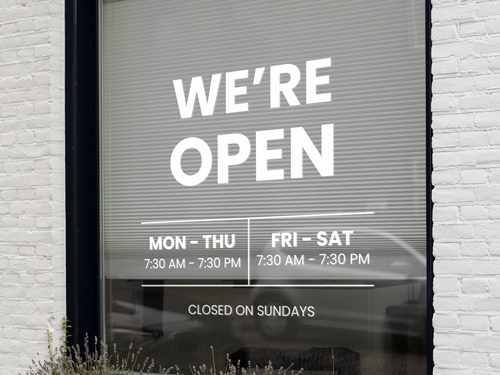
| Application Options | Standard, inside-glass |
| Weight | 0.065 lbs/ft² |
| Minimum Size | 1"x1" |
| Color | White, clear, frosted |
| Maximum Size | 58"x1,740" |
| Lifespan | 1+ years |
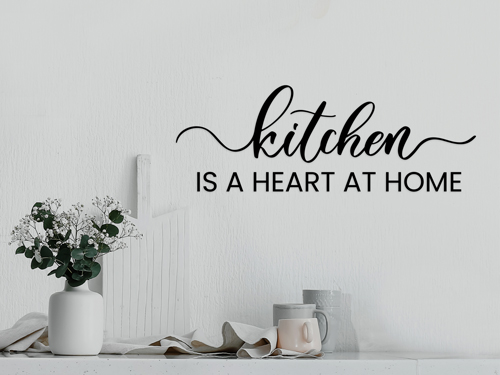
| Cutting Options | Overline, outline, cut-outs |
Dry Mounting
Note: Remember that you won’t be able to reposition the product once attached. Follow the visual guide to quickly install your vinyl letters.
High Quality Vinyl Transfer. Process was easy breezy! :)
Duane B


High Quality Vinyl Transfer. Process was easy breezy! :)
Duane B
High Quality Vinyl Transfer. Process was easy breezy! :)
Duane B