Great quality, vibrant colors with clean professional finish and assembly. No complaints.
Eric R.


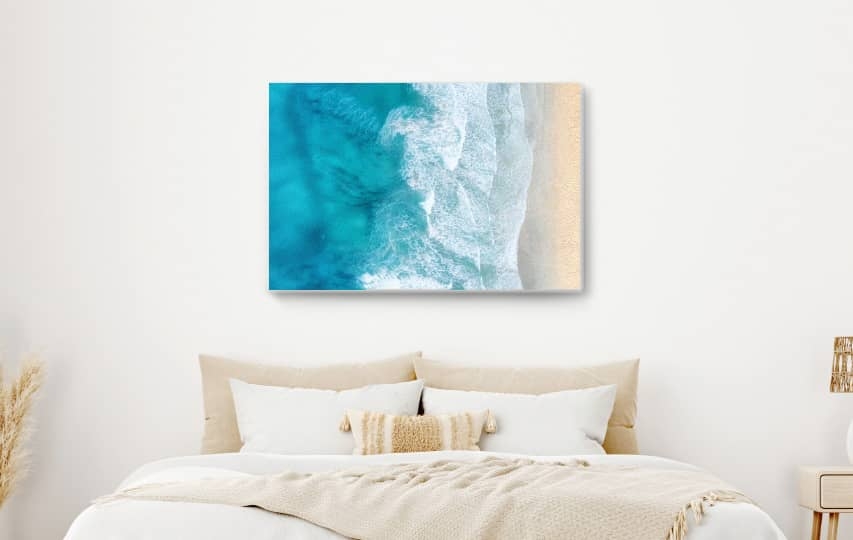
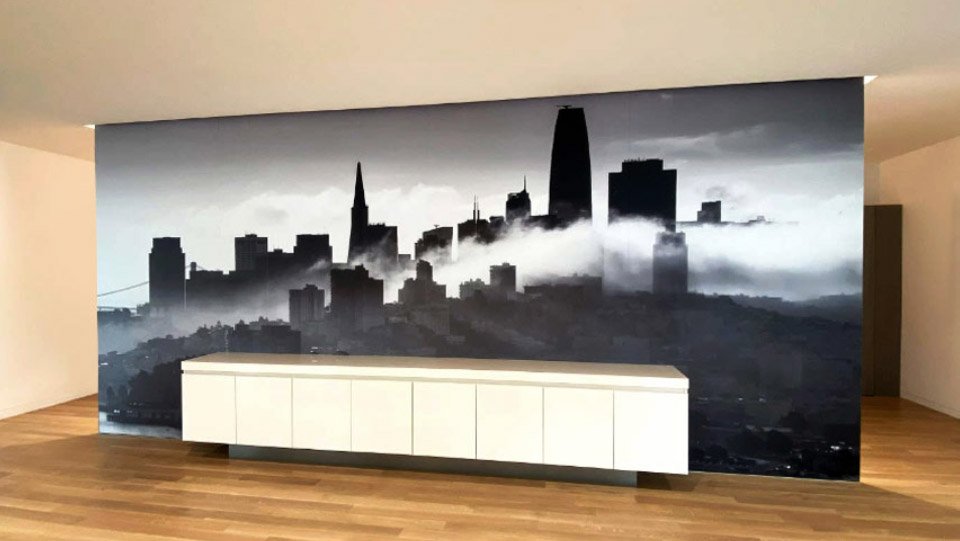
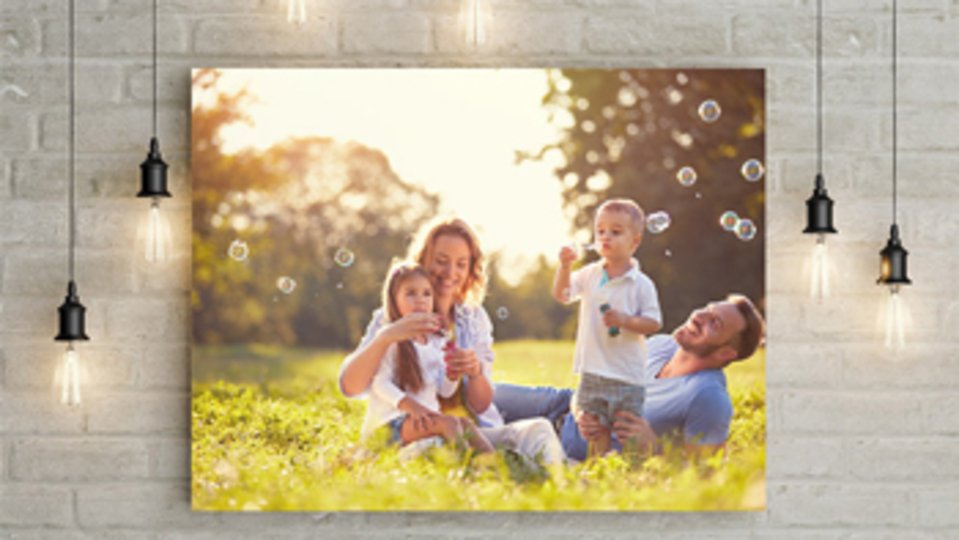
Turn your photos into professional wall art and celebrate all your memorable moments in style.
| Thickness: | 21 mil | Edge Types: | Mirrored / black / white |
| Weight: | 10 oz. / sq. yd | Installation: | Command strips, hanging kit, zip ties, grommets, hanging clips, nylon ropes, pole pockets |
| Min. Size: | 8"x8" | Printing: | Digital, high resolution, full-color printing with UV ink |
| Max. Size: |
96"x96” (frame) 1,740"x120" (no frame) | Grommets: | Top two corners / all four corners |
| Common Sizes: | 12"x24", 24"x48", 48"x96", custom | Material: | Polyester and cotton blend |
| Color: | White | Usage (Indoors / Outdoors): | 60+ years / Not recommended |
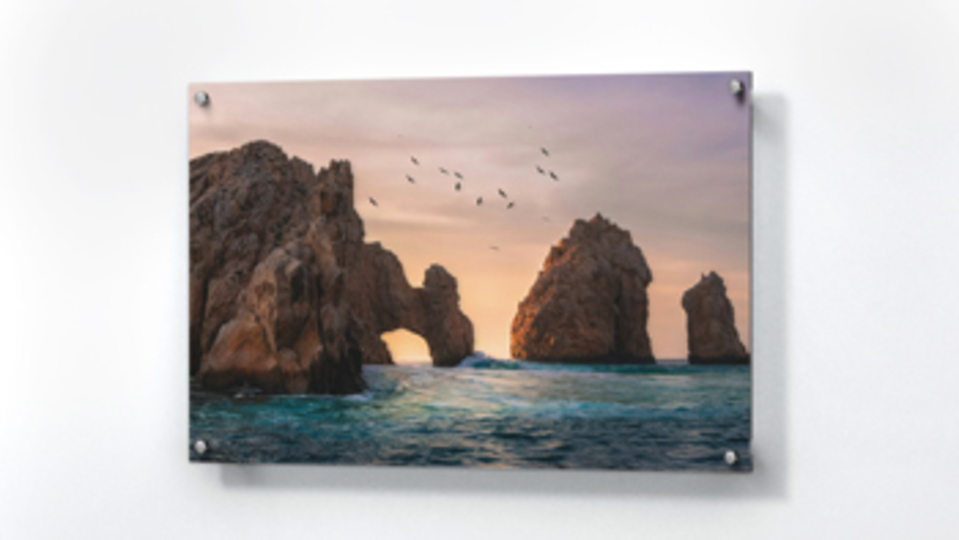
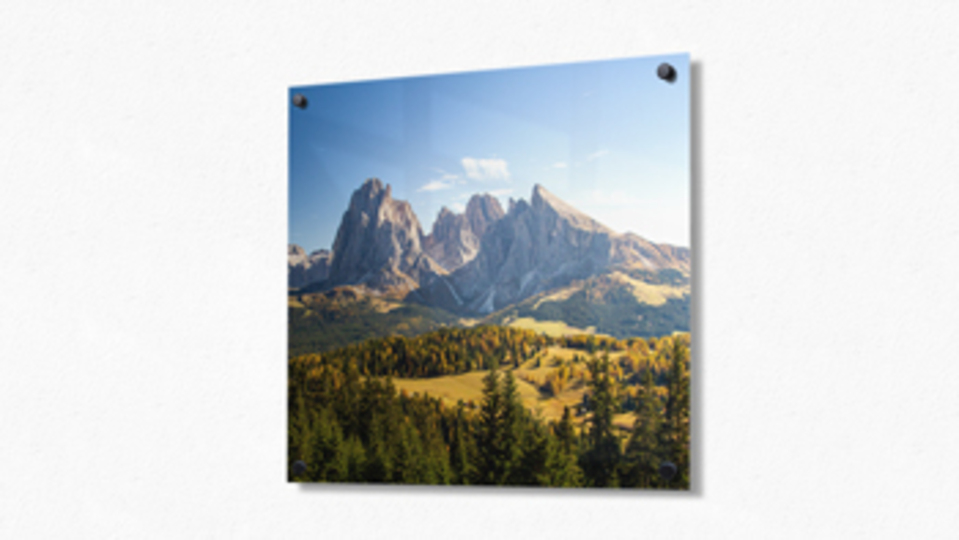
Acrylic Photo Prints
Metal Photo Prints
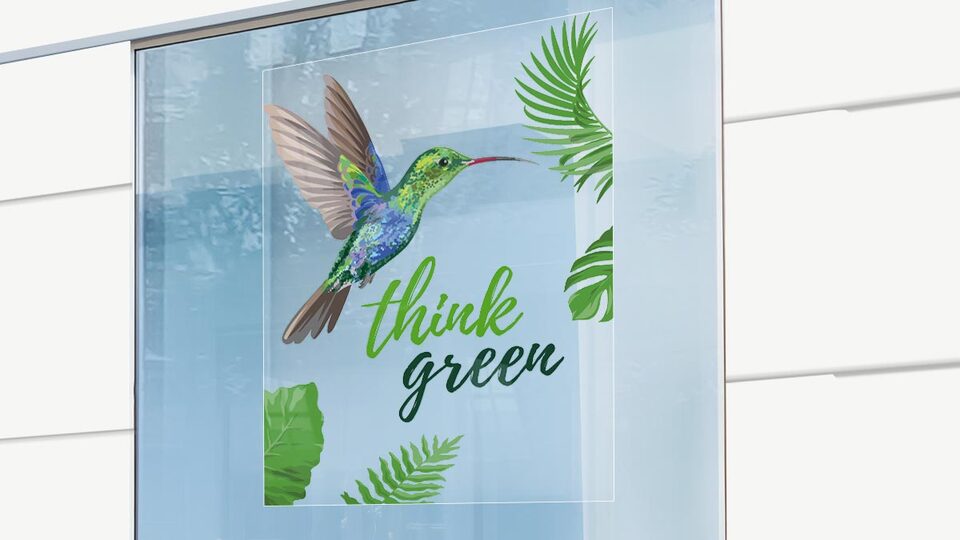
Home Window Decals
Wall Art Decals
Wood Prints
Amazing work detail
Sanam Hendizadeh

Amazing work detail
Sanam Hendizadeh
Amazing work detail
Sanam Hendizadeh