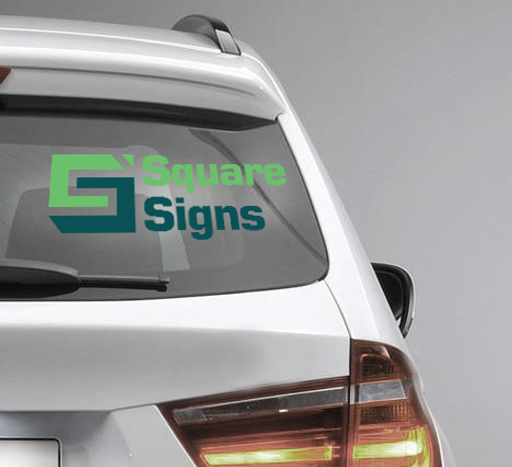
How to Install and Maintain Car Graphics
If you have not yet considered car graphics for growing your business, then you are missing out on an excellent opportunity for inexpensive marketing and advertising. Car graphics can be a compelling resource to help build your brand and increase your business profits.
Aside from car graphics being so affordable, they are also easy to install and maintain. The types of car graphics you choose will determine how you should apply and maintain them.
Car decals are printed on different types of materials such as vinyl or polyester films. Some are constructed to be opaque while others are transparent. There are also various types of adhesives that are incorporated.
Installing car graphics is easy, but having the right air temperature will yield the best results. Ideally, you want the temperature to be around 70 degrees. It’s challenging to get good results if it’s too cold or too hot while applying car graphics like car decals.
Clear Car Decals

If you’re looking for the type of decal that’s going to last for an extended period of time on your car, then you may want to consider clear car decals. These are ideal for use on your car’s windows as they will not obstruct your vision. Check out our clear car decals page to get more information about the product.
Step One
It’s important that you begin with a clean surface. You may be tempted to use a standard glass cleaner but don’t. They may contain chemicals that will affect the way that the car decals adhere to the glass. Use plain soap and water instead and make sure that you rinse it off thoroughly. You can also use rubbing alcohol followed by a clean water rinse. Before proceeding to the next step, make sure the glass has completely dried.
Step Two
You want to be sure that there are no bubbles present on the car decal. Just take a ruler or credit card and gently press it across the transfer tape surface. This will ensure that the decal is applied correctly to the transfer tape and that there are no air bubbles present.
Step Three
The decal should easily peel off the backing tape. Grab one corner of the backing tape and gently peel it away from the sticker. If the sticker is not easily coming off from the backing, then re-attach the backing that did come off and repeat step two until all air bubbles are removed.
Step Four
Once you have removed the backing of the car decals, position the adhesive part onto the surface starting from one end. Gently work out any air trapped under the decal by using a credit card or squeegee. Press it over the surface and work your way from the center out to the edges. Work gently to avoid scratches or tears on the decal.
Step Five
Allow the decal to dry and firmly attach by waiting 24 hours.
Step Six
You are now ready to remove the transfer paper. Do this by gently peeling it off at an angle. If you notice that the decal is beginning to lift, then stop and repeat step four.
If you happen to see any small air bubbles left over, you do not have to peel back the sticker to get rid of them. You may simply pierce them with a thin needle and gently push the air out through the holes.
Magnetic Signs
Magnetic signs are very easy to install and remove as often as you wish. They simply cling to any metallic surface like most cars.
When installing, it’s important to ensure that the metallic surface is clean as well as the backing of the magnetic sign. To clean the magnetic backing, wipe it with a soft and lint-free cloth. It’s important that no dirt or debris gets caught between the surface and the backing as this can cause damage to the car. Check out our magnetic signs page for more information.
Maintaining Your Car Graphics
Car graphics can be used on cars to enhance their appearance or for marketing and advertising. The medium can come in the form of wraps, decals, lettering and magnetic signs. No matter which of these choose, they all need to be adequately maintained.
Car graphics are exposed to all different types of weather conditions. They will get dirty as a result of this. You can clean them with a gentle soap and water but avoid scrubbing with harsh abrasives. Use touchless car washes as mechanical brushes may be too harsh for the car graphics. They can eventually tear them or cause them to peel. If you wash your car with a pressure washer then only use the gentle pressure feature in the areas with car graphics.
Occasionally you may want to remove your magnetic signage and clean both the surface and the backing of the magnetic sign as previously instructed.
Insisting on Quality
While most car graphics are easy to install yourself, it’s important to follow the simple instructions. They also require proper maintenance. Invest in quality car graphics for best results and durability. Low-quality materials won’t last very long no matter how well you take care of them. Good quality materials include vinyl or polyester. A good quality adhesive that must be properly applied to the car so that peeling and bubbling don't occur. With higher quality products, the colors will remain more vibrant and the sign will be more weather resistant.
